


Mixing up your fonts in Google Slides is a simple way to make your presentation pop and keep your audience engaged.
Today, I’ll walk you through how to add fonts to google slides. Trust me, it’s a super quick way to make your next deck look incredibly polished.
Table of Contents
How to Add Fonts to Google Slides: 2 Simple Methods
Let’s dive into two easy ways to add fonts. Just follow along with me step by step!
Import Fonts from Google Fonts library
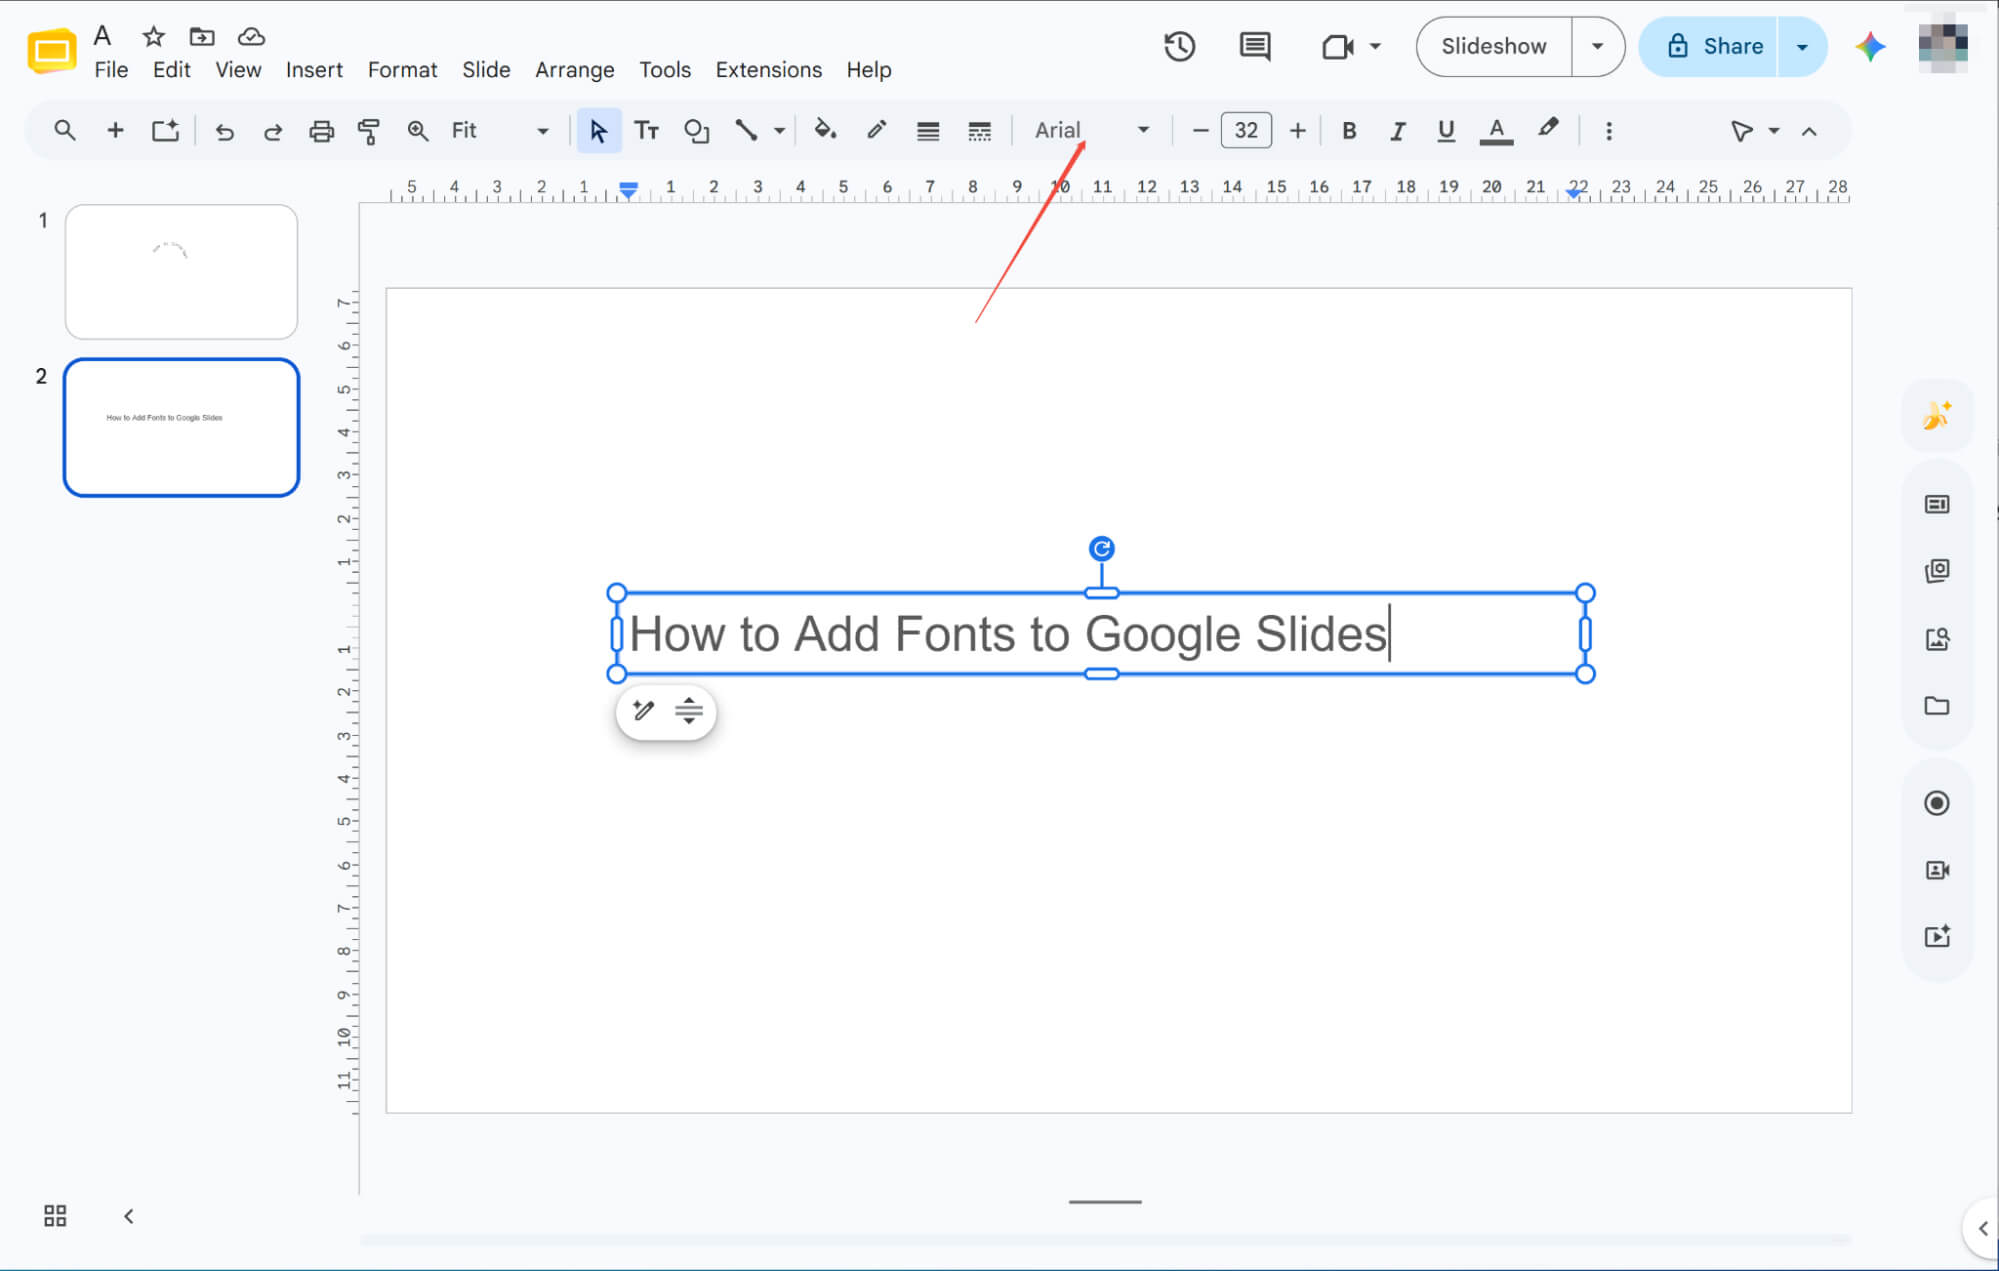
Locate Your Font Selector
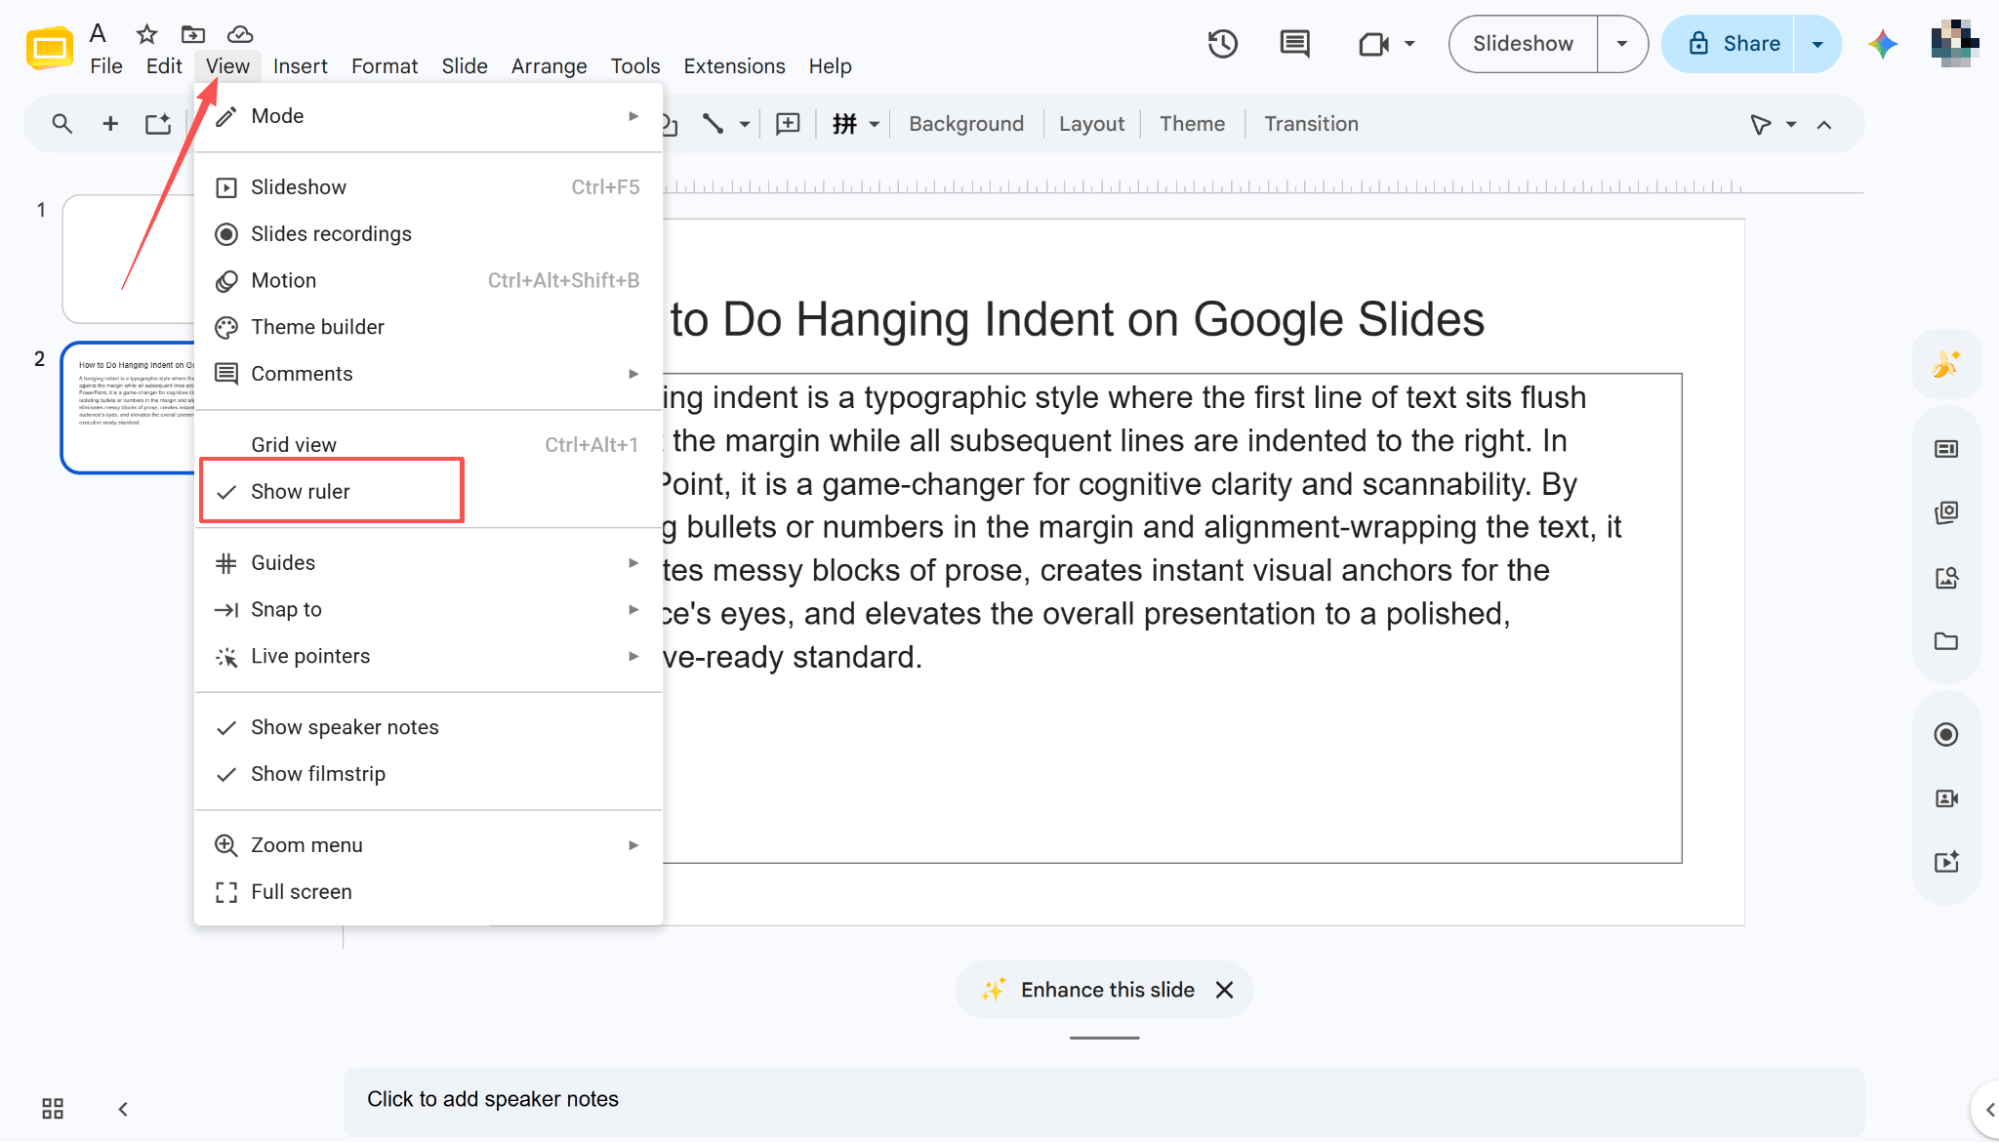
Click any text box in Google Slides, and the top toolbar's dropdown menu will display your current typeface, serving as your gateway to adding new fonts.
Expanding Your Font Choices
Click the font selector to see a rich dropdown of options, or click "More fonts" to add new fonts to your available list.
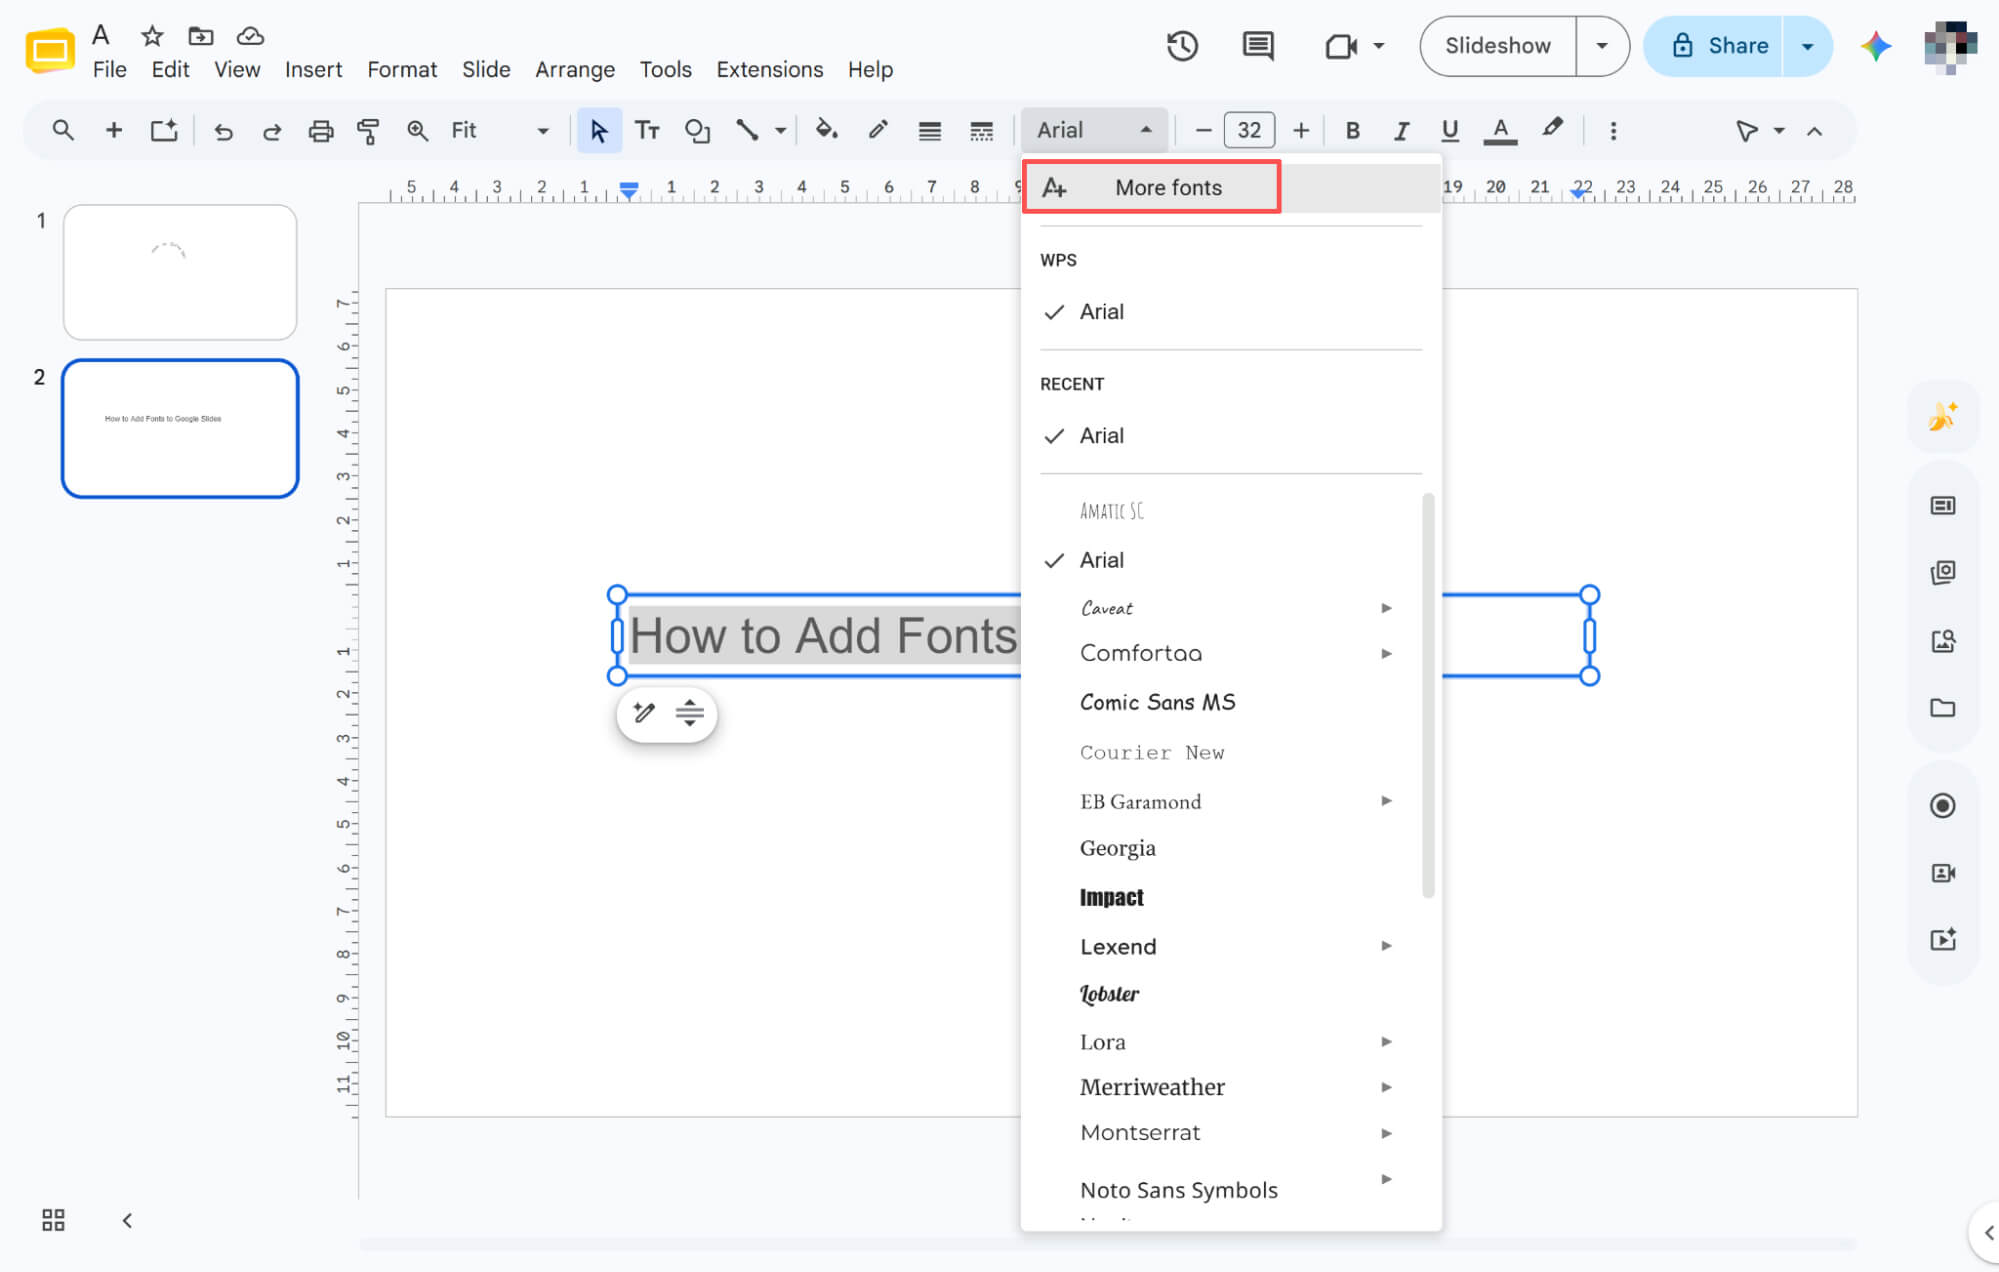
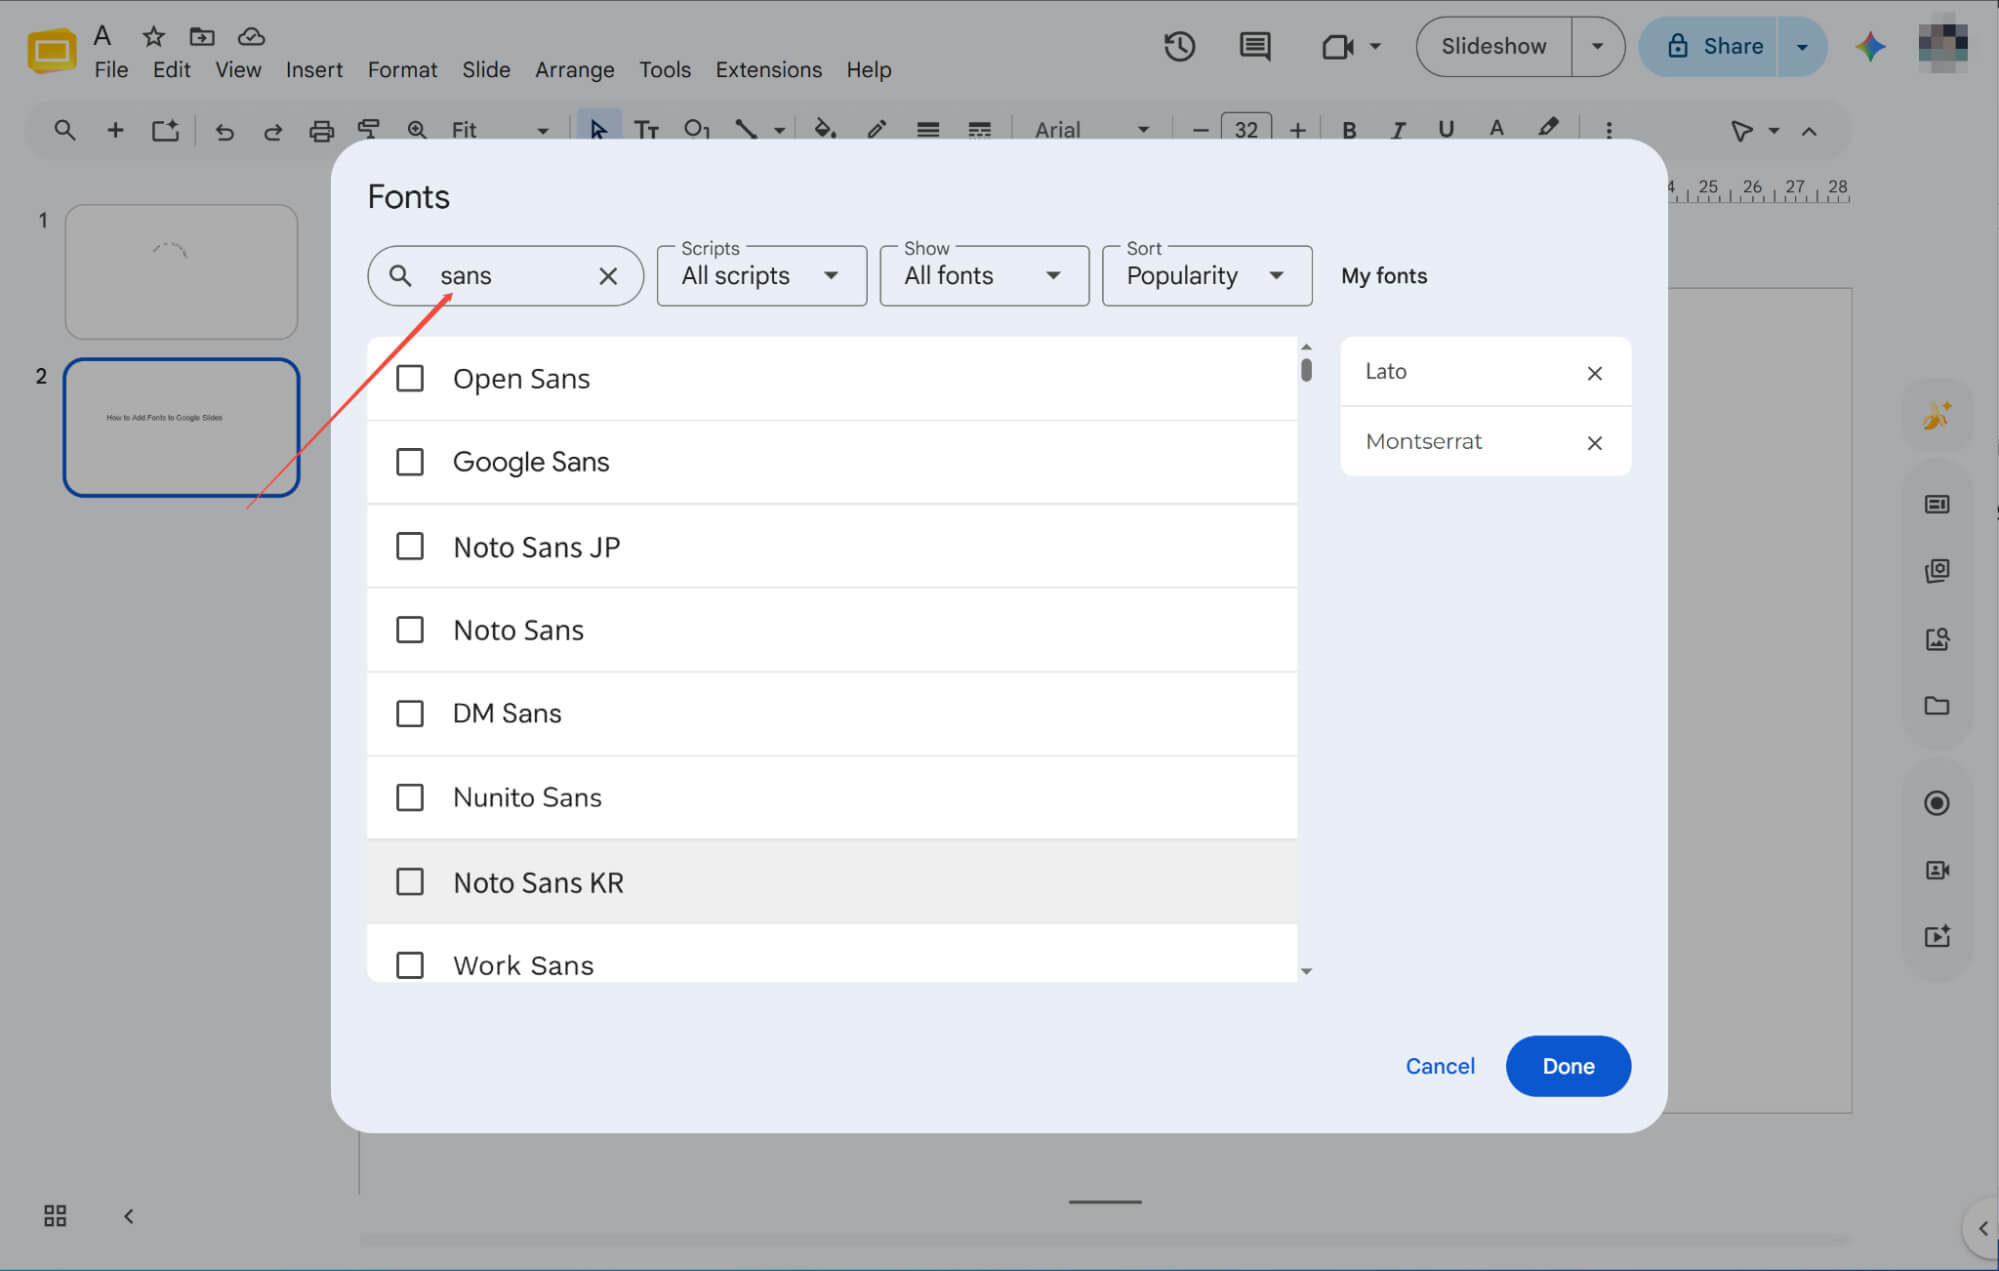
Searching and Selecting Fonts
In the popup library, search for styles using the top bar. Check the boxes next to your desired fonts, then click "Done" to add them.
Add Fonts from Google Slides Extensions
Accessing the Add-on Store
Click "Extensions" in the top menu bar and select "Get add-ons" to open the marketplace, where you can find extra tools to expand your font library.

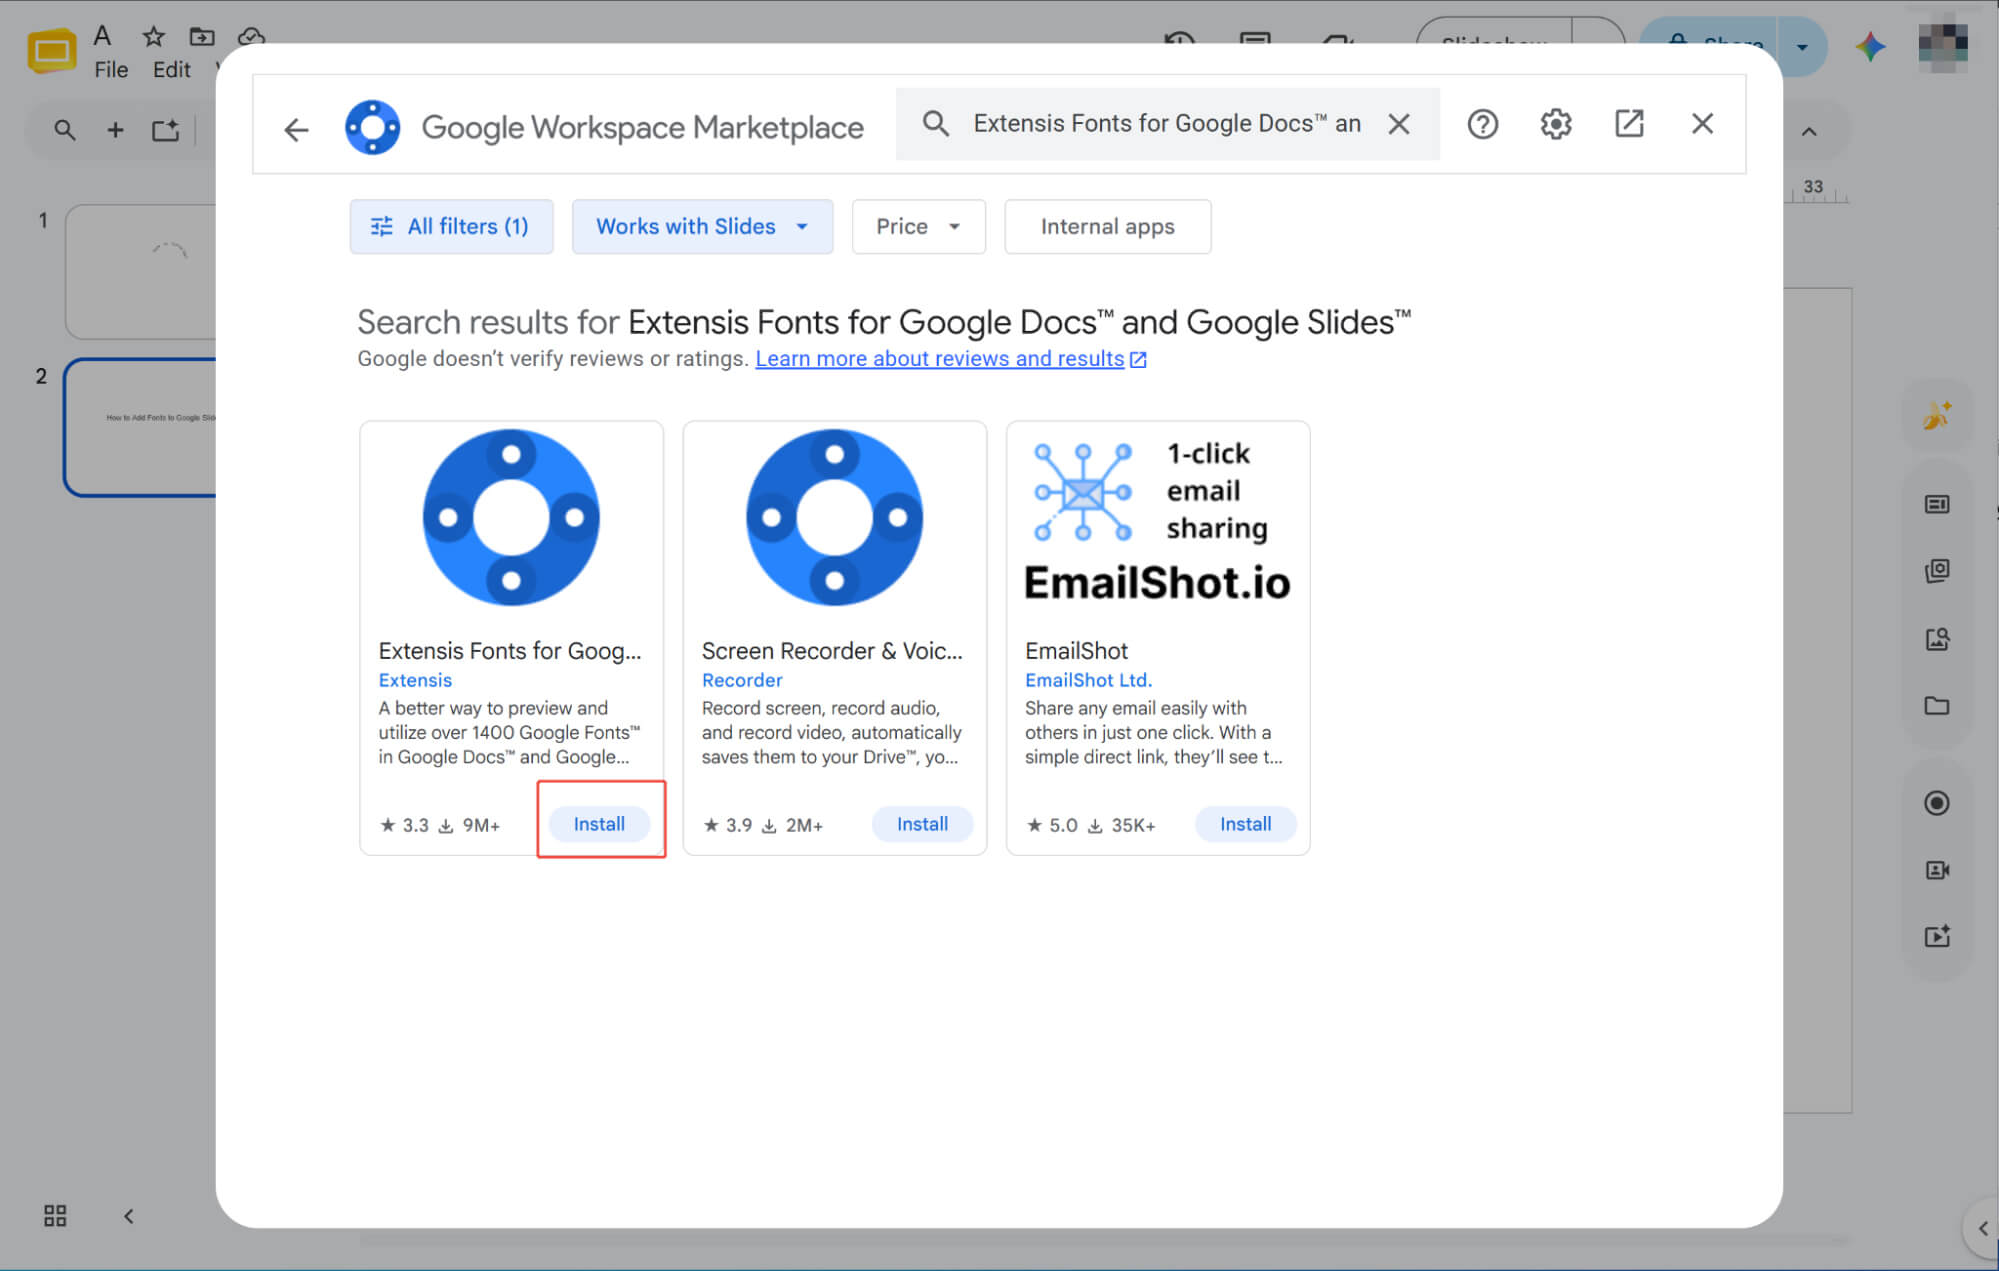
Installing the Font Extension
Inside the popup, search for "Extensis Fonts" and click "Install."
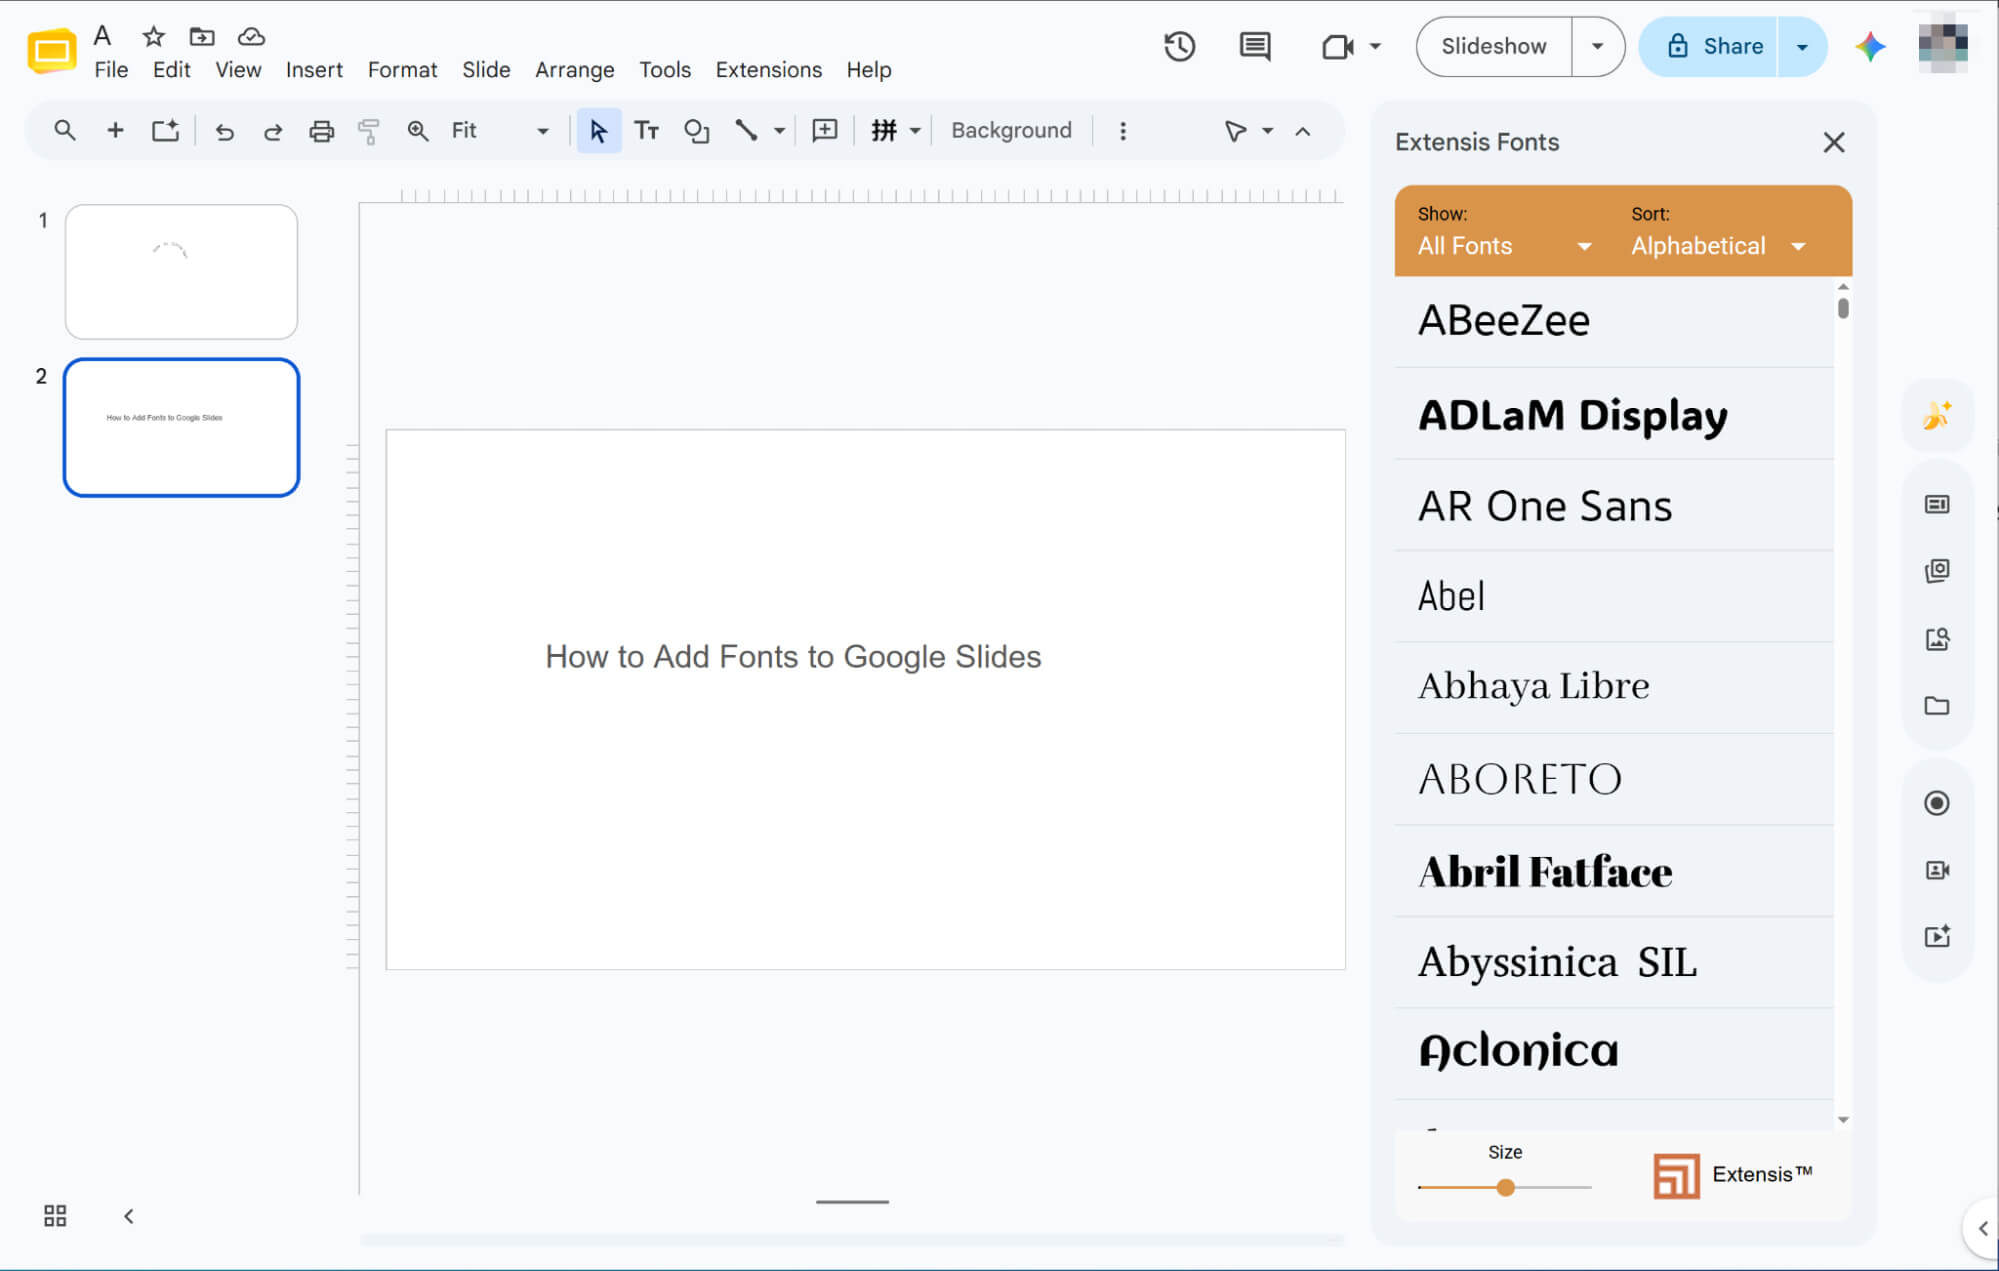
Activating Your New Fonts
Once installed, simply head to "Extensions" in the menu bar to open the tool and start applying a vast array of new fonts to your presentation.
How to Add Fonts to Google Slides: Things to Keep in Mind
Now that you can add fonts, here are a few tips so they don’t ruin your beautiful slides.
-
Consistency
Limit your deck to two or three fonts with fixed roles. Uniform typography ensures a cohesive, professional look.
-
Readability
Use clean sans-serif fonts like Roboto for screens. Avoid decorative scripts that strain your audience's eyes from afar.
-
Contrast
Pair bold headers with regular body text for instant hierarchy. Never use similar fonts that look like mistakes.
-
Size
Keep titles above 32pt and body text at 16pt+. Use 1.2 line spacing to avoid crowded walls of text.
-
Branding
Match your font to your message's personality: sleek geometric styles for modern tech, or elegant serifs for formal reports.
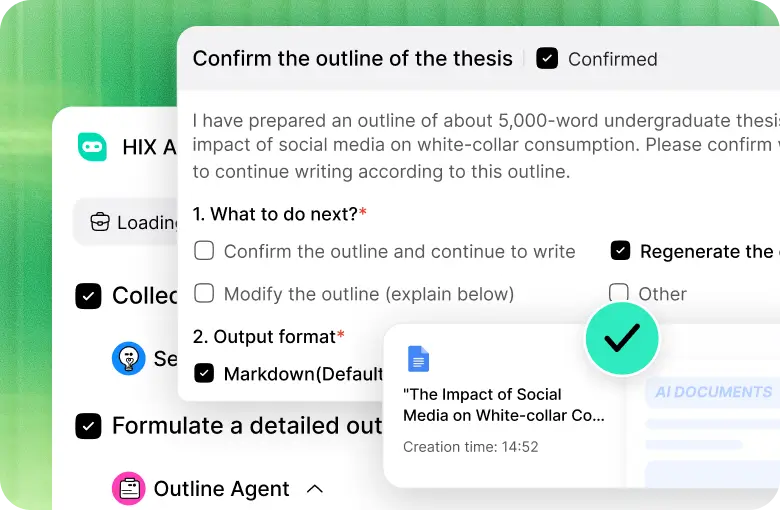
Meet HIX AI Slides Agent: Your Ultimate Presentation Shortcut
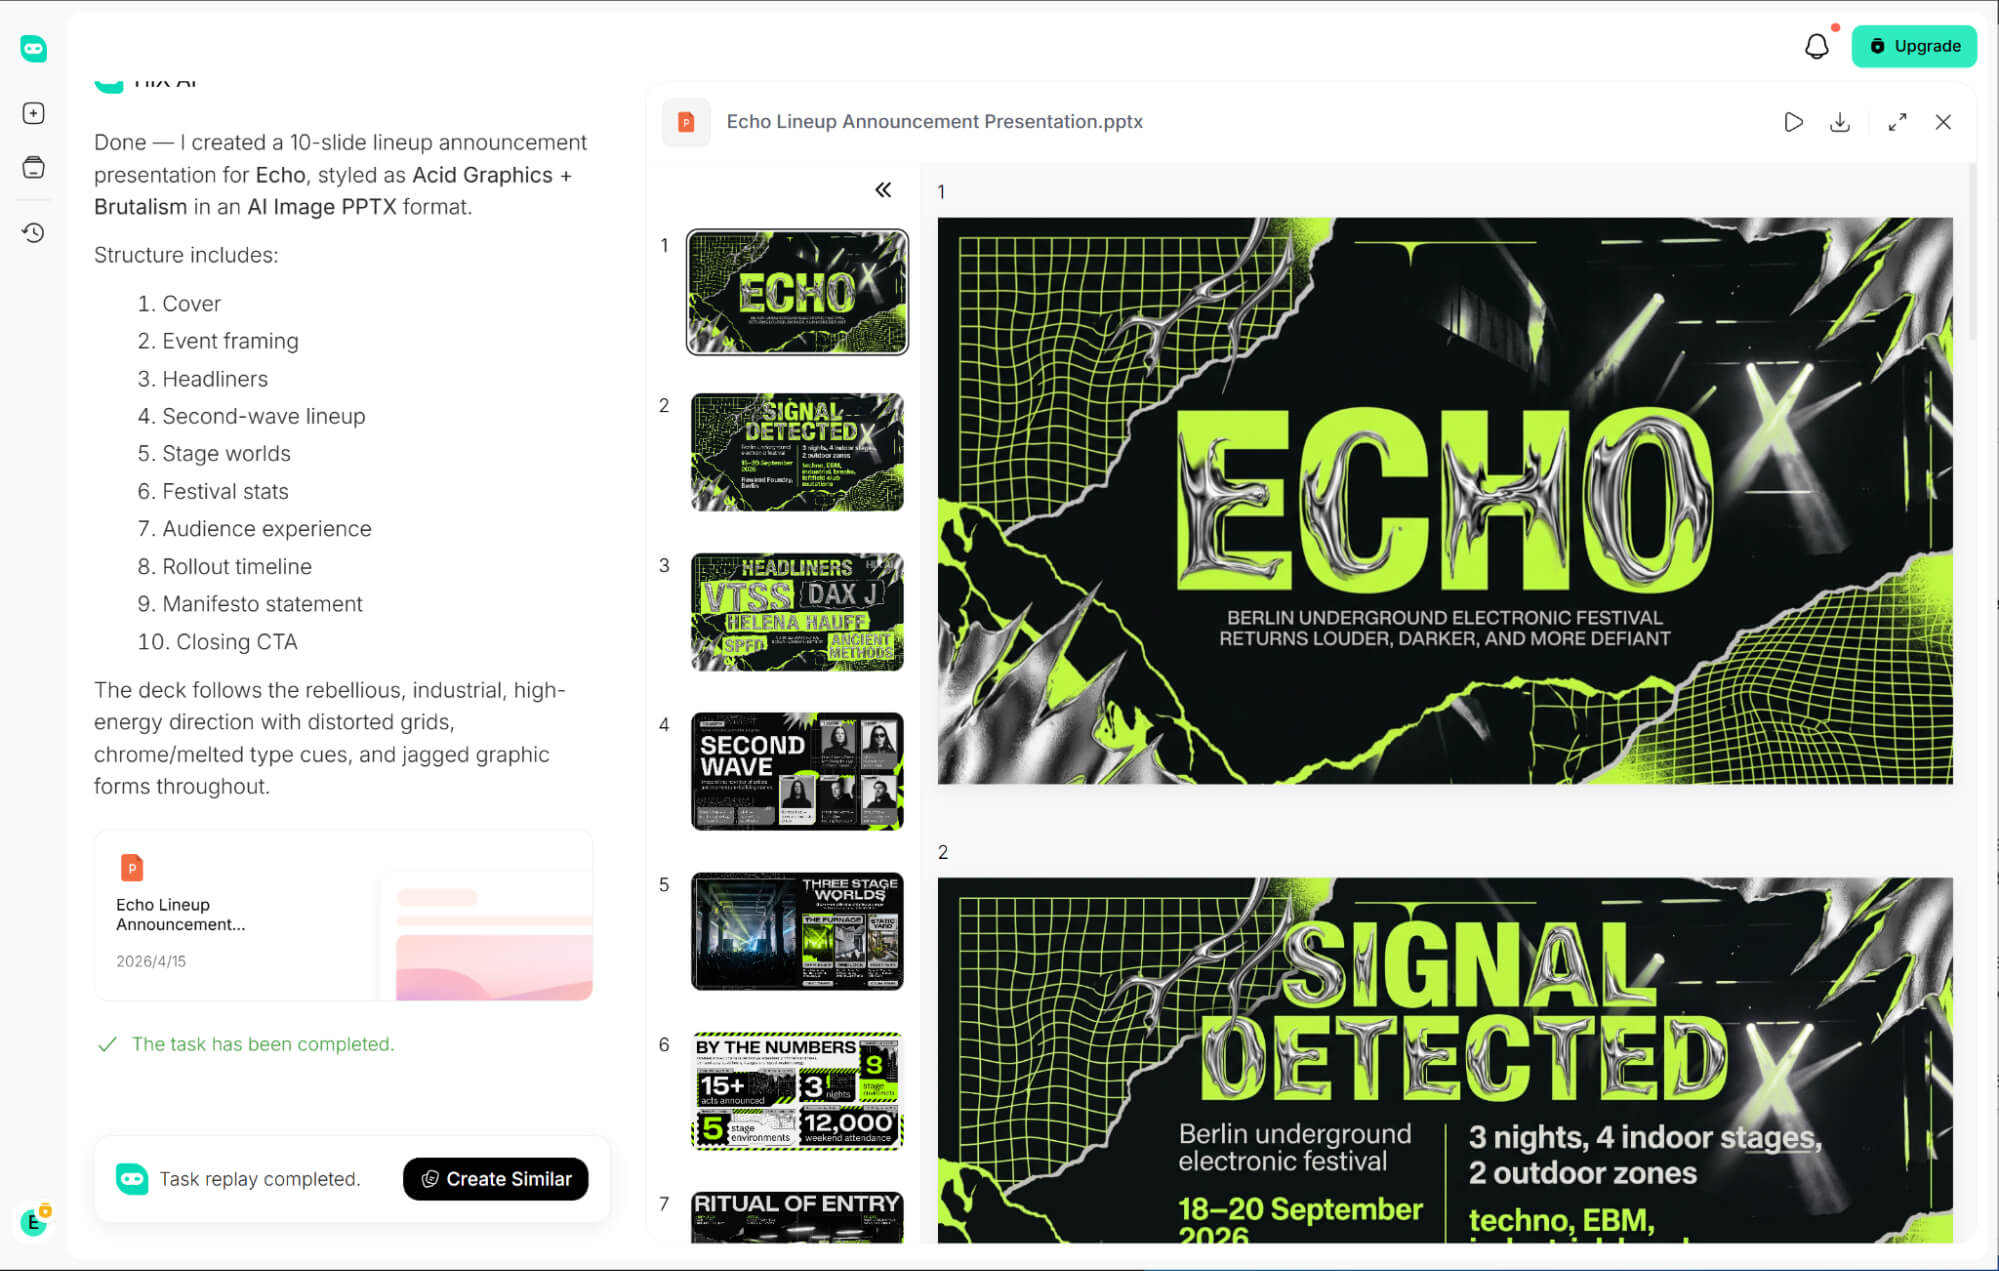
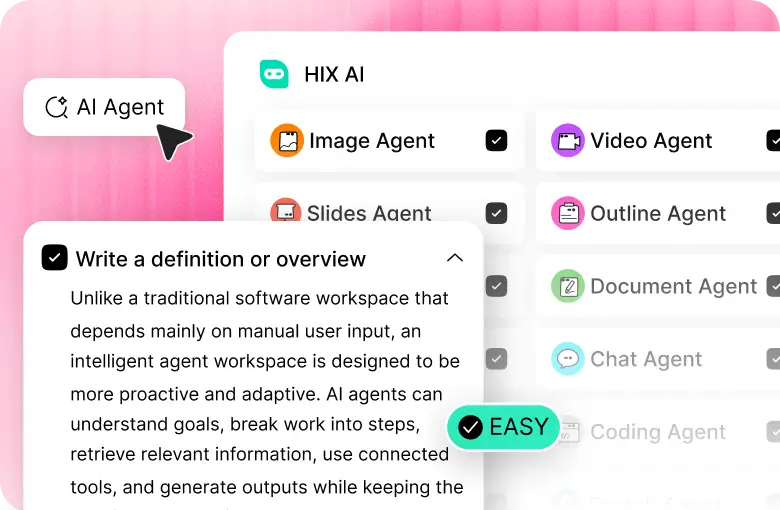
Simply upload your brand assets, and HIX AI Slides Agent instantly syncs your visual style to generate polished presentations. While manually finding and adding custom brand fonts is traditionally a tedious time-sink, this seamless automation makes the tool highly recommended for effortless typography setup.
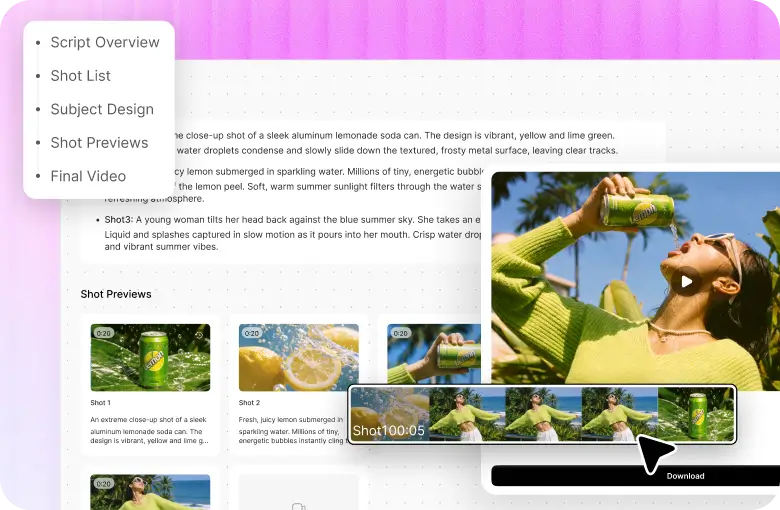
Once generated, the tool keeps things highly flexible by giving you total post-design control. You can easily update text copy, resize graphics, and dynamically reposition any layout element to fit your vision perfectly.
It even handles your pre-production homework. Give it a theme, and it conducts a deep research sweep across the web, sorting chaotic information into structured, presentation-ready content before you even start.
Try HIX AI Slides Now!
Conclusion
By now, I’m confident you’ve completely mastered how to quickly add new fonts. Go ahead and put these tips into practice to give your next presentation a serious upgrade!
But if you don’t want to spend hours searching for fonts, give HIX AI Slides Agent a shot instead. Trust me, it won't disappoint you.
🆓Free to Try • 👍Professional Slides • ⭐4.9/5 Rating