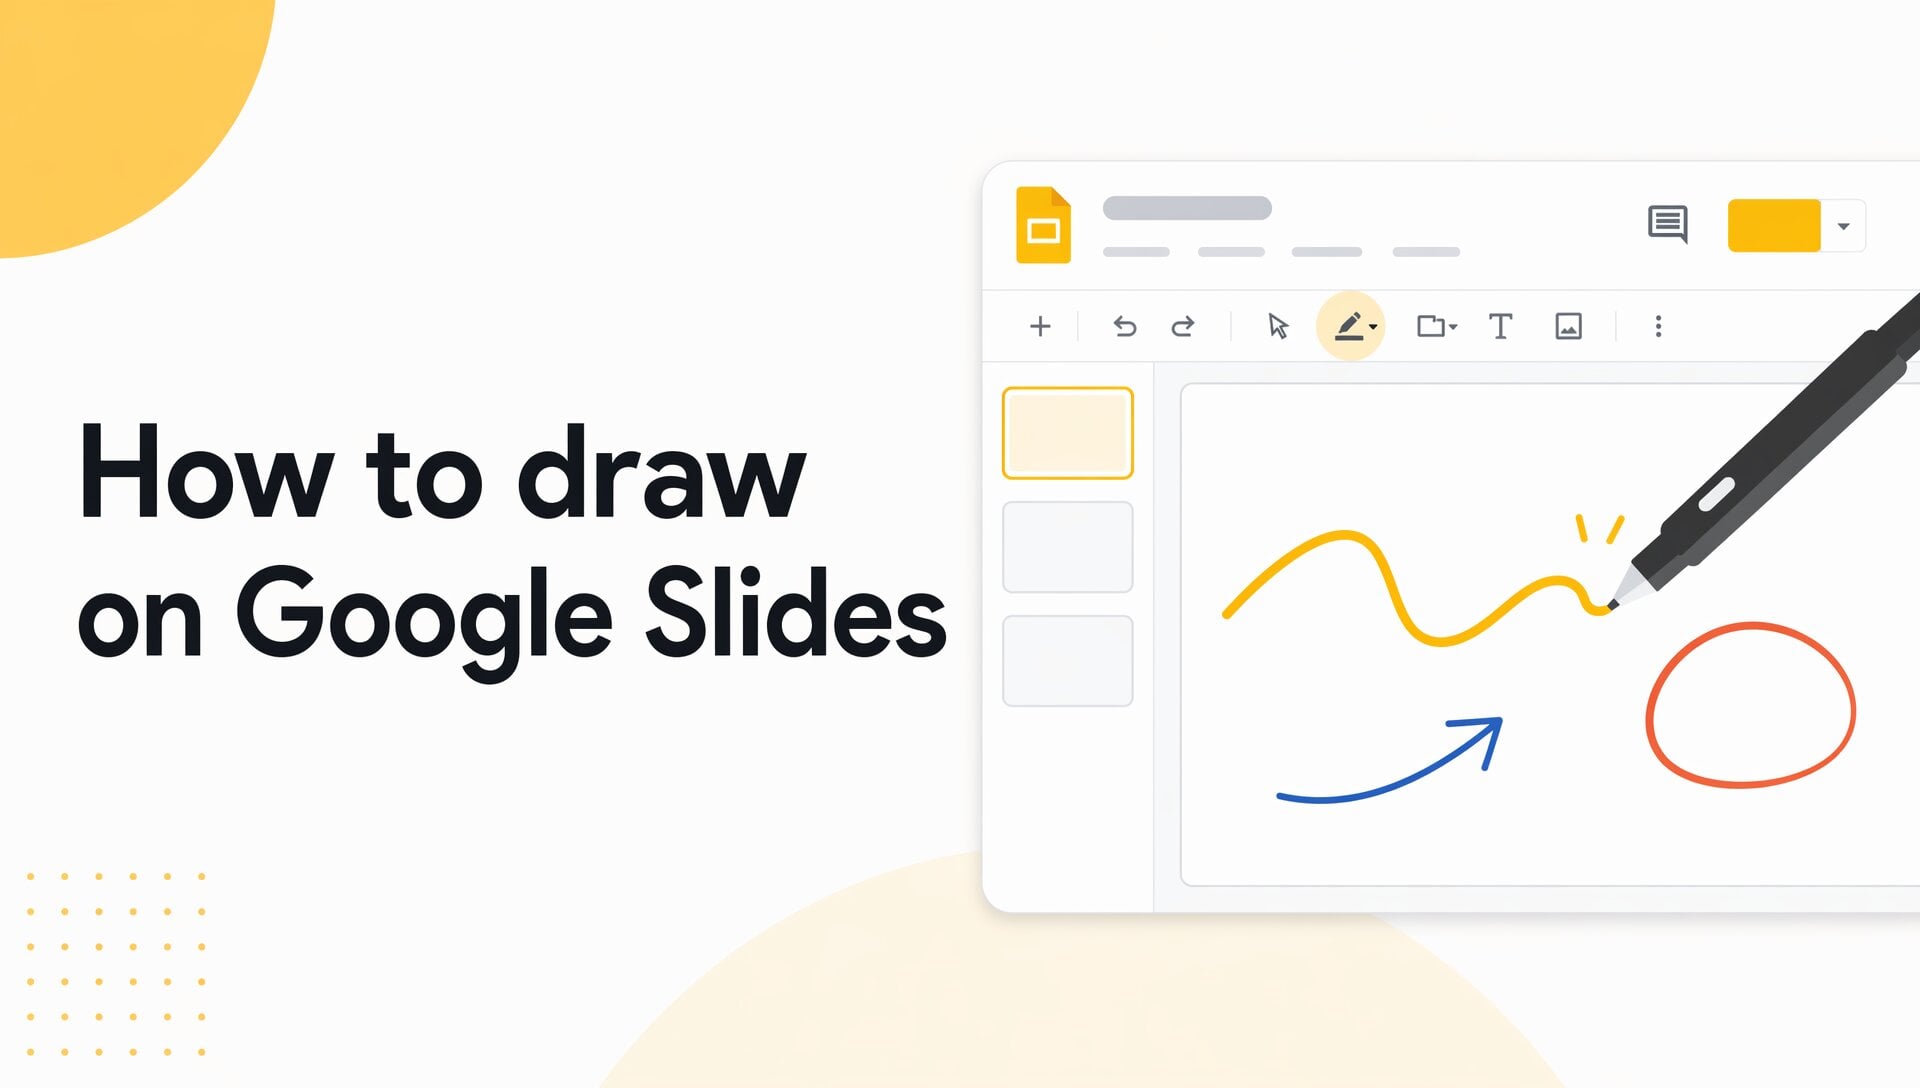

Adding curved typography is a brilliant way to inject creativity and visual excitement into your presentations, giving your slides a highly dynamic, playful edge.
Unfortunately, Google Slides currently lacks a native, built-in design tool to bend and warp your text directly within the application.
But don't let that hold you back. In this guide, I’ll show you exactly how to curve text in google slides using two super simple workarounds.

Table of Contents
How to Curve Text in Google Slides: 2 Easy Methods
Bypassing this platform limitation simply requires a little creative thinking. The following two clever strategies offer quick, hassle-free ways to bend your text and achieve that eye-catching effect.
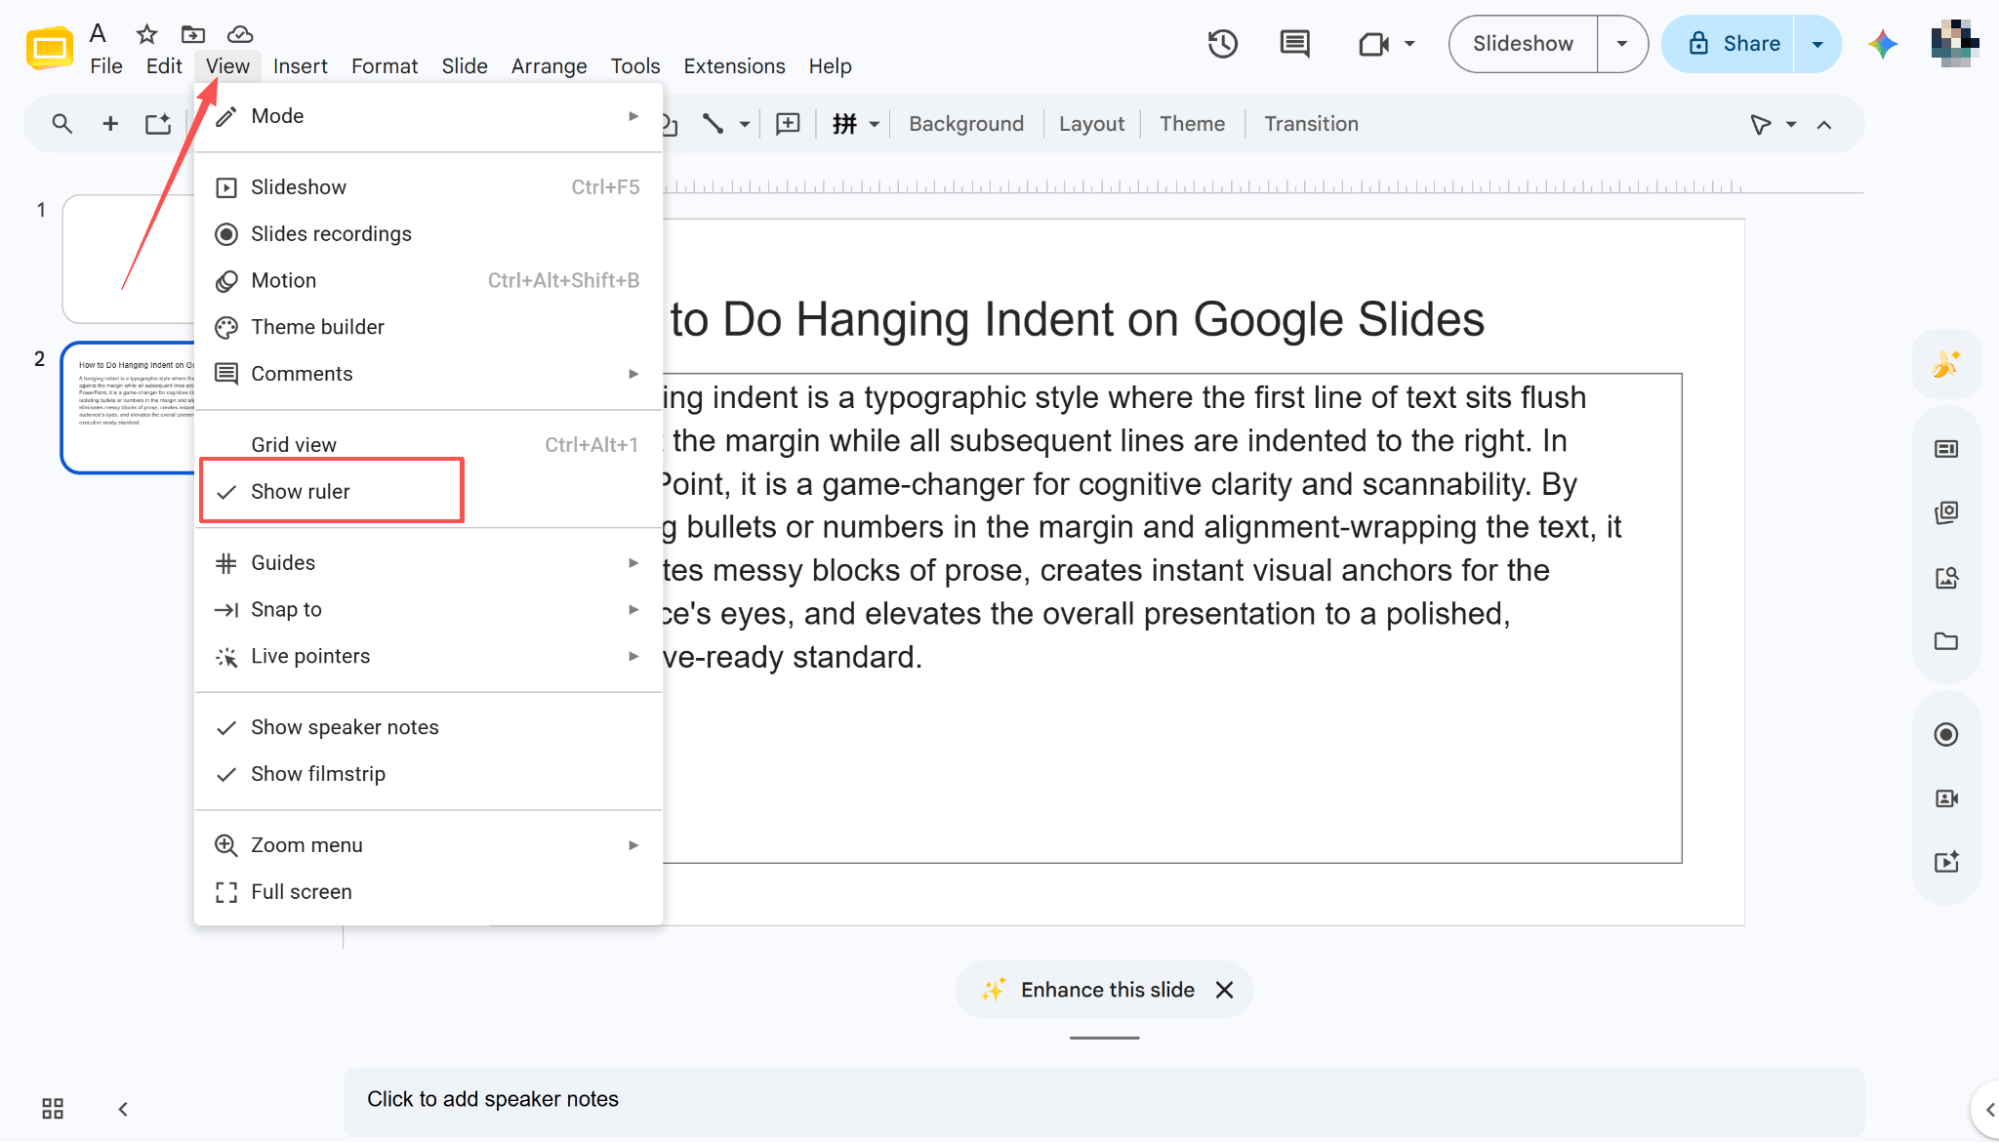
Text Box Rotation
Input Short Text Sequentially
Enter your text sequentially into the boxes to apply the curve effect, keeping each segment as brief as possible.
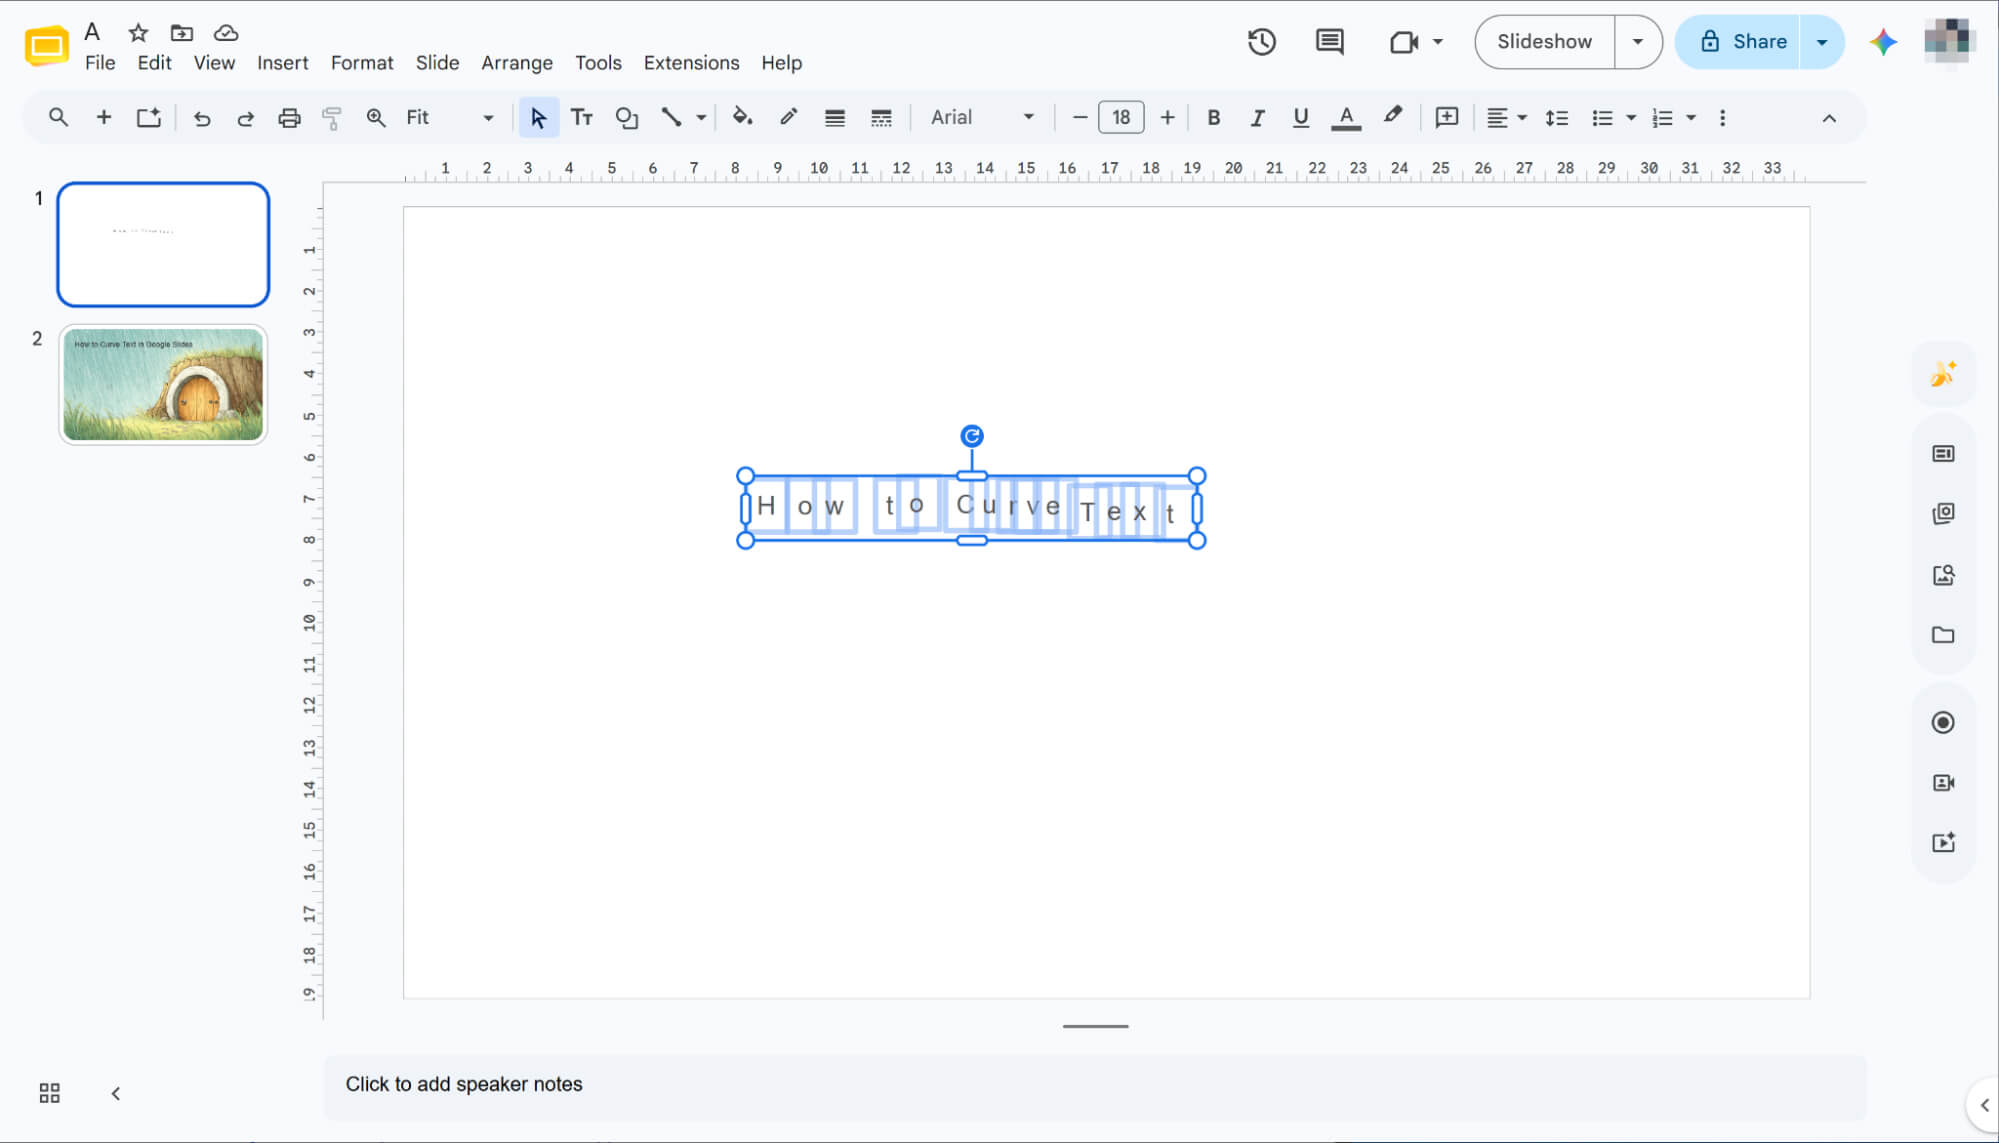
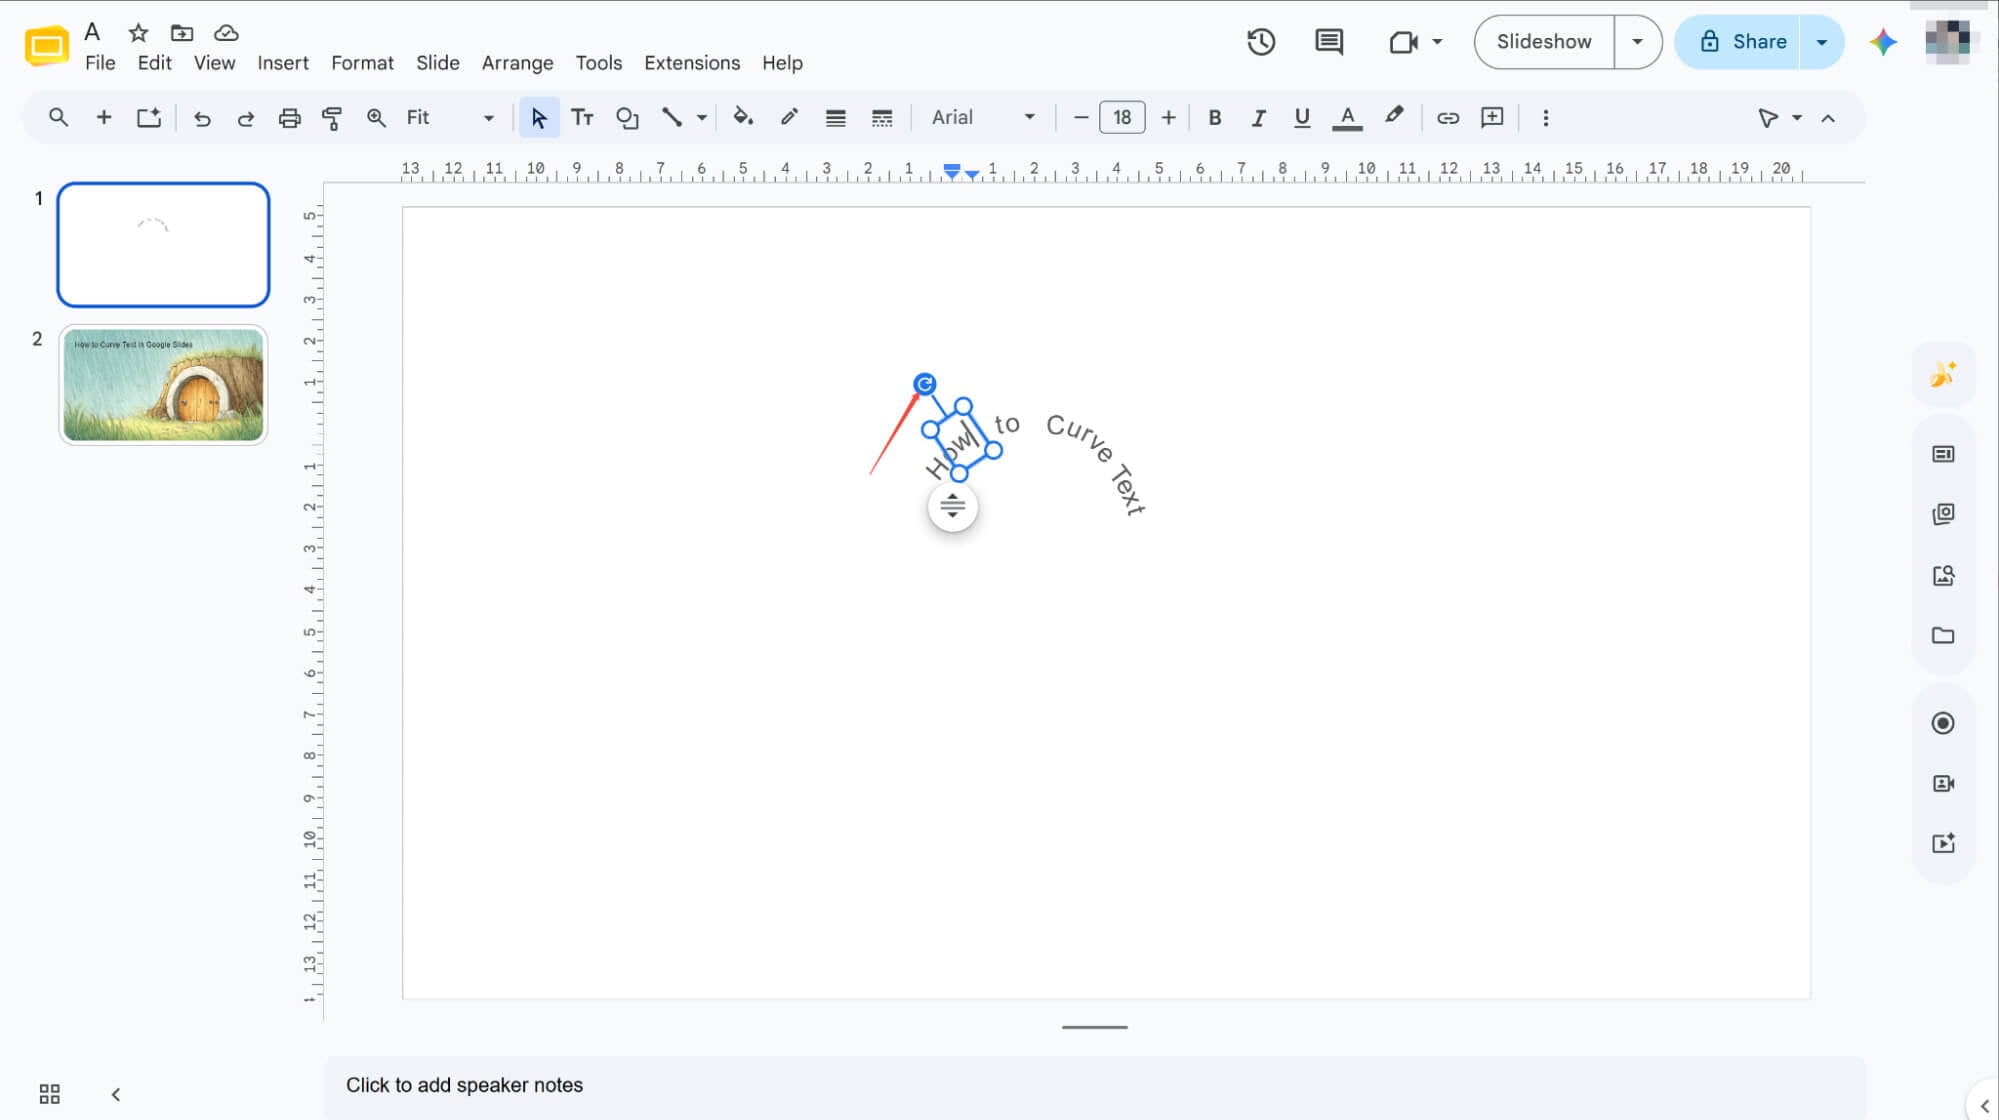
Curve Text via Rotation
Select each text box and click the top rotation icon to adjust its angle. Once all segments are rotated, your curved text is ready.
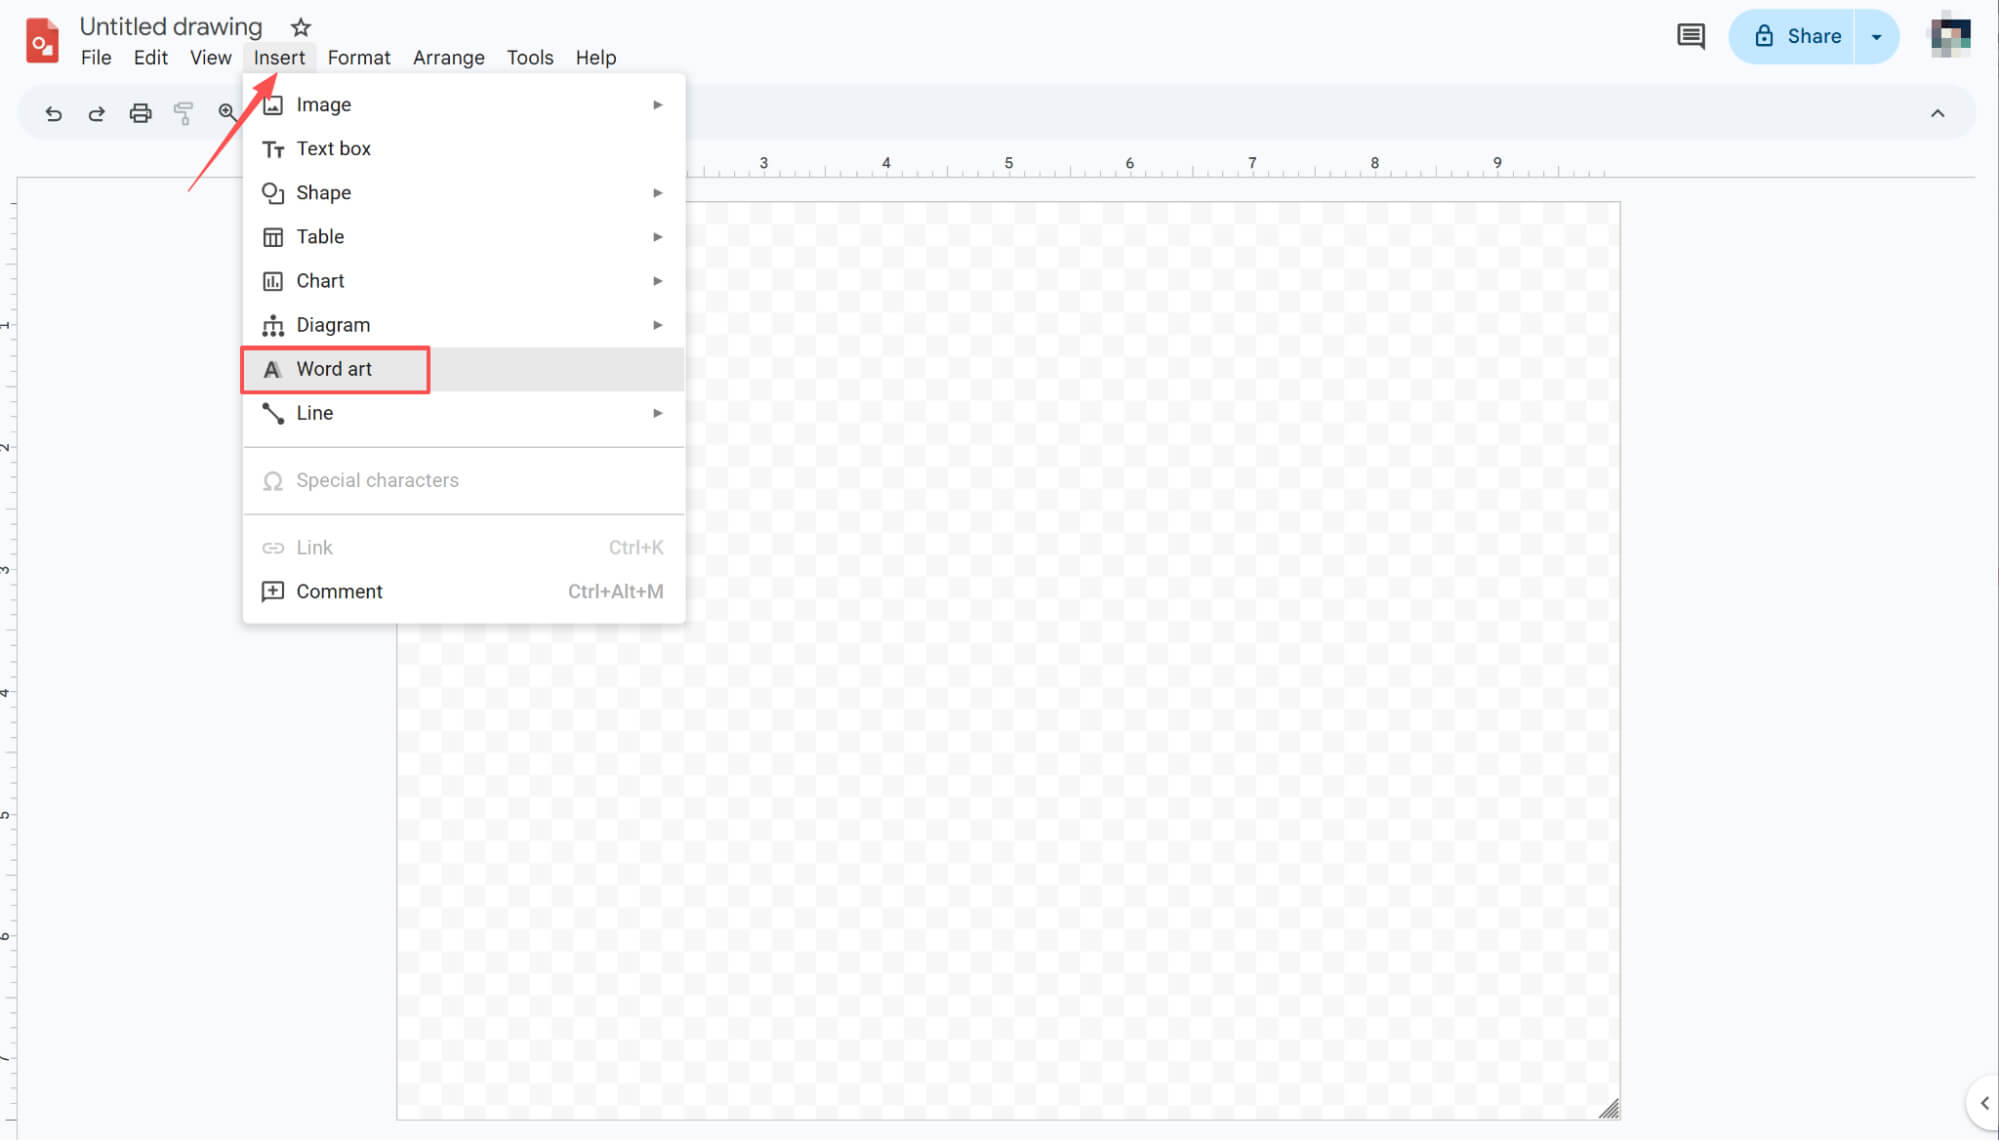
Using Google Drawings
Insert Word Art
Open Google Drawings, navigate to "Insert" > "Word art," and enter your text into the prompt. Keep the entry concise for the best curving results.
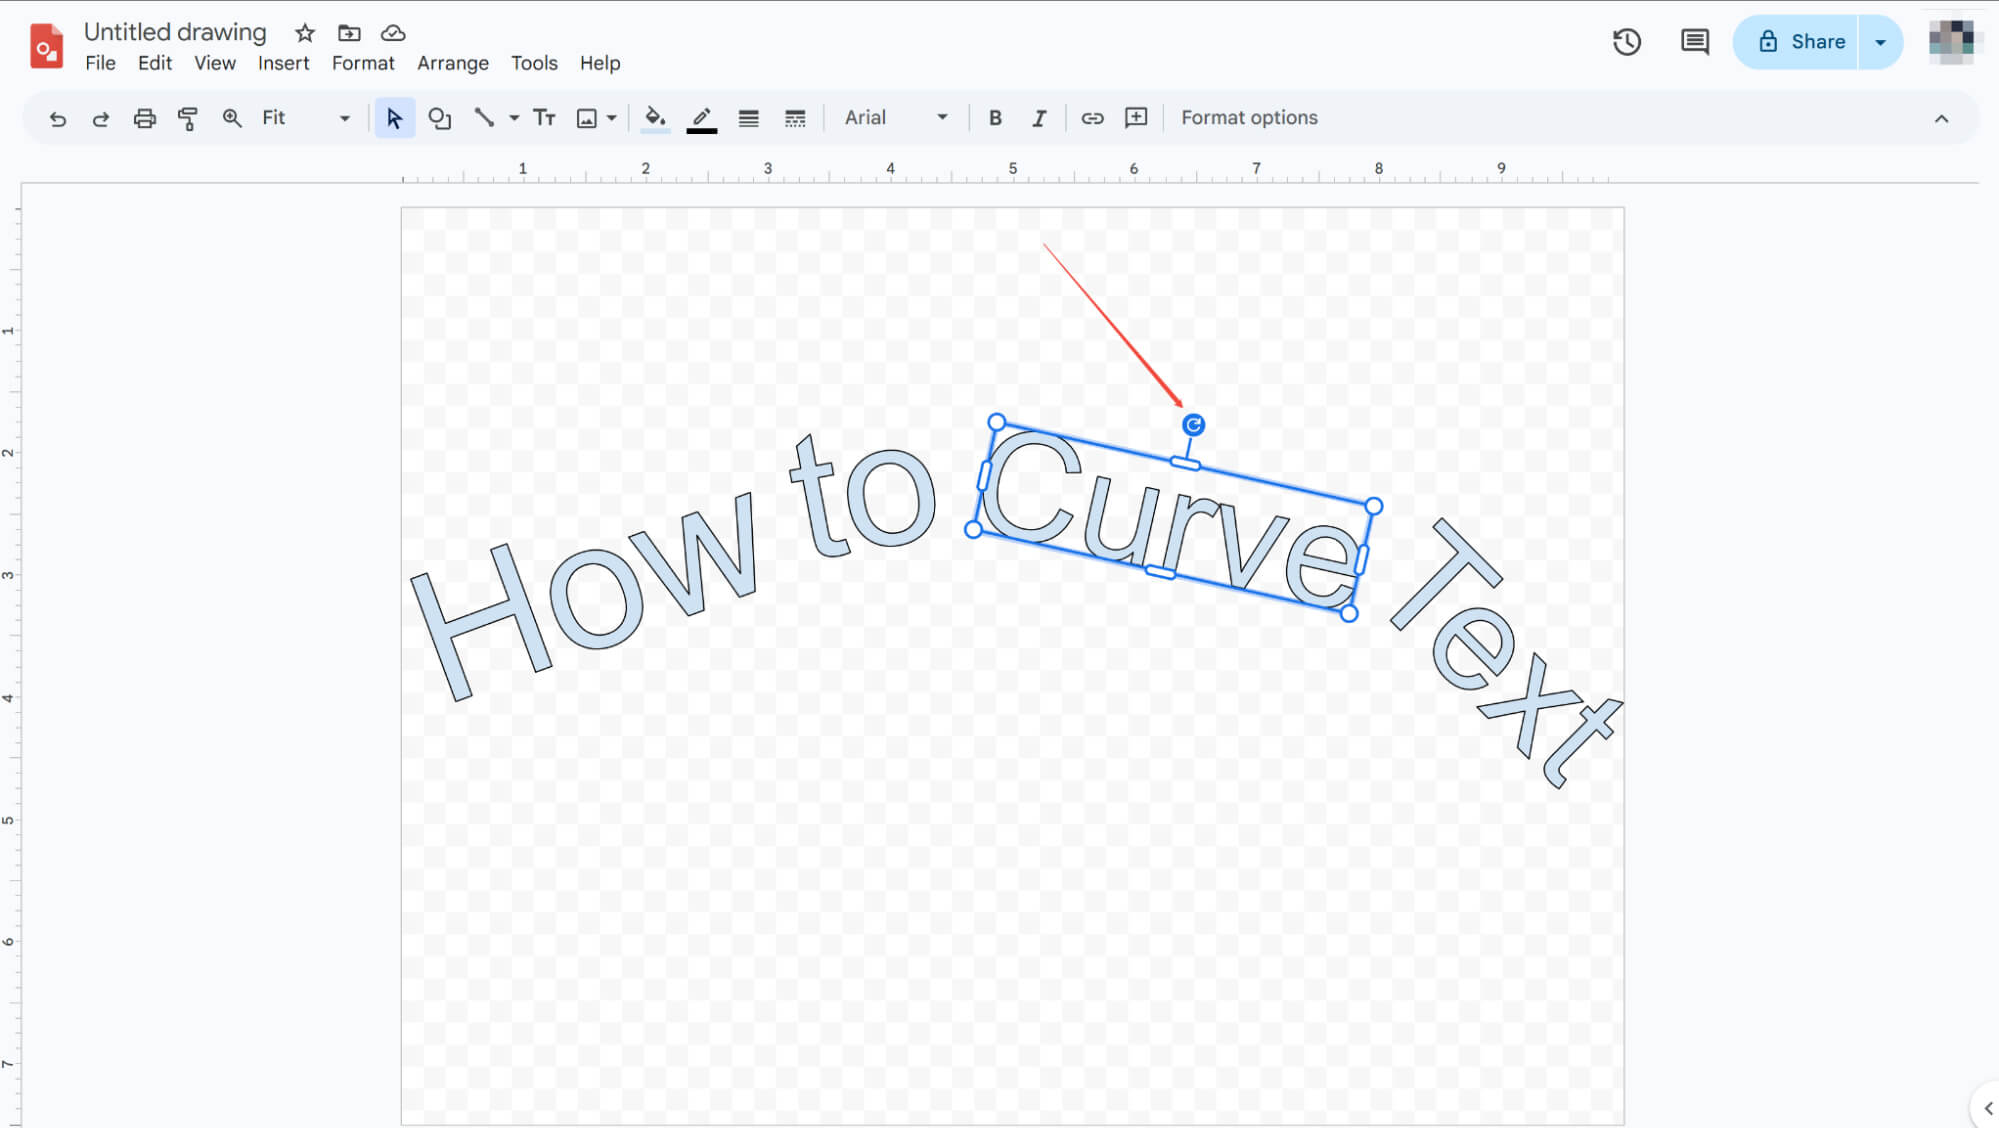
Fine-Tune Text Rotation
Click the desired text box and use the rotation icon above it to adjust the angle. Continuously fine-tune the rotation of each box until you are fully satisfied.
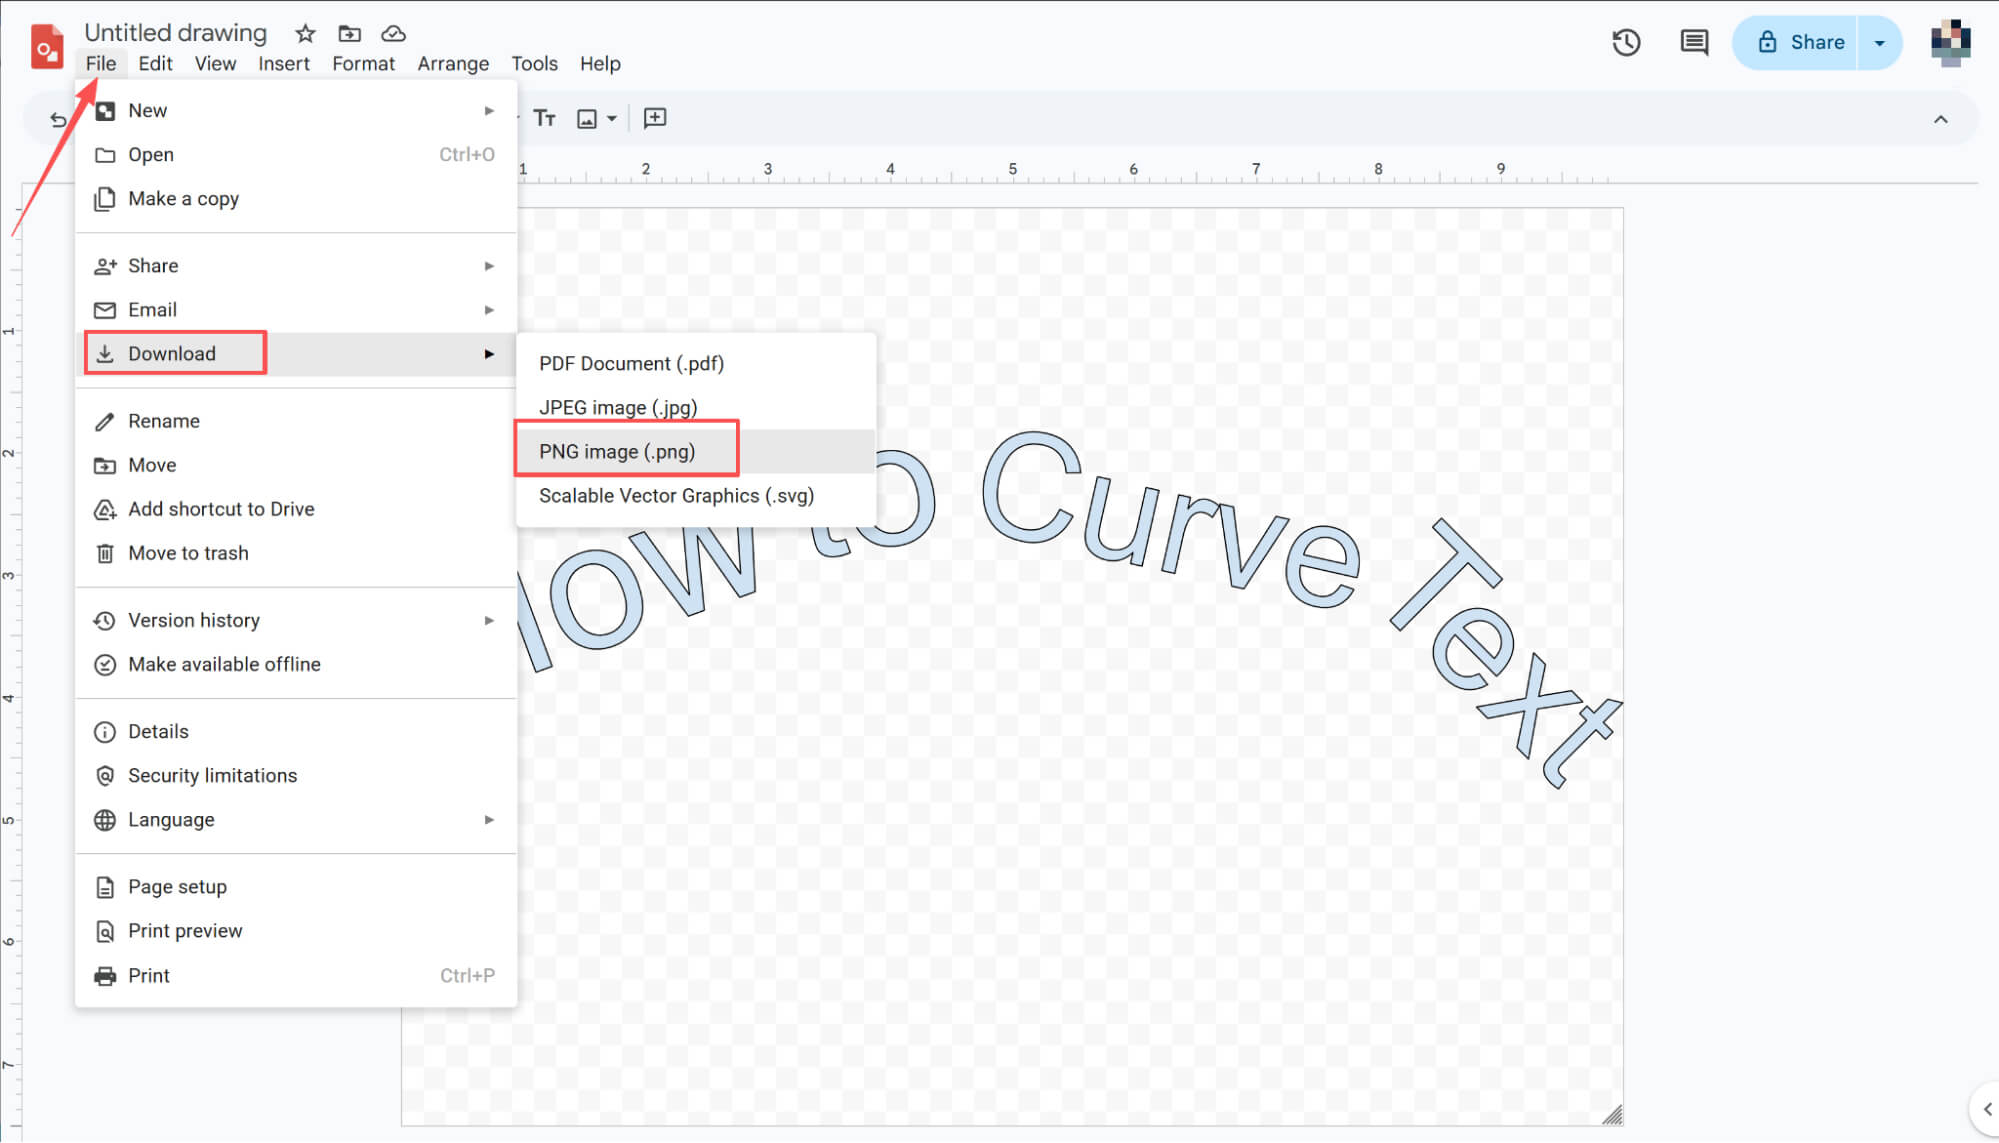
Export as PNG
Once adjustments are complete, click "File" in the menu bar, select "Download" from the dropdown menu, and choose ".png" to export your final design.
Import into Google Slides
Once downloaded, return to Google Slides, navigate to "Insert" > "Image" > "Upload from computer," and select your target image to complete the integration.

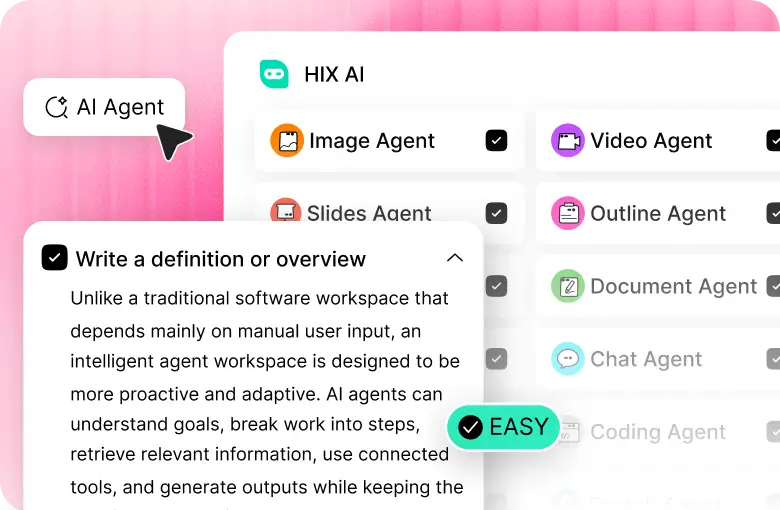
HIX AI Slides Agent: Effortless Curved Text and Full Presentation Design

While manually rotating text boxes can curve typography, the process is incredibly tedious and time-consuming. That’s why I highly recommend HIX AI Slides Agent, an advanced tool that does the heavy lifting for you.
By simply entering a prompt, it instantly generates any text effect you desire. Once created, you retain full creative control to freely edit text, swap colors, and resize design elements directly on the canvas.
Beyond text styling, it creates entire presentations from scratch. Just provide a topic; the agent conducts deep research, structures the script, and delivers a stunning deck tailored to your chosen visual template.
Try HIX AI Slides Now!
Conclusion
Mastering curved typography is a fantastic way to inject playful, creative energy into Google Slides, instantly making your presentation look incredibly polished and professional.
If you ask me, though, HIX AI Slides Agent is the real way to go. It does away with all those annoying manual adjustments entirely, doing the heavy lifting to create a stunning presentation from scratch for you.
🆓Free to Try • 👍Professional Slides • ⭐4.9/5 Rating