


Fighting with text alignment and messy paragraph layouts can completely stall your presentation workflow.
That is why I am breaking down how to do hanging indent on google slides without the usual headache. I’ve lined up three foolproof techniques to help you master this formatting trick effortlessly.
Table of Contents
How to Do Hanging Indent on Google Slides: 3 Professional Techniques
Achieving that sleek, executive look in Google Slides is easier than you think. Let's explore three straightforward ways to set up hanging indents and elevate your next presentation.
The Ruler Technique for Instant Alignment
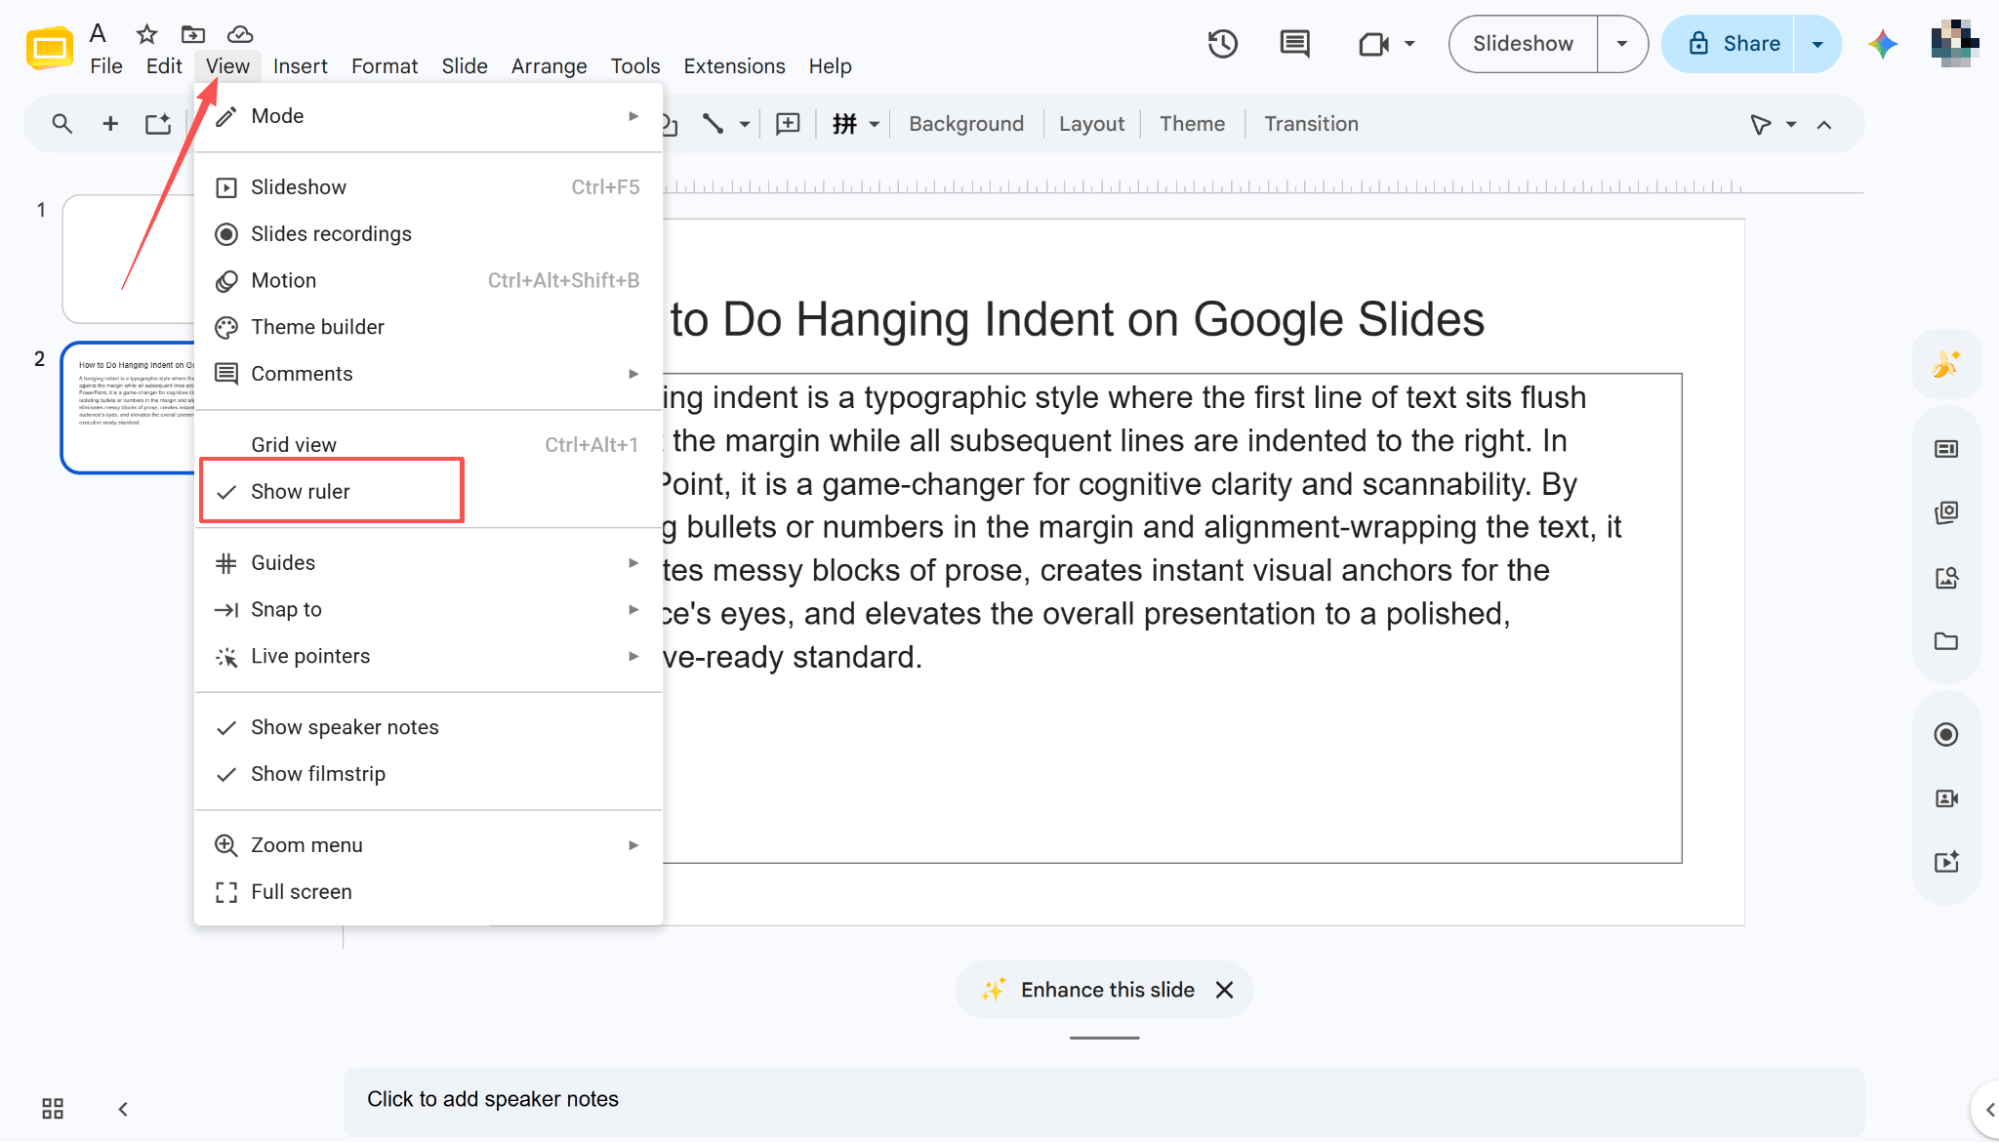
Activating the Ruler
To start, click "View" in the menu bar, then select "Show ruler." Once a checkmark appears next to it, the ruler is active and ready for your hanging indent.
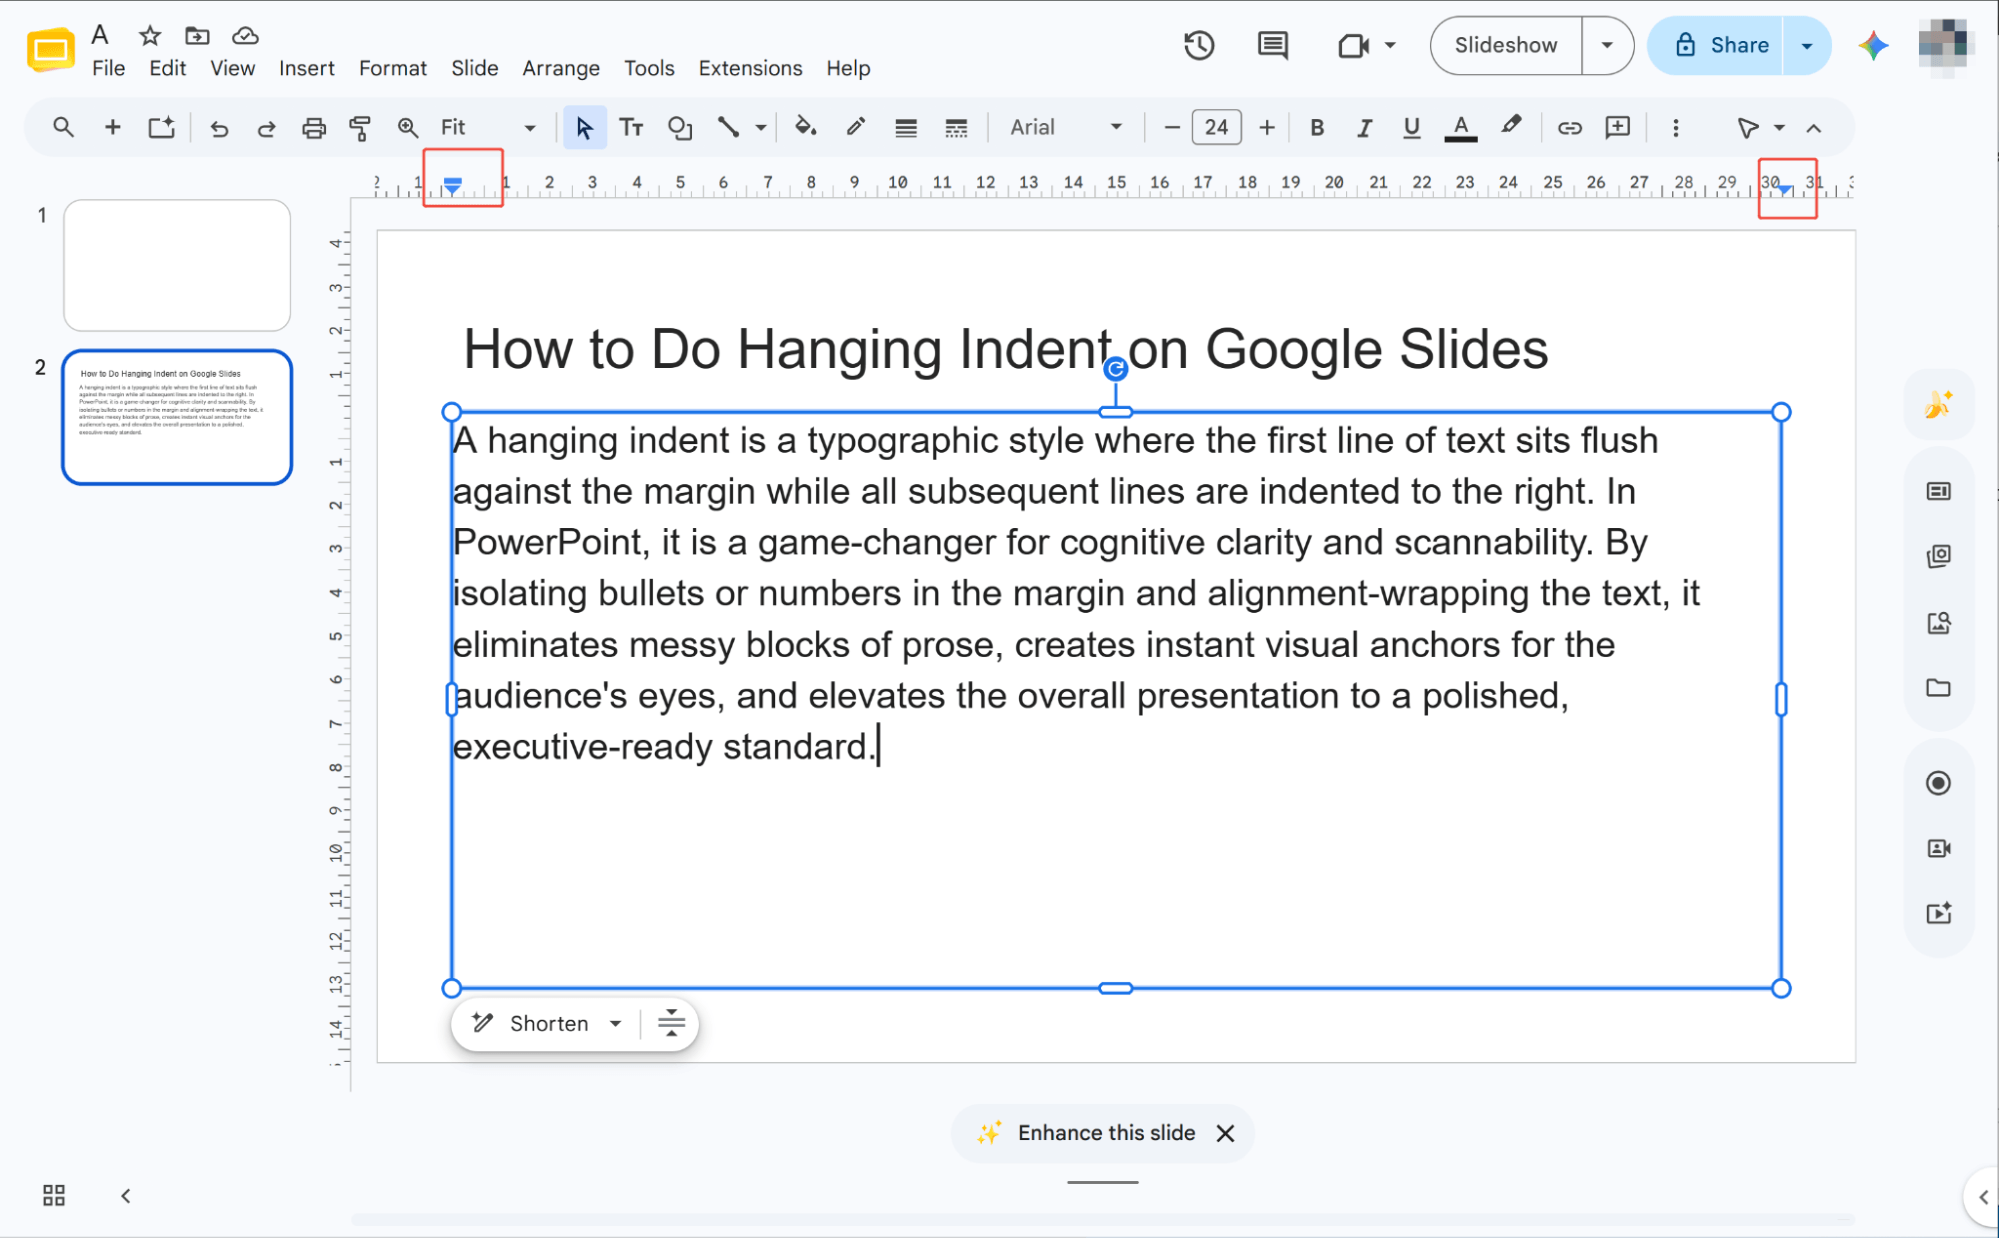
Identifying Your Markers
Simply select the text box you want to edit. You’ll see two triangles and a rectangle appear on the ruler above, which serve as your essential formatting controls.
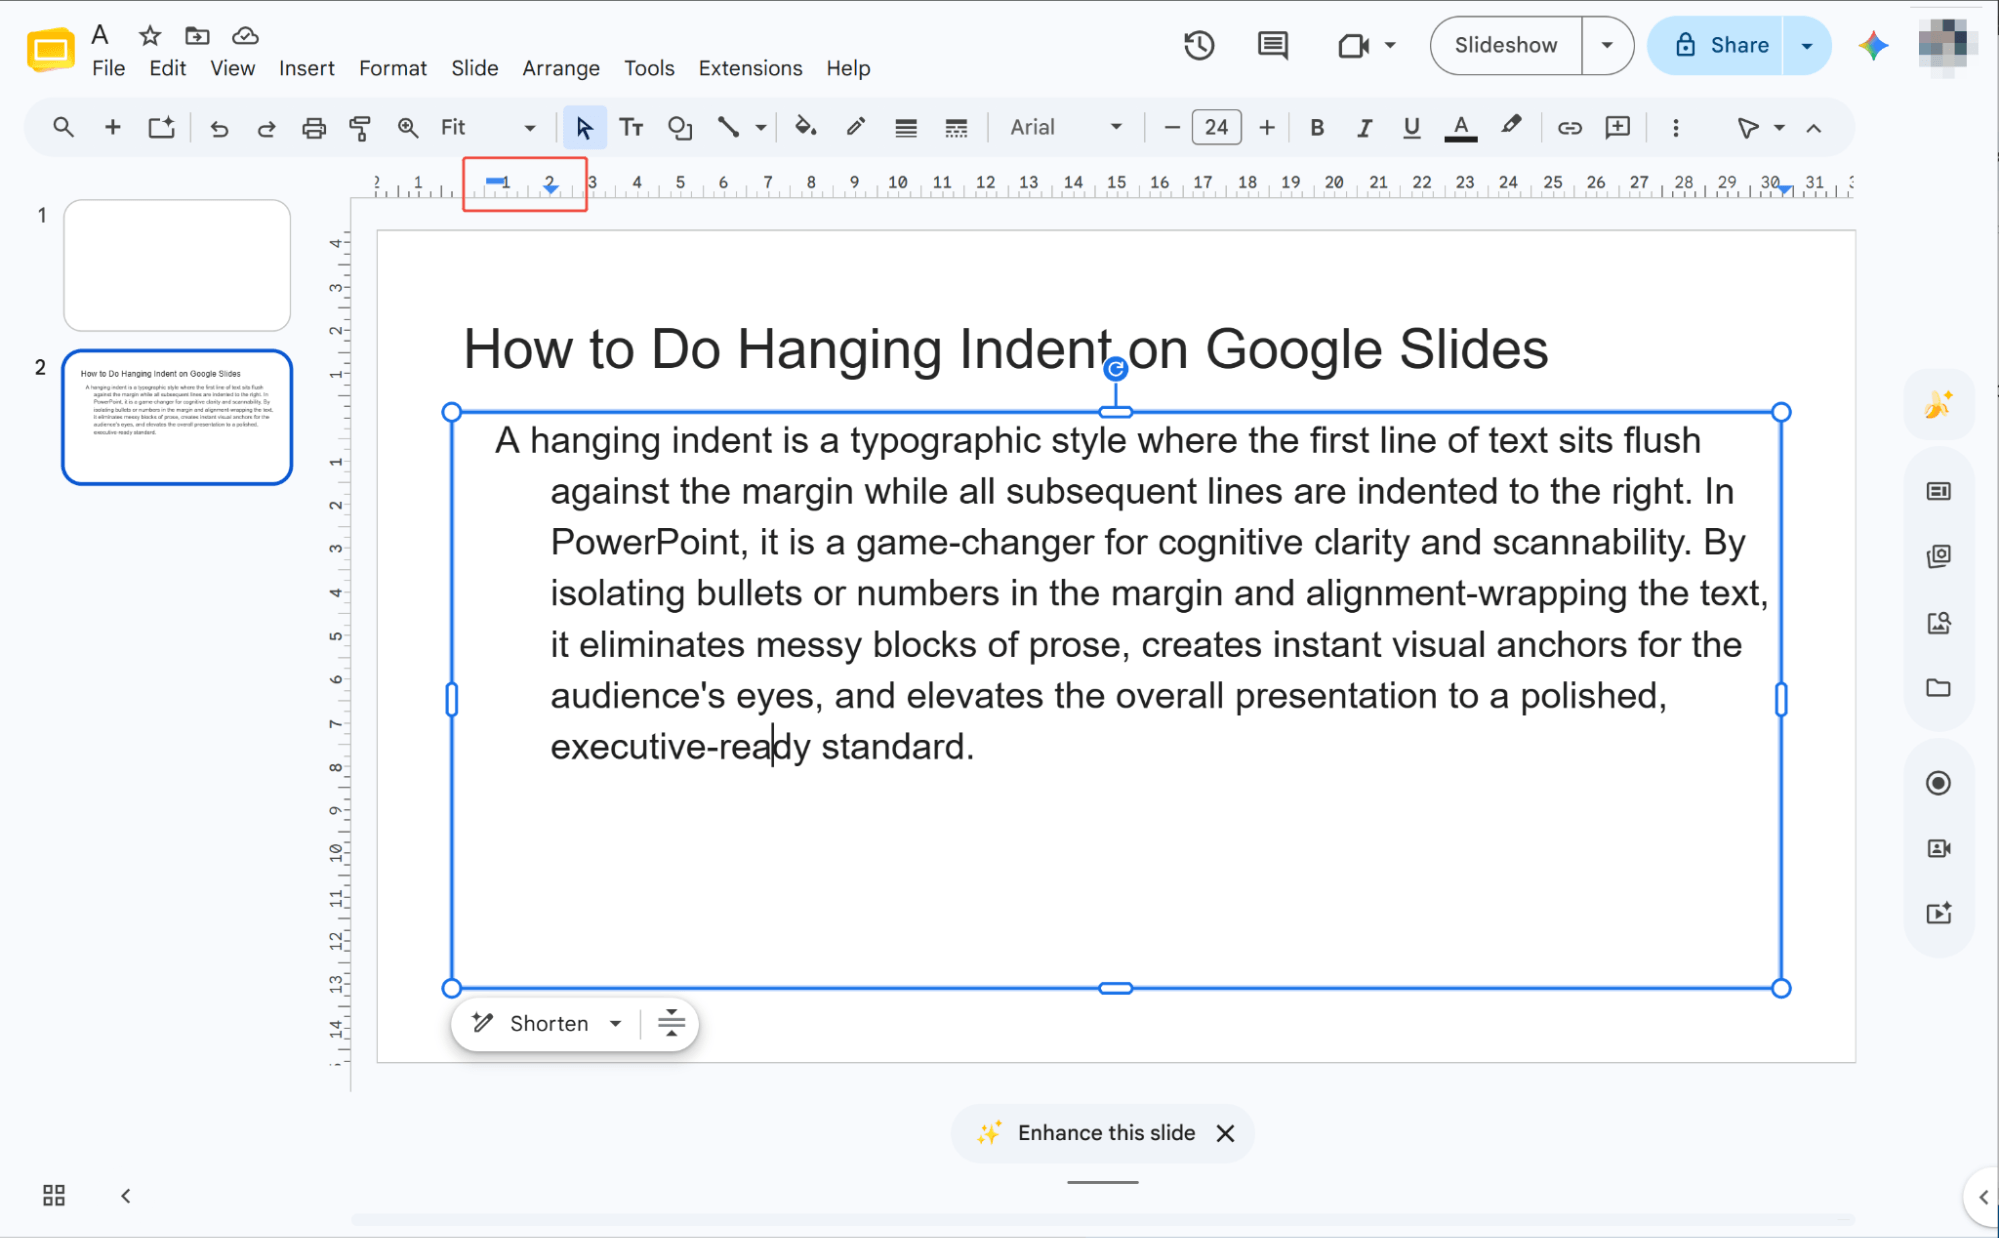
Setting the Indent
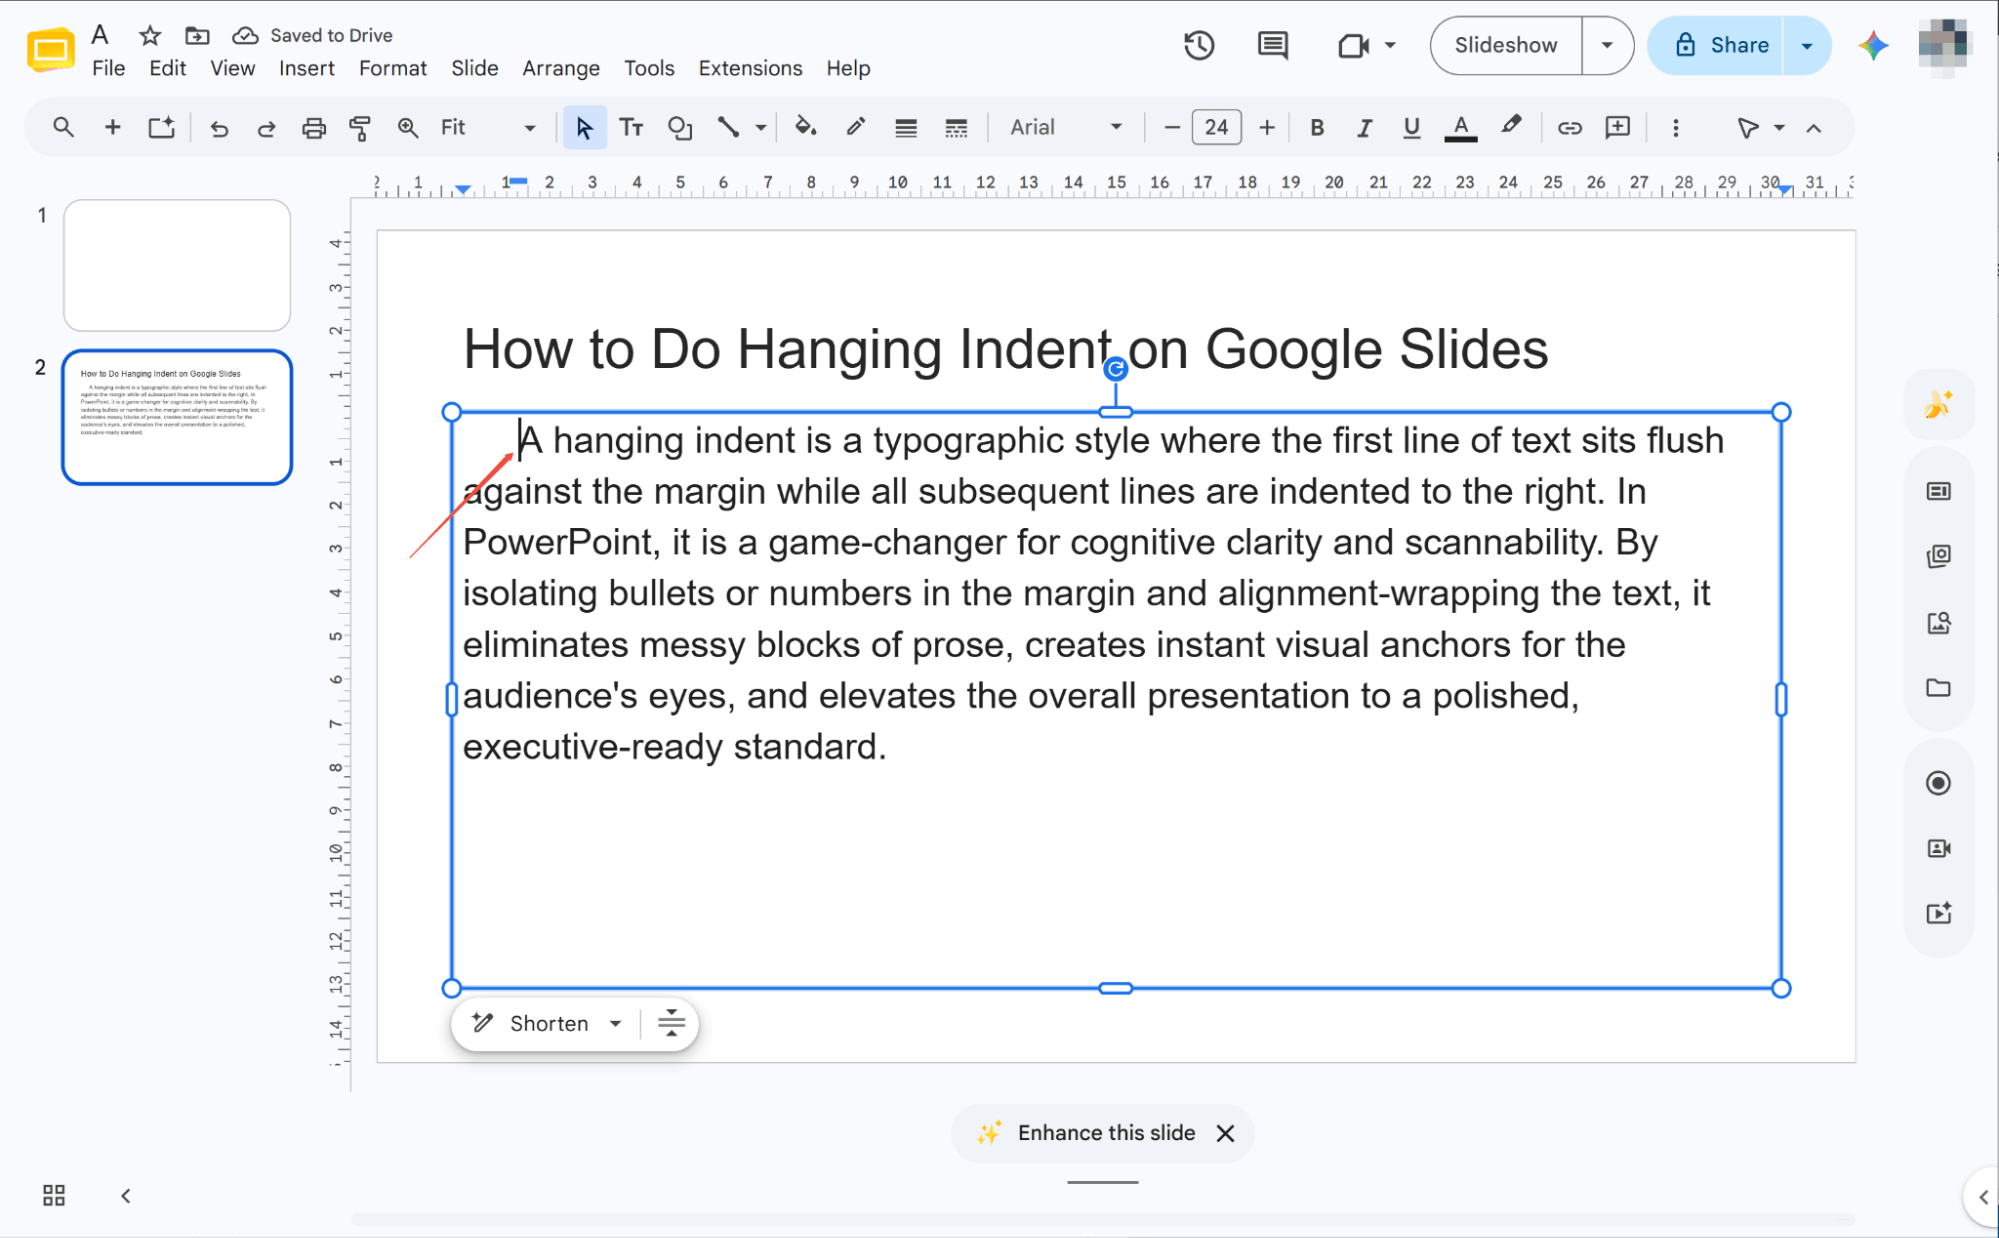
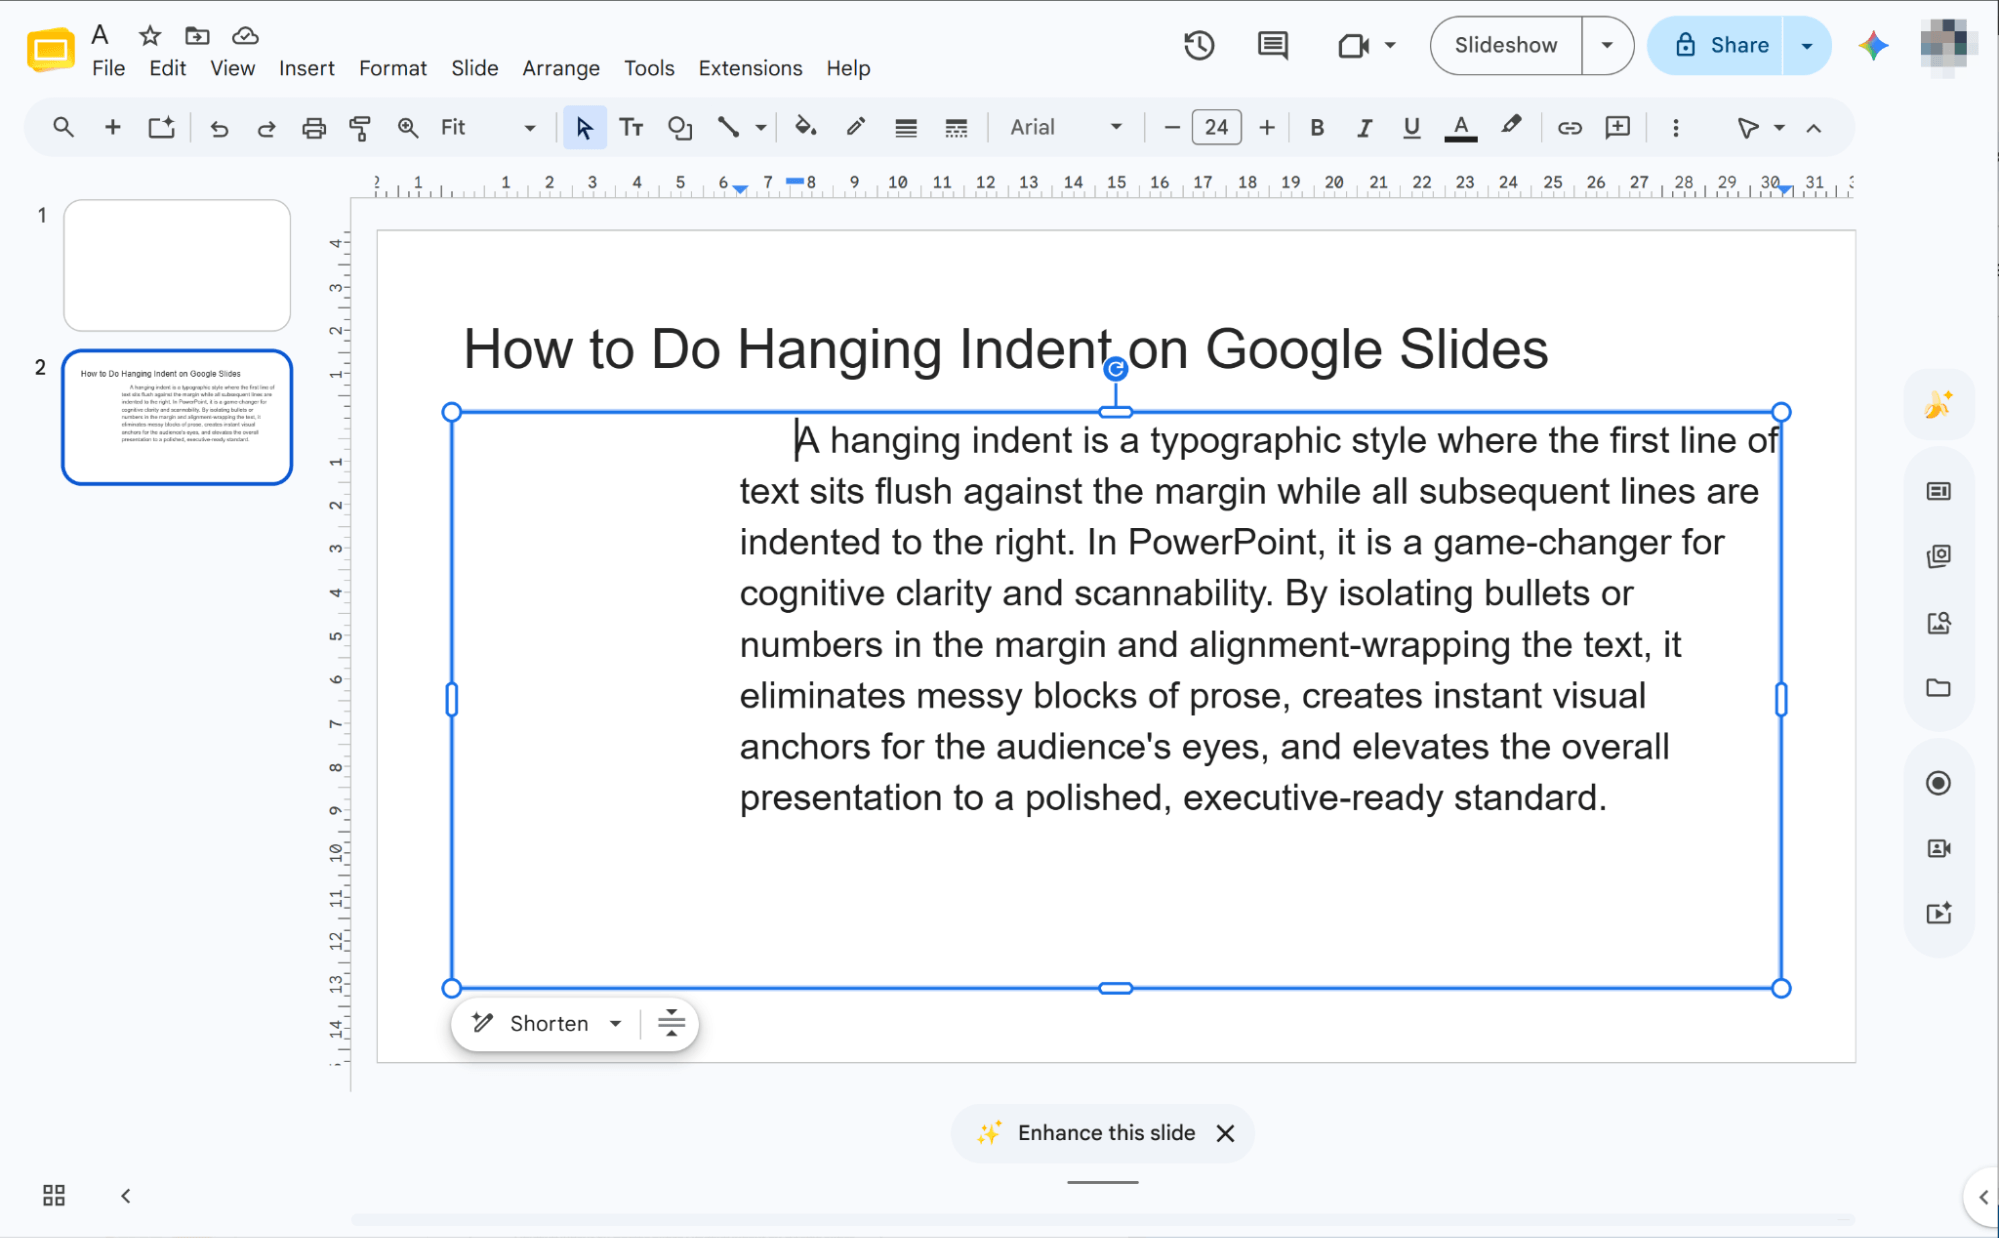
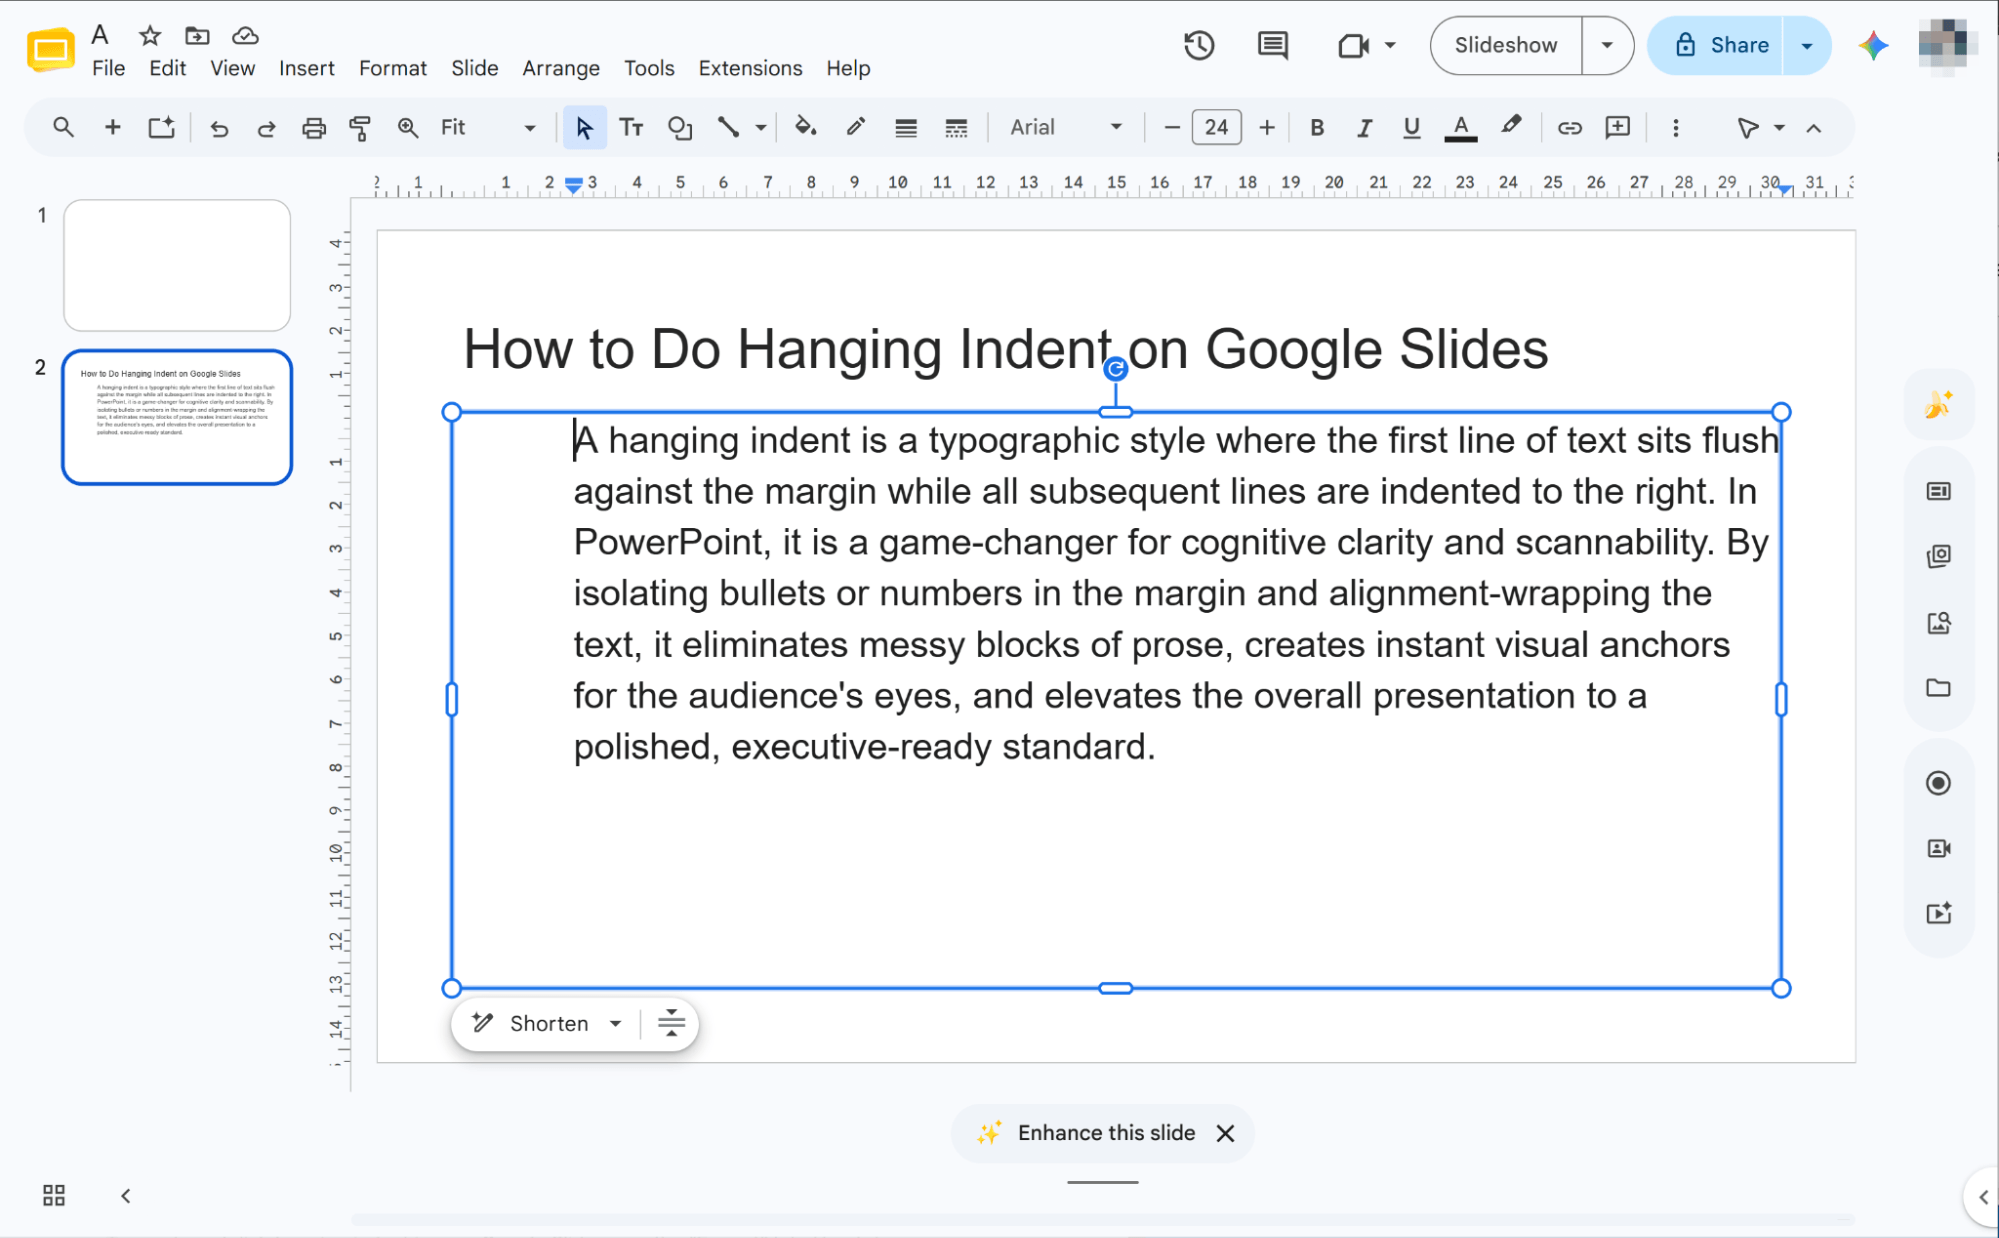
Simply drag the triangles left or right along the ruler. This allows you to easily customize and modify the hanging indent for your entire paragraph.
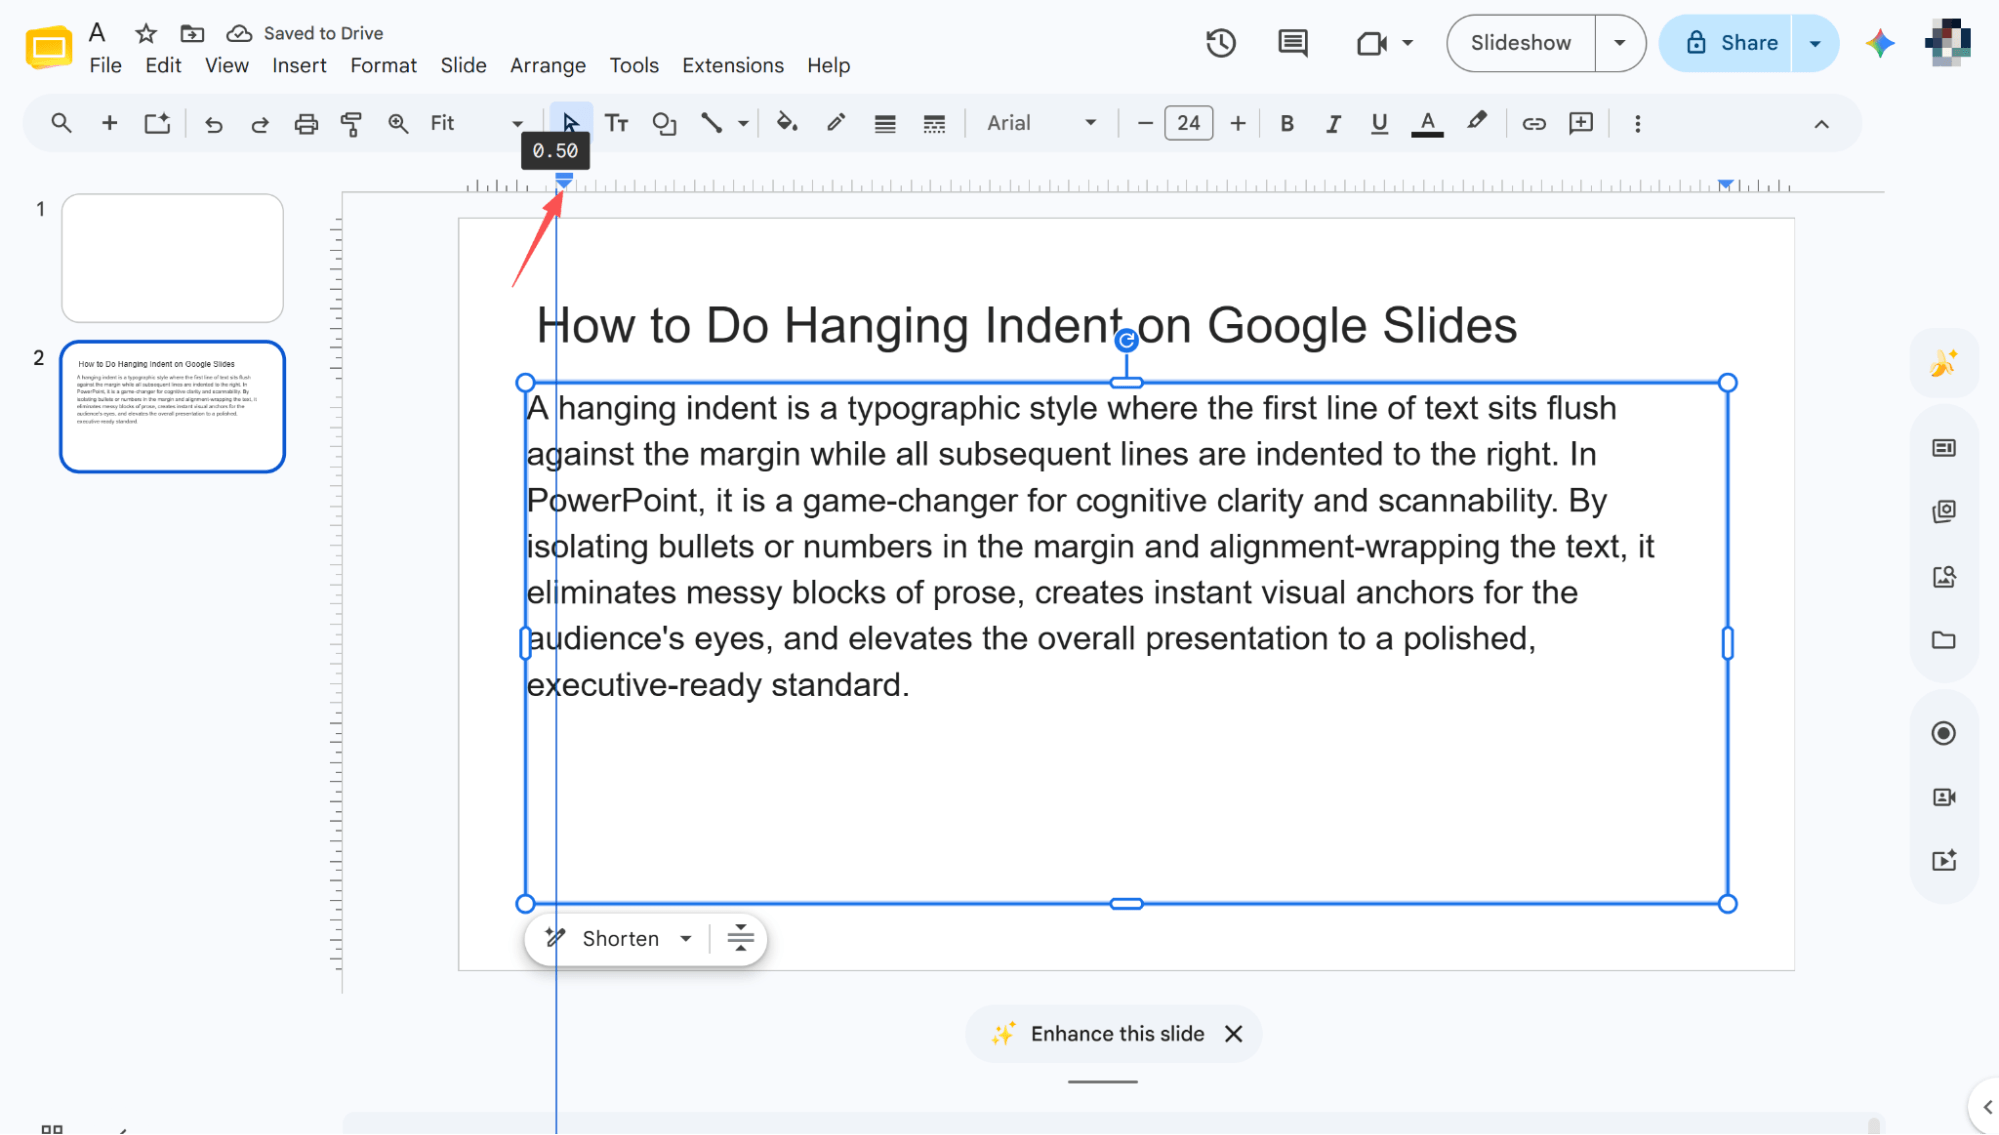
Fine-Tuning the First Line
Drag the rectangle left or right along the ruler. This modifies the indentation of your paragraph's first line, allowing you to perfectly customize the hanging indent.
The Format Options Sidebar Technique
Opening Format Options
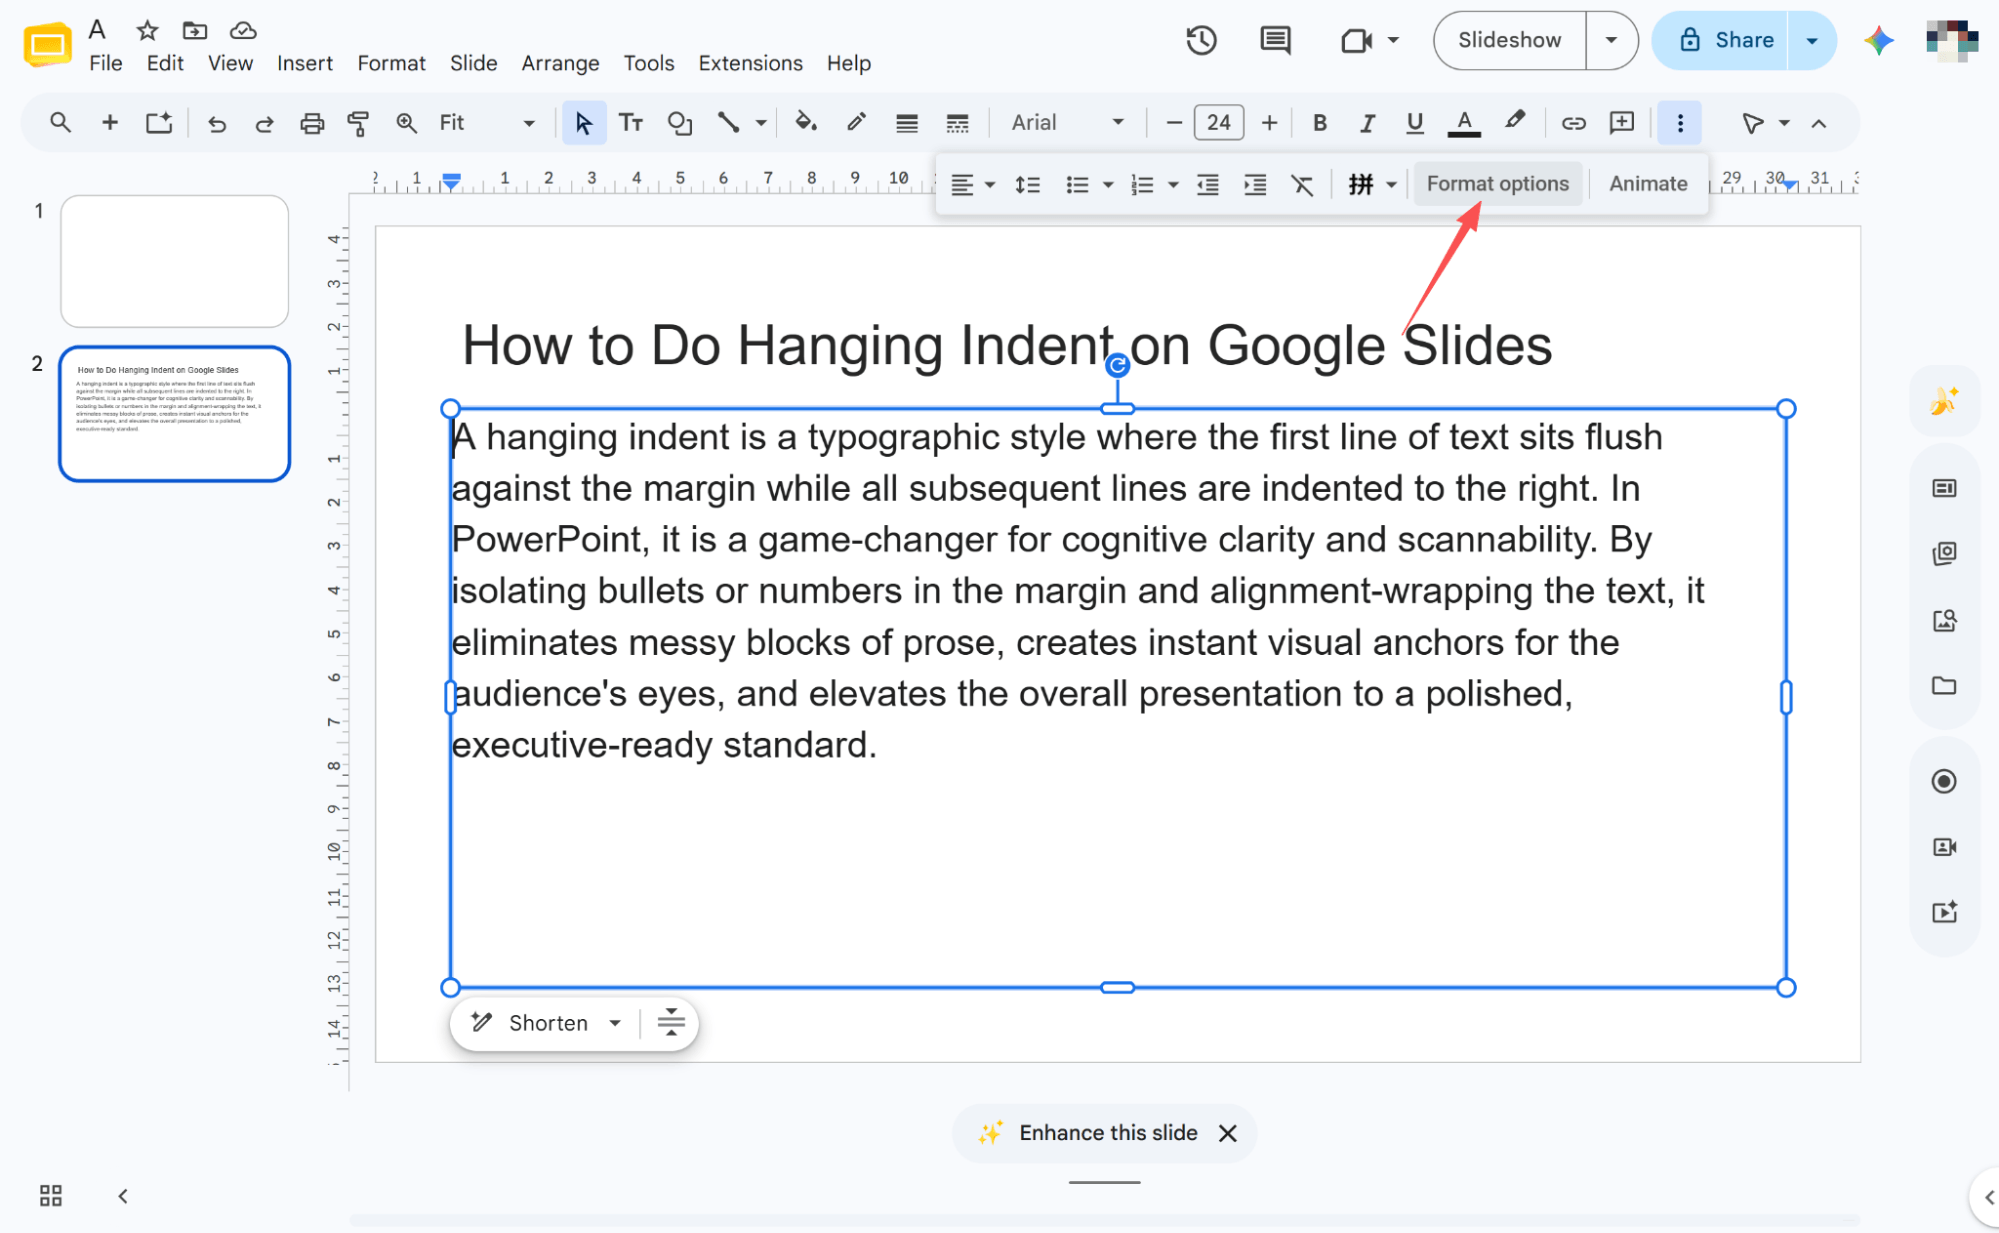
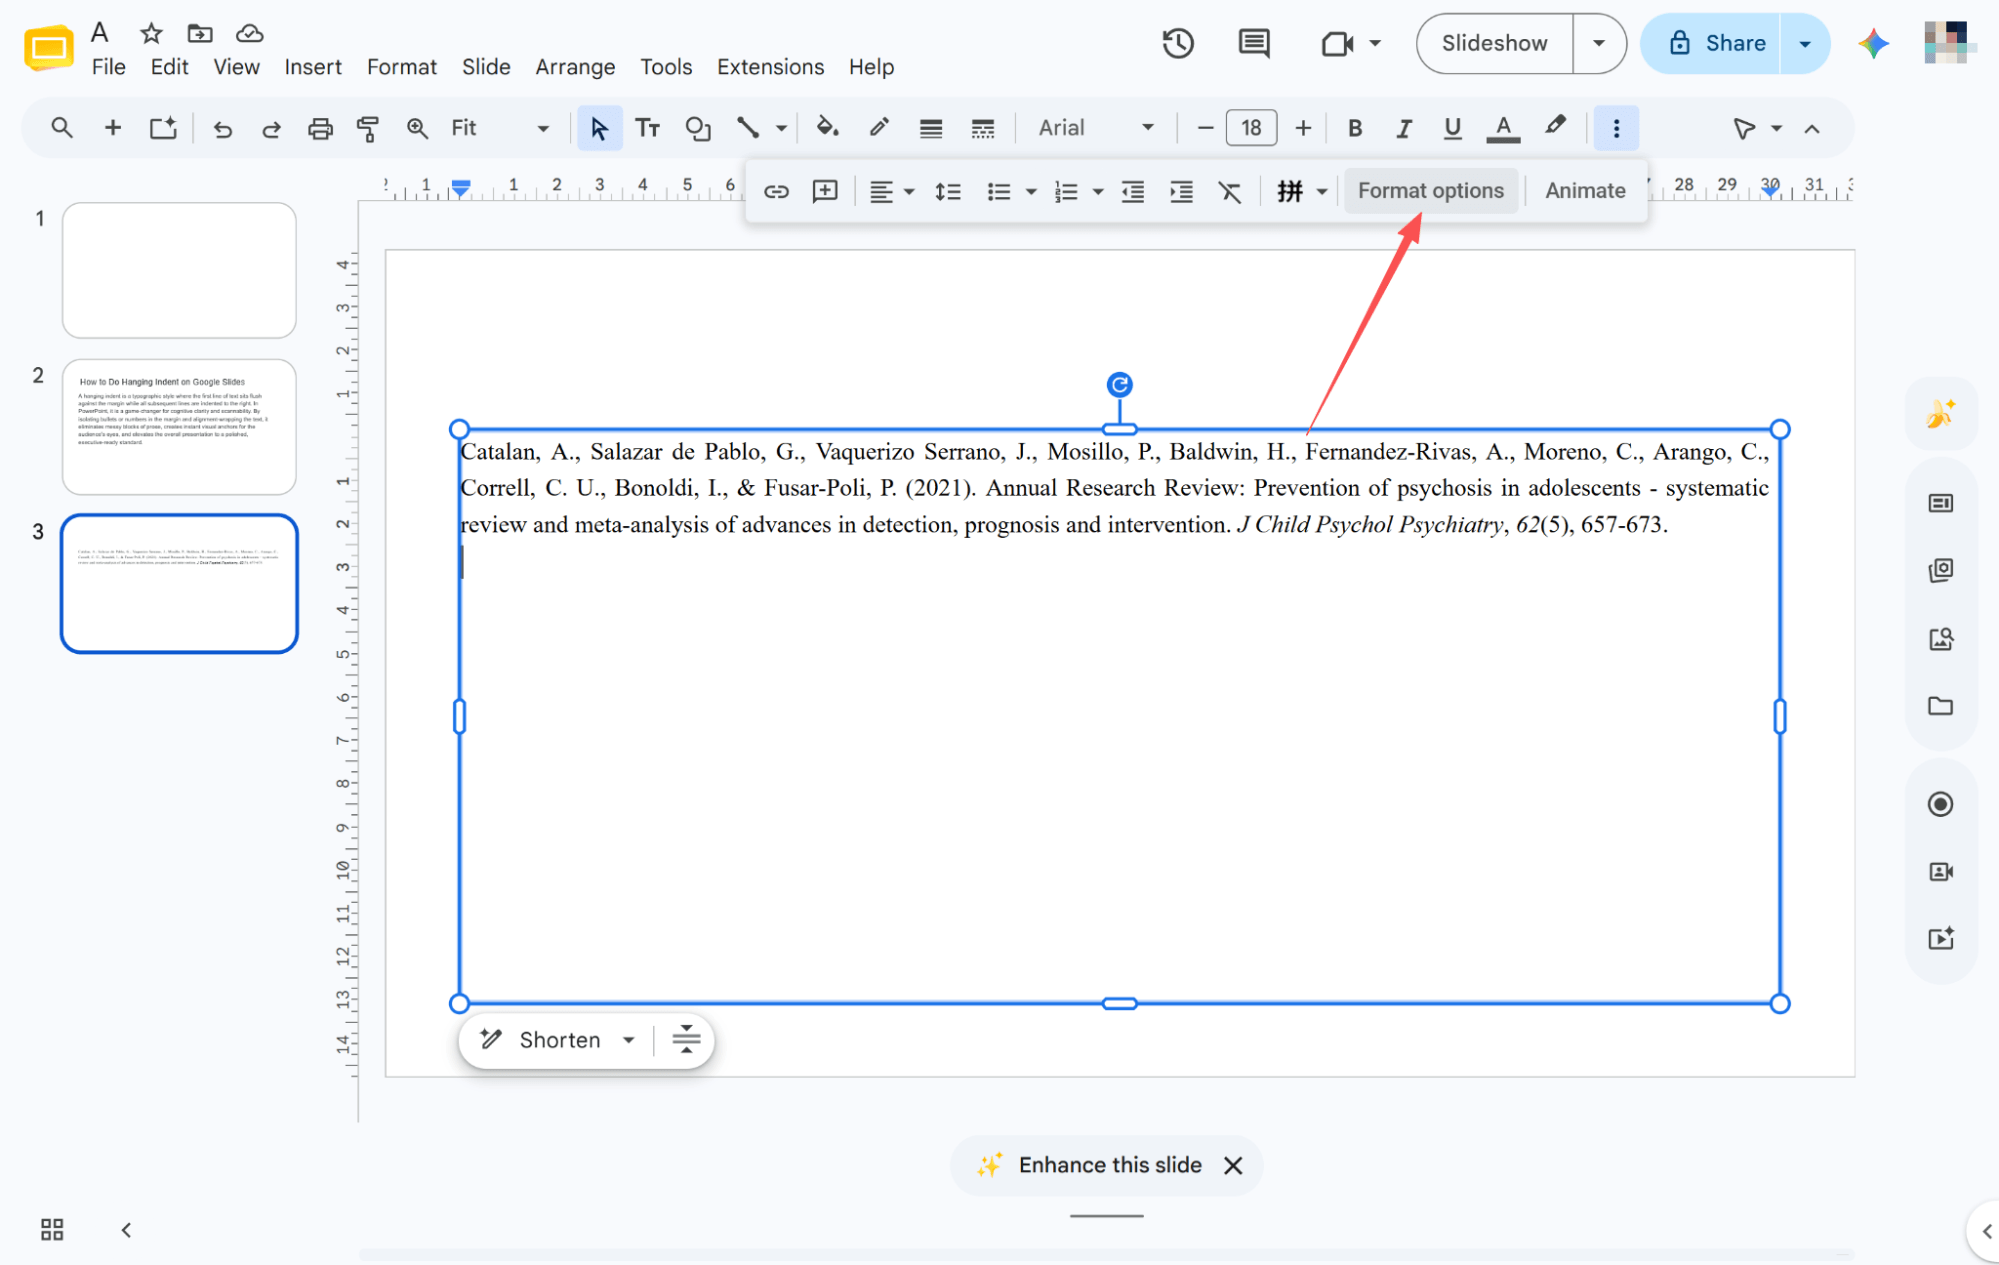
Select the text box you want to edit, then locate and click "Format options" in the top toolbar.
Opening Text Fitting
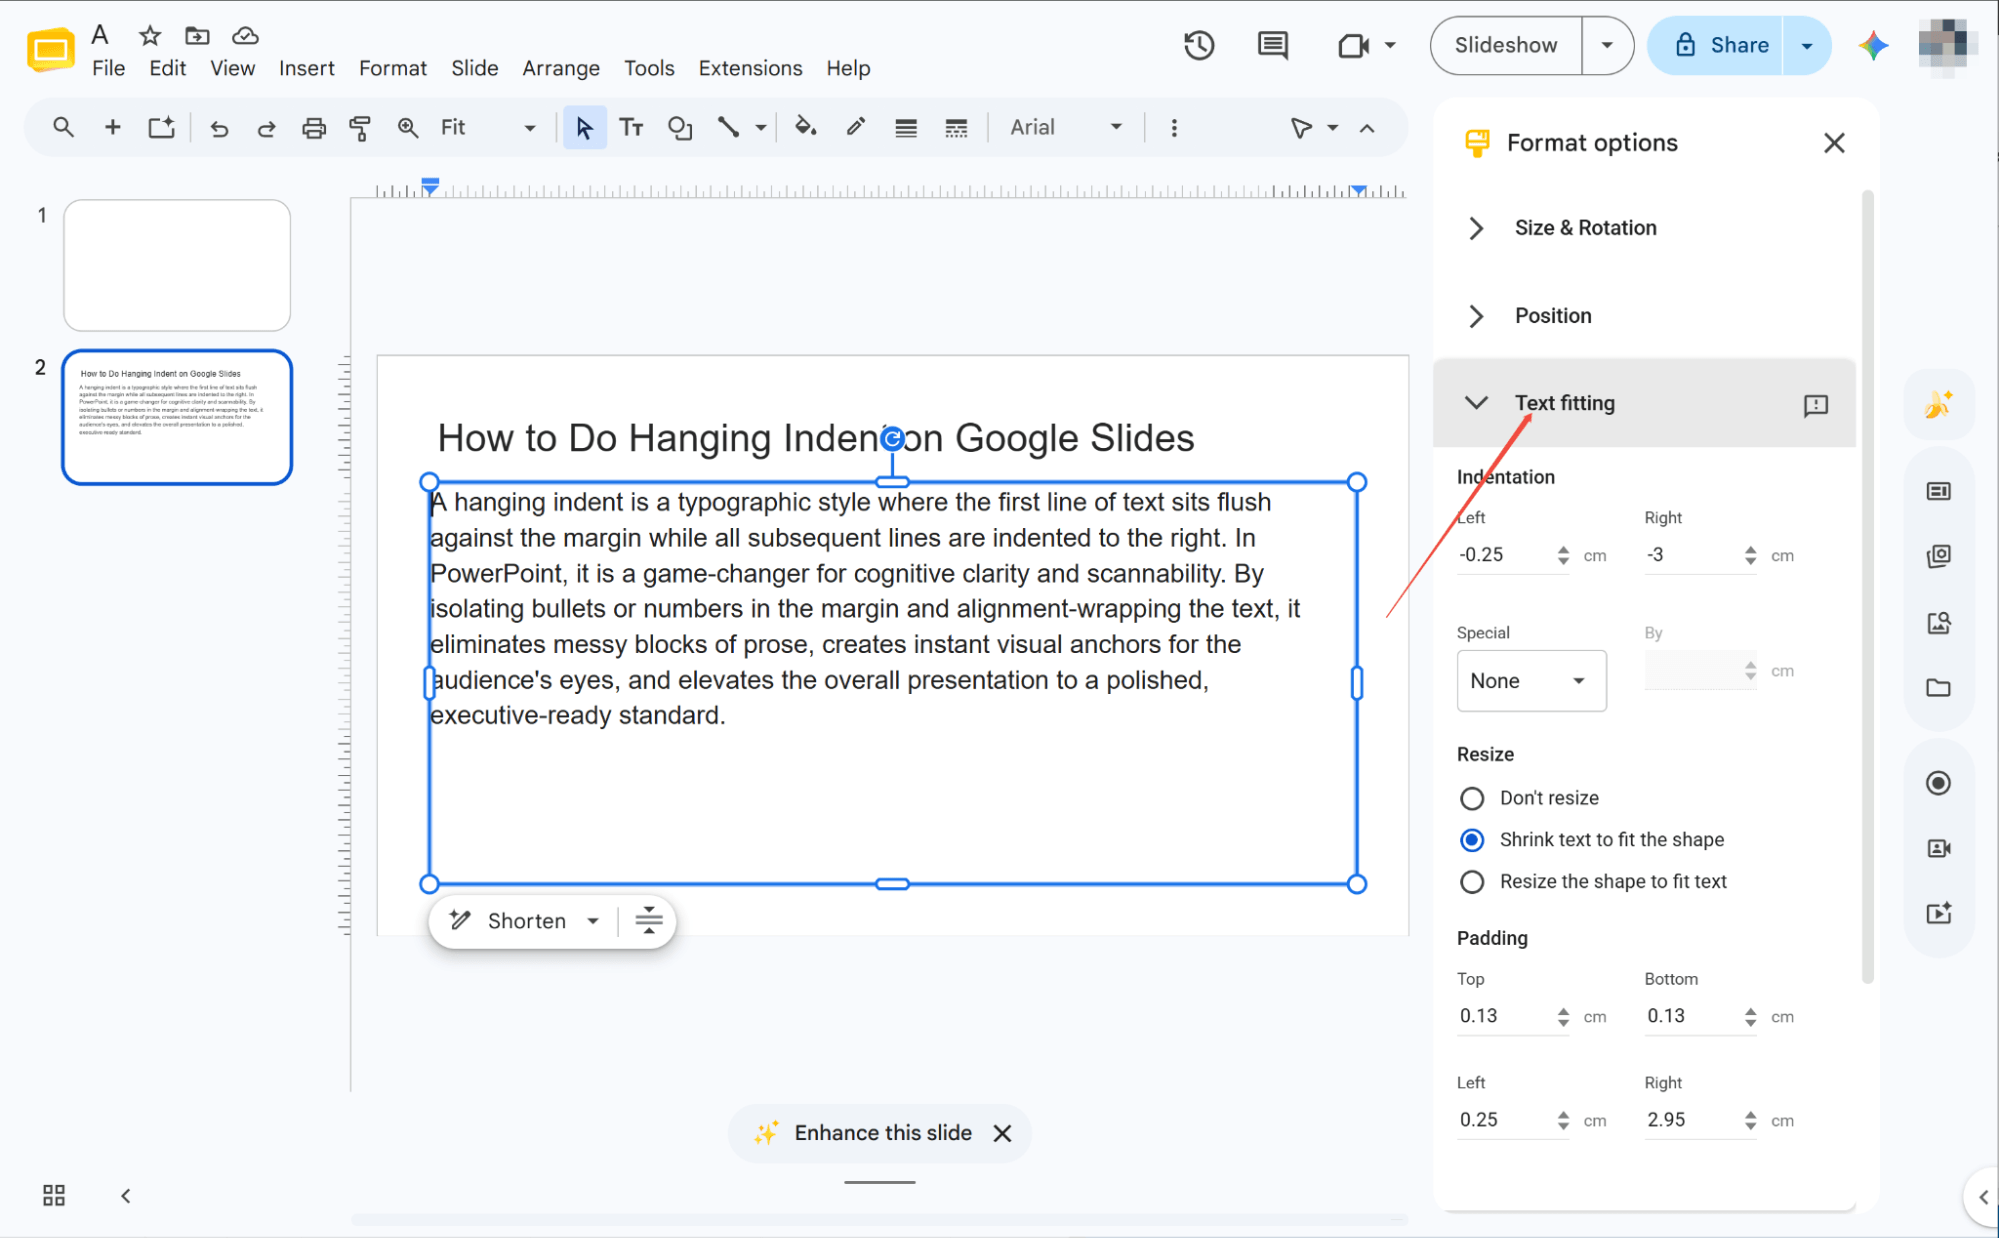
After opening "Format options," locate the "Text fitting" section in the right sidebar. Click it to open the dropdown menu and access your text settings.
Choosing Indent Options
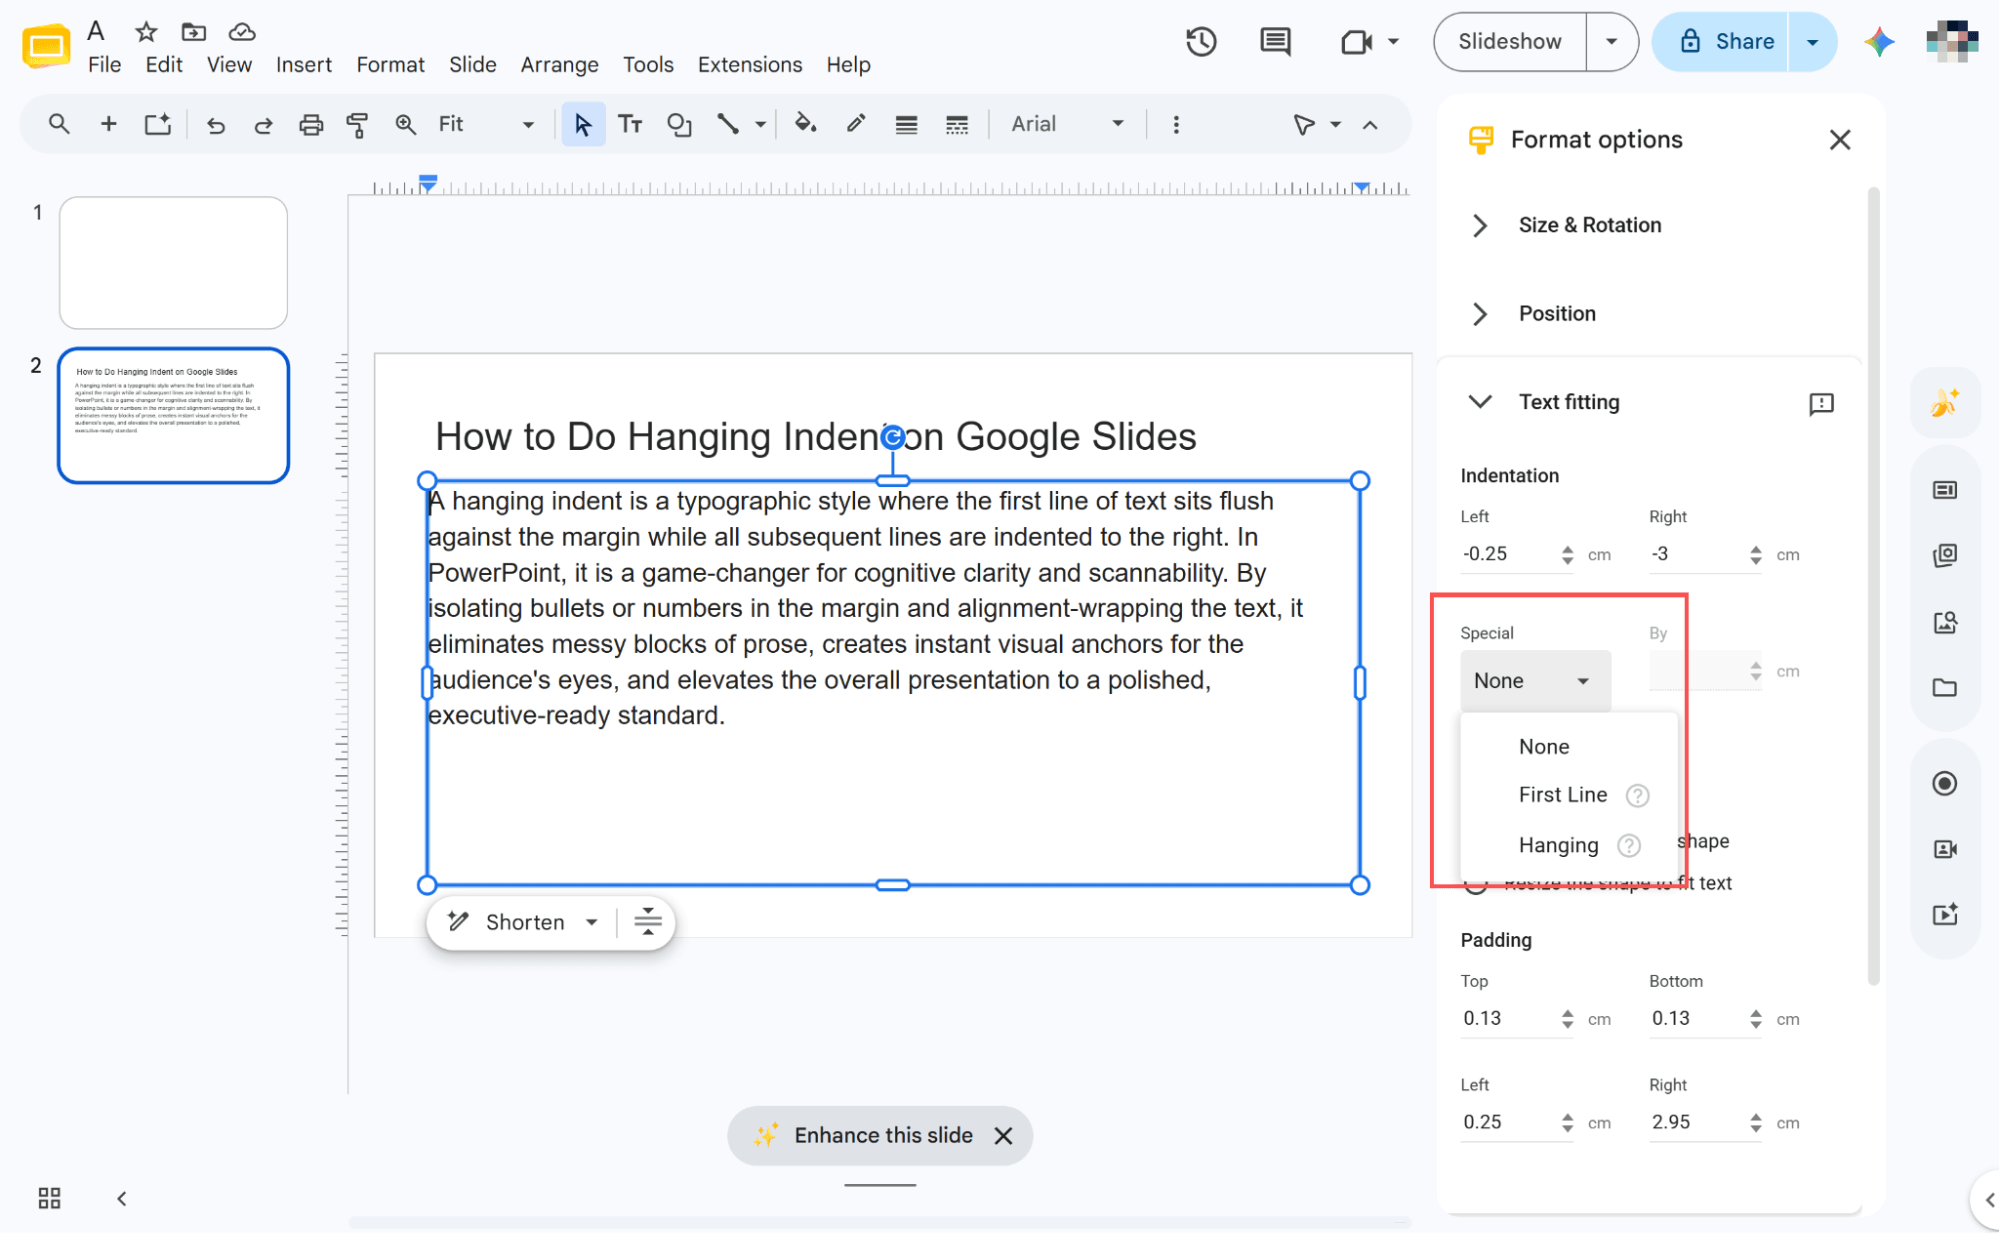
Find the 'Special' field and click the dropdown arrow to expand the menu. You will see three paragraph options to choose from: 'None', 'First Line', and 'Hanging'.
Applying Indent Effects
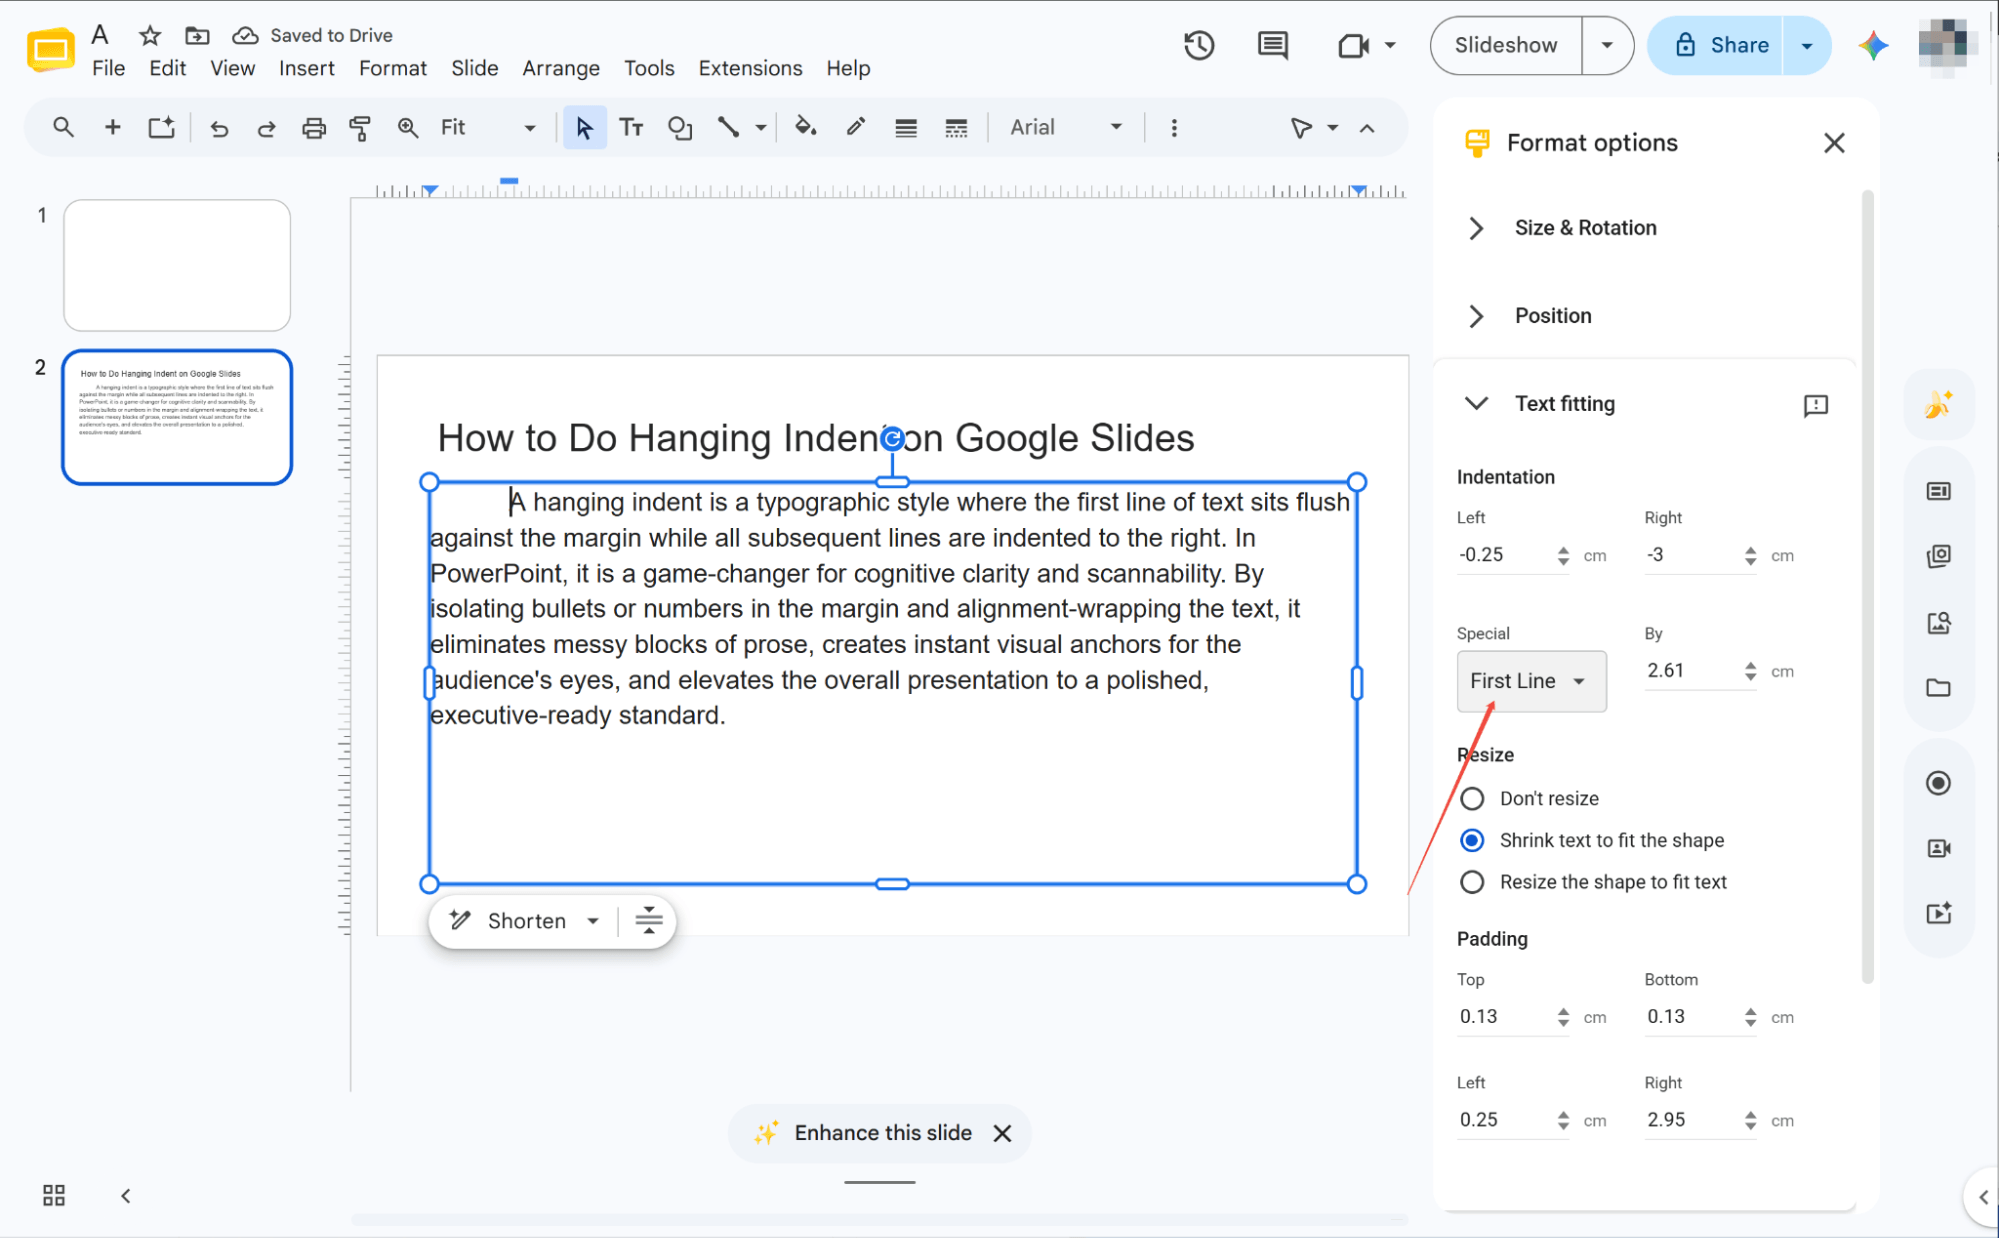
Select 'First Line' and adjust the value for a first-line indent. Alternatively, choose 'Hanging' and tweak the number to indent every line except the first one.
The Quick Keyboard Shortcut Technique
Pressing Tab to Indent
Select your slide, place the cursor at the very beginning of the paragraph, and press the Tab key to instantly create a clean hanging indent.
Continuous Indentation
Simply press the Tab key multiple times to continuously increase the hanging indent, shifting the paragraph text further to the right with each press.
Reversing Indents with Shift+Tab
Use Shift+Tab to reduce excessive indents. The first press adjusts the first line, while a second press pulls the entire paragraph back to the left.
How to Do Hanging Indent on Google Slides in APA Format
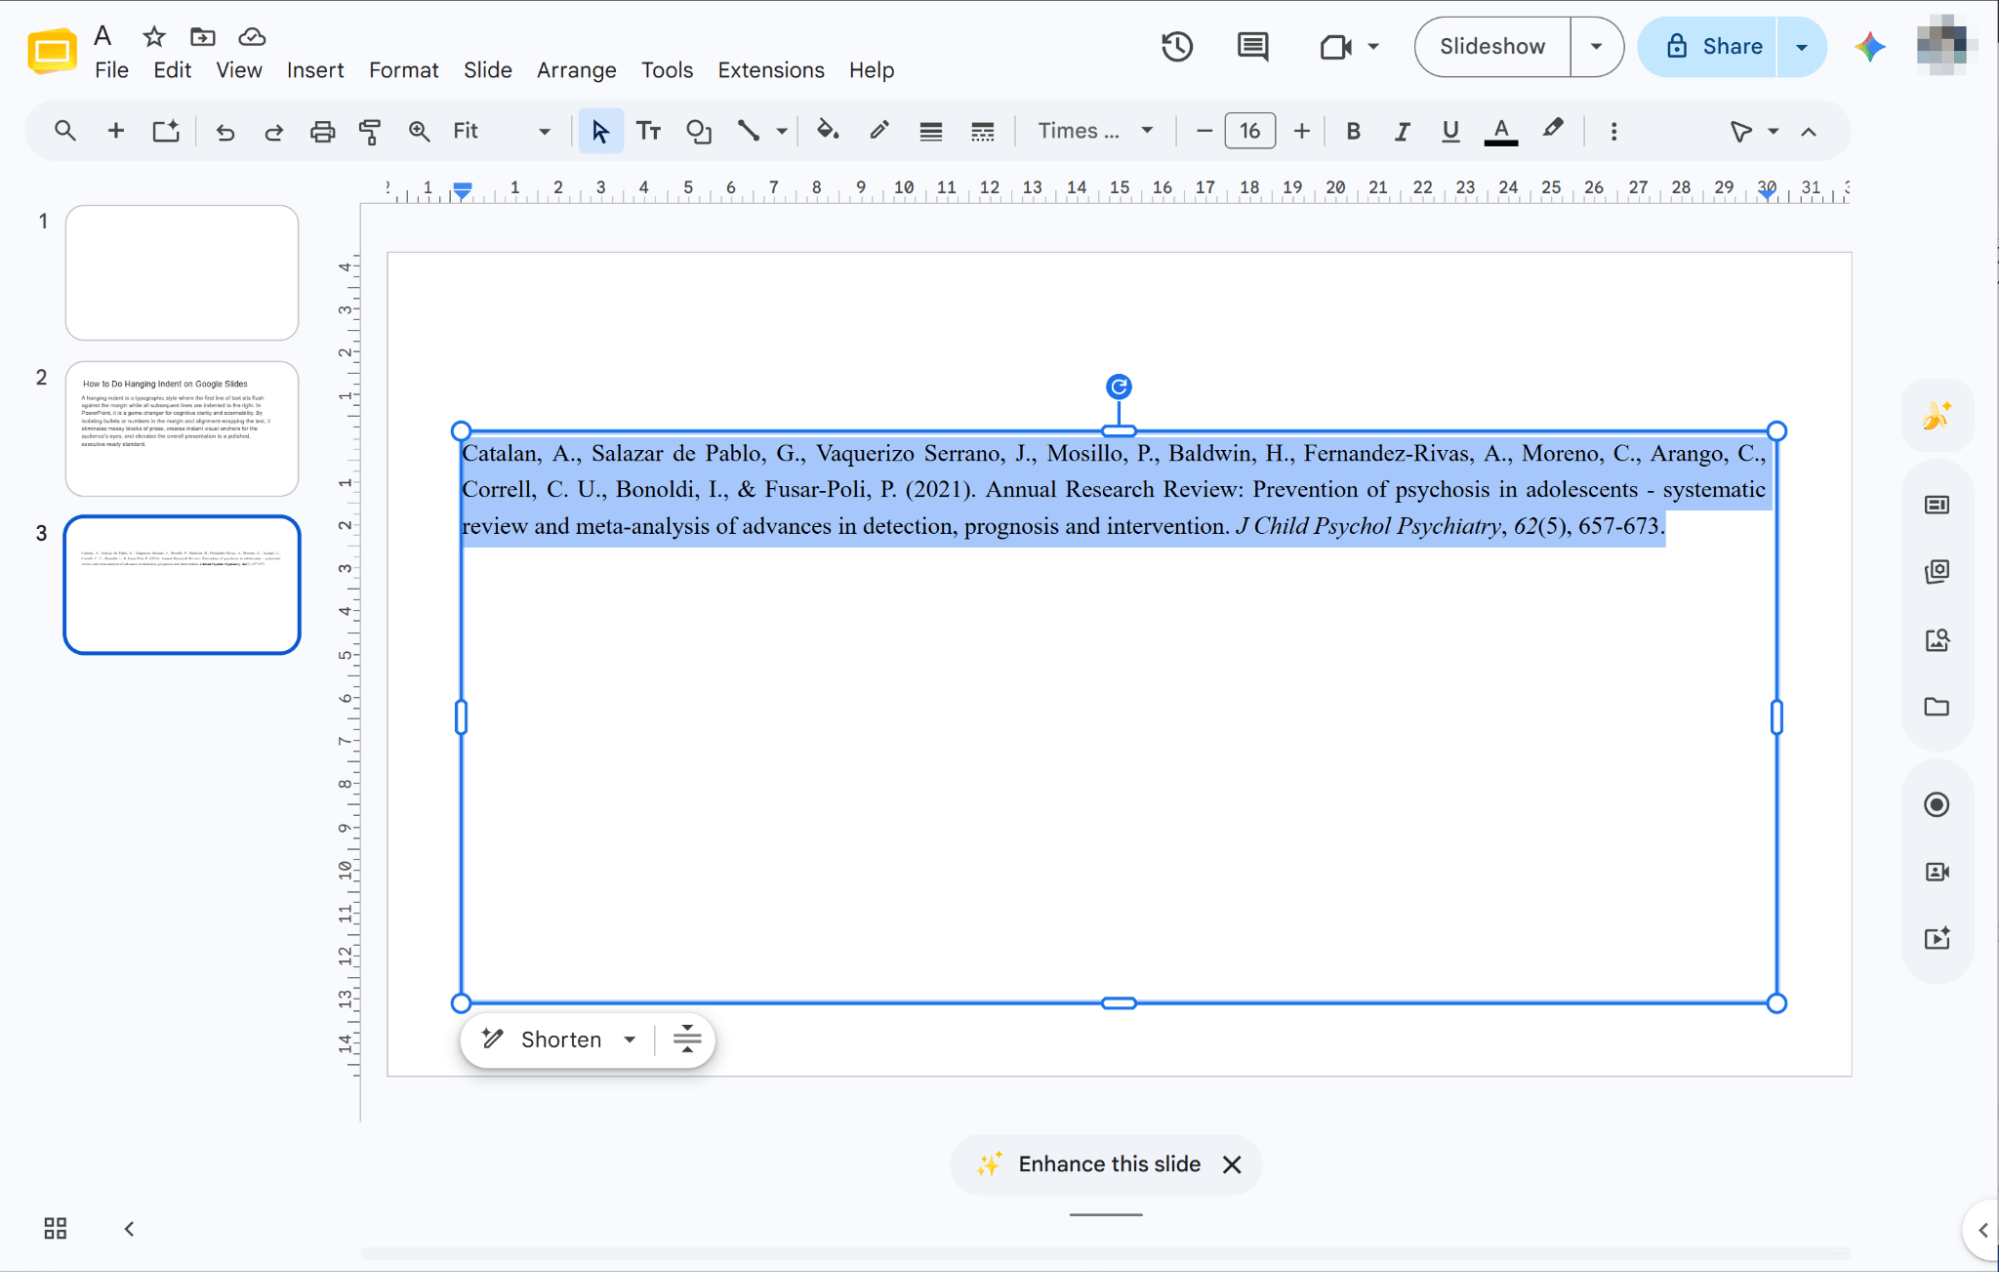
With APA citations being a staple in academic presentations, correct formatting in Google Slides is vital. Let’s walk through a step-by-step guide to mastering the APA hanging indent.
Selecting Your Text
To get started, simply highlight the specific references or bibliographic information on your slide that require the hanging indent format.
Open Format Options
Locate and click "Format options" in the top toolbar to instantly open the formatting sidebar on the right side of your screen.
Selecting Hanging Indent
Click the "Text fitting" arrow in the sidebar, locate the "Special" dropdown box, and choose "Hanging" to instantly format your selected citations.

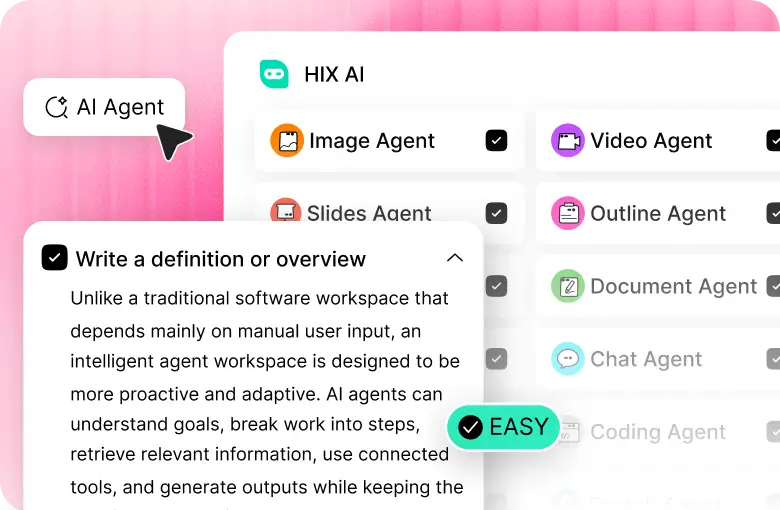
HIX AI Slides Agent: Boosting Productivity by Eliminating Manual Effort
Manually formatting hanging indents across large presentations is a tedious time-sink. In high-stakes environments, it’s all too easy to overlook messy, inconsistent alignment errors.
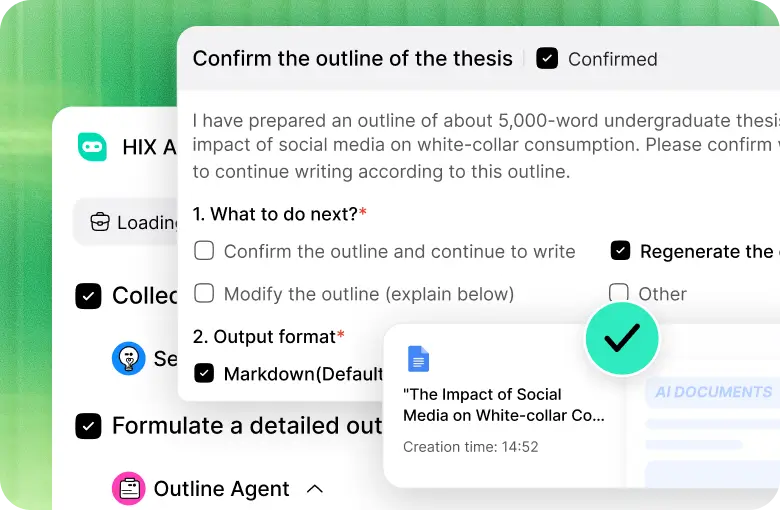
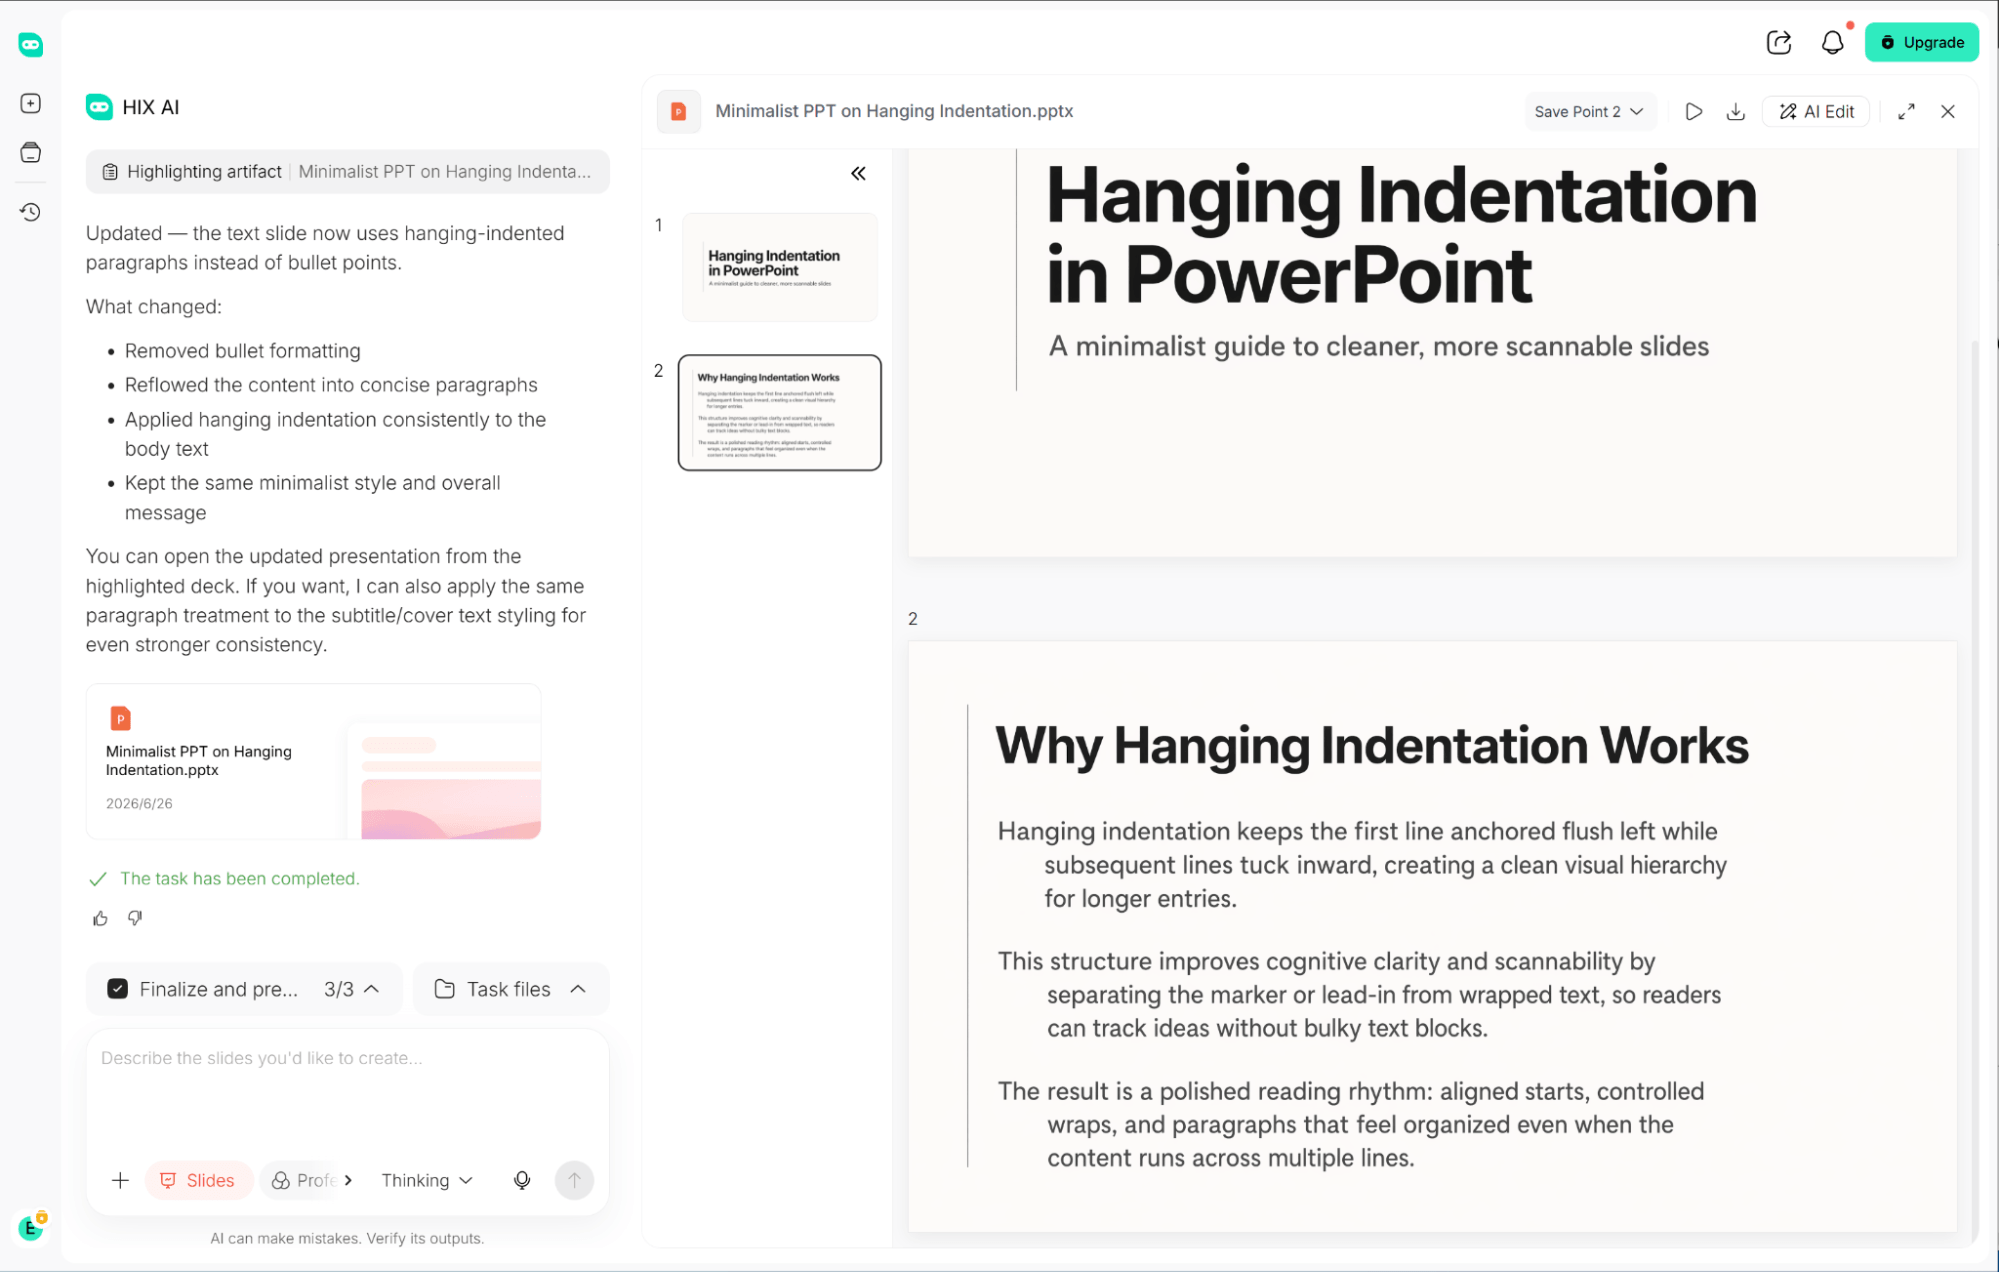
HIX AI Slides Agentsolves this by applying flawless indents via simple prompts during slide generation. It saves immense time while ensuring your formatting remains professional.
Even after generation, you stay in total control. You can freely rearrange element positions or update the text, giving you complete creative flexibility over every single slide.
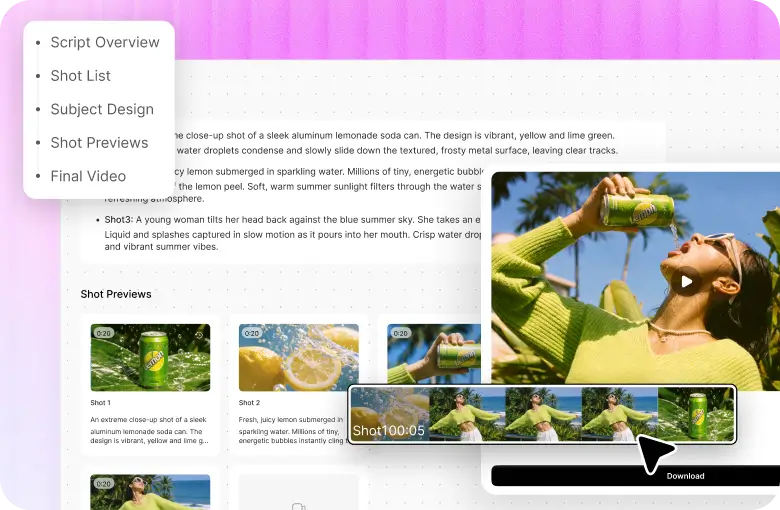
The tool is remarkably versatile. It can instantly transform your uploaded documents into polished presentations or generate a complete deck from just a single, given theme. The Agent performs deep research to find data and organize logical copy, crafting professional slides that match your desired aesthetic style.
Try HIX AI Slides Agent
Conclusion
The hanging indent is a fundamental format for professional slides, and we hope these three simple methods help you master it easily.
However, for the absolute best workflow upgrade, my top recommendation remains using the innovative HIX AI Slides Agent. It effortlessly turns simple prompt commands into stunning, polished presentations, saving you hours of tedious work while drastically boosting your efficiency.
🆓Free to Try • 📑Create Any Slides • ⭐4.9/5 Rating